In SketchUp, you can resize and reshape your model based on the relative sizes of edges and faces. With SketchUp’s scaling tools you can:
- Scale your entire model with the Tape Measure tool.
- Resize entities while maintaining their proportions with either the Tape Measure tool or the Scale tool.
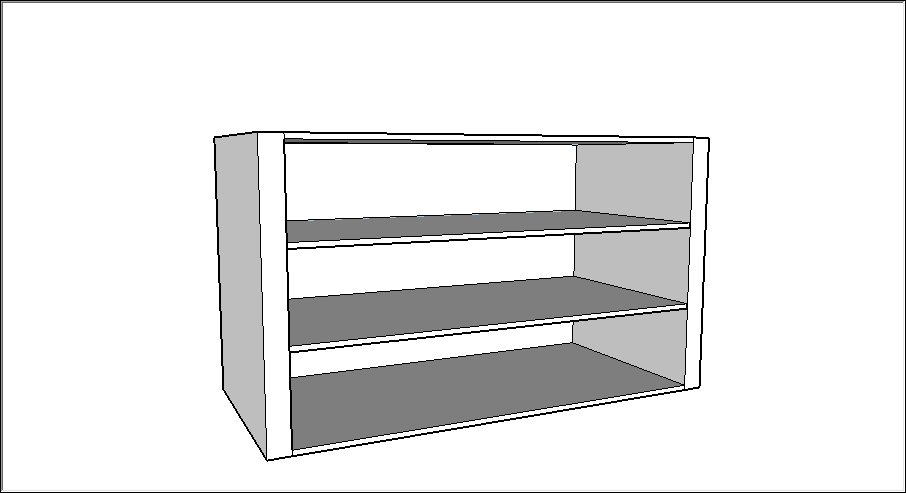
- Stretch or squish an entity to scale with the Scale tool. For example, stretch a cabinet so it's twice its current width or narrow a car by 5 percent.
- Scale a single component or every component in your model.
Scaling your entire model
When you want to scale your entire model, use the Tape Measure tool (![]() ). The Tape Measure tool helps you scale with precision by creating a reference line. To scale an entire model follow these steps:
). The Tape Measure tool helps you scale with precision by creating a reference line. To scale an entire model follow these steps:
- Select the Tape Measure tool (
 ) or press the T key. The cursor changes to a tape measure.
 - Measure the distance between two points on your model by clicking one end of a line segment to set the starting point of a measurement.
- Move the mouse to the end point of the same line segment. As you move the mouse, a temporary measuring tape line, with arrows at each end, stretches out from your starting point.
Click at the other end of the line segment. The final distance appears in the Measurements box.
- Type the new value you want to scale your model to in the Measurements box and press Enter.
- A dialog box will appear asking if you want to resize your model. Click Yes to proceed.
Scaling a Selection
When you want to resize geometry within your model and maintain its proportions, you can use either the Tape Measure tool (![]() ) or the Scale tool (
) or the Scale tool (![]() ). Use the Tape Measure to scale a specific line or edge. Use the Scale tool to resize a selection based on a percentage of its original size.
). Use the Tape Measure to scale a specific line or edge. Use the Scale tool to resize a selection based on a percentage of its original size.
To scale part of your model with the Tape Measure, follow these steps:
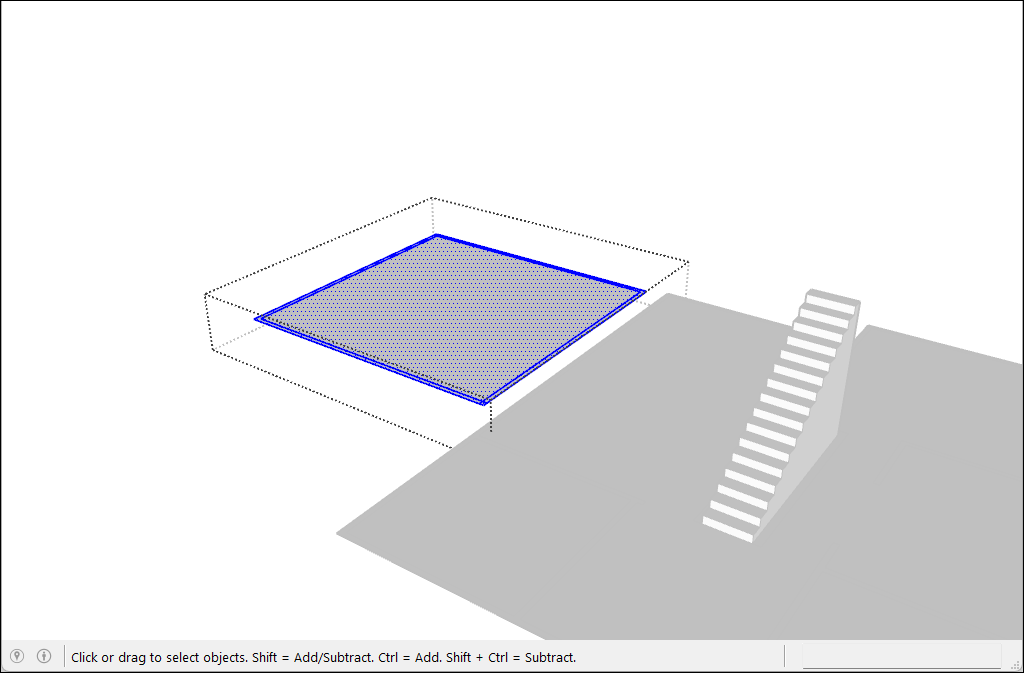
- Select the entities you want to scale.
- Context-click your selection and select Make Group.
- Double-click the group. A box of dashed lines will appear around the group.
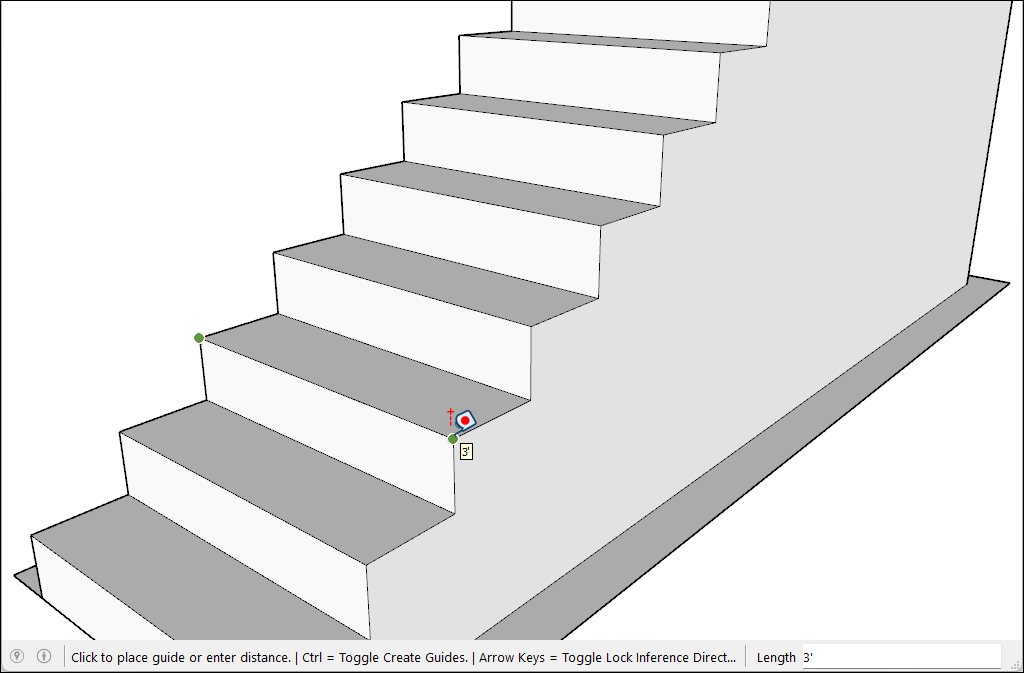
- Activate the Tape Measure tool ().
- Click to place the first point of your reference line.
- Click again to create an end point for your reference line. The distance will appear in the Measurements box.
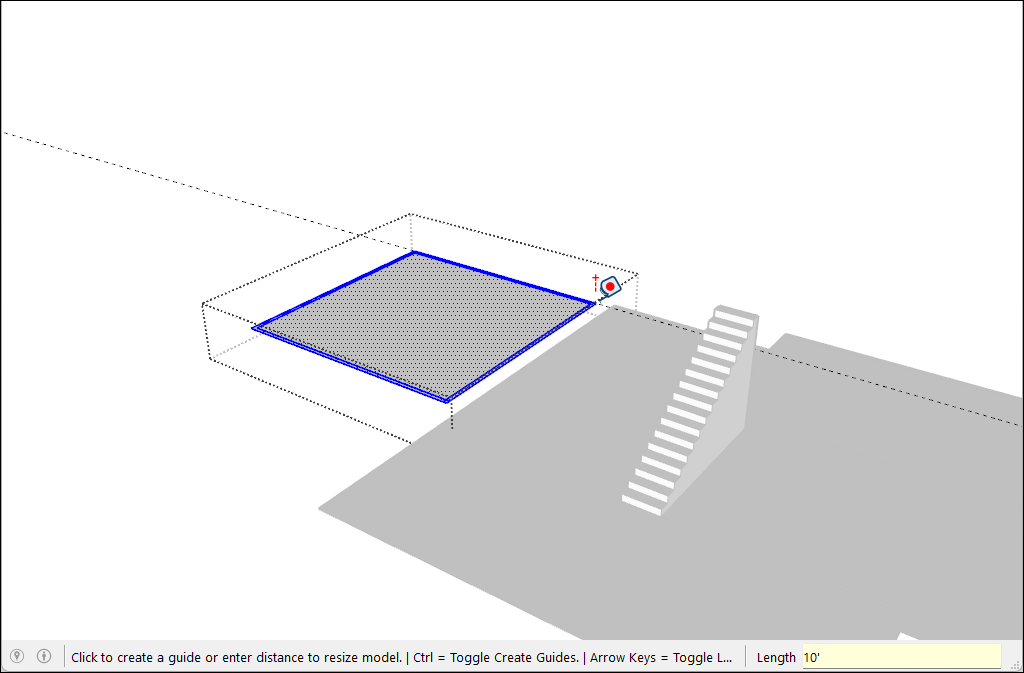
- Type a new size for the line and press the Enter key.
- A confirmation appears. Click Yes to complete the operation.
To use the Scale tool to scale by a percentage, follow these steps:
- Select the geometry you want to scale.
- Activate the Scale tool (
 ). A yellow box with green grips appears around your selection.
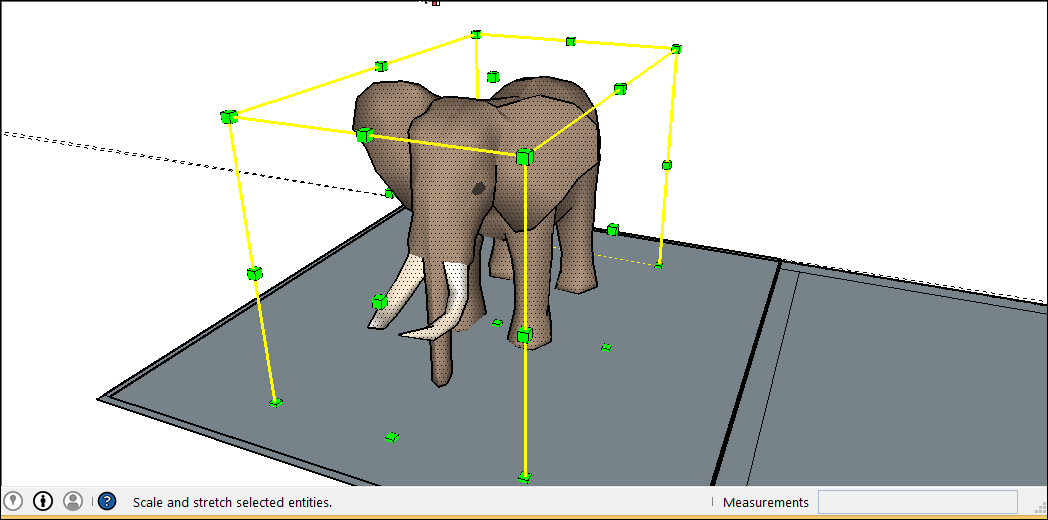
- For a uniform scaling, or one that keeps your selection proportional, click a corner scaling grip. The selected grip and the opposite scaling grip will turn red. The measurements box will display 100%. If you want to make sure scaling doesn’t deform your geometry, try tapping Shift to toggle Scale Uniformly.
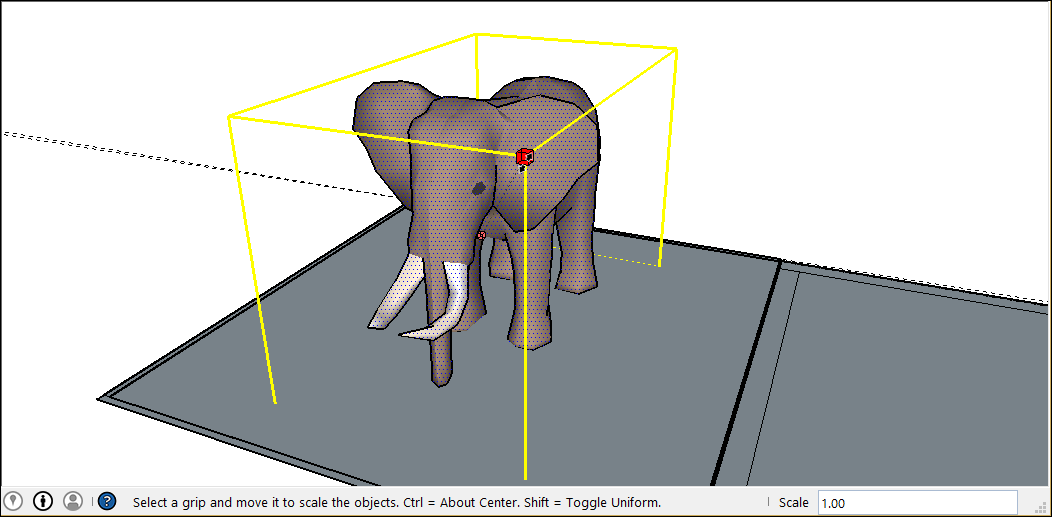
- Move the cursor to scale the entity. The Measurements box displays the scale dynamically. Press the Esc key at any point to start over. To set the scale from the center instead of the opposite corner, tap the Ctrl key (Windows) or the Option key (macOS) to toggle this functionality while you move the red corner grip.
- Click to set your selection's new scale, or type the desired scale dimensions and press Enter.
Scaling to Stretch or Squish
To use the Scale tools edge or face grips to stretch or squish one part of a larger model, follow these steps:
- Select the geometry you want to scale.
- Activate the Scale tool. A yellow box with green grips appears around your selection.
- Click an edge or face grip, not a corner grip. The selected grip and the opposite scaling grip turn red.
- In the Measurements box, you see a scale of 1.00, which means your geometry is at its original size, or scaled to 100%. The Measurements box also displays the axis direction for your scale, such as Blue Scale or Red Scale. If you select an edge grip, you see two axes, such as Red, Green Scale.
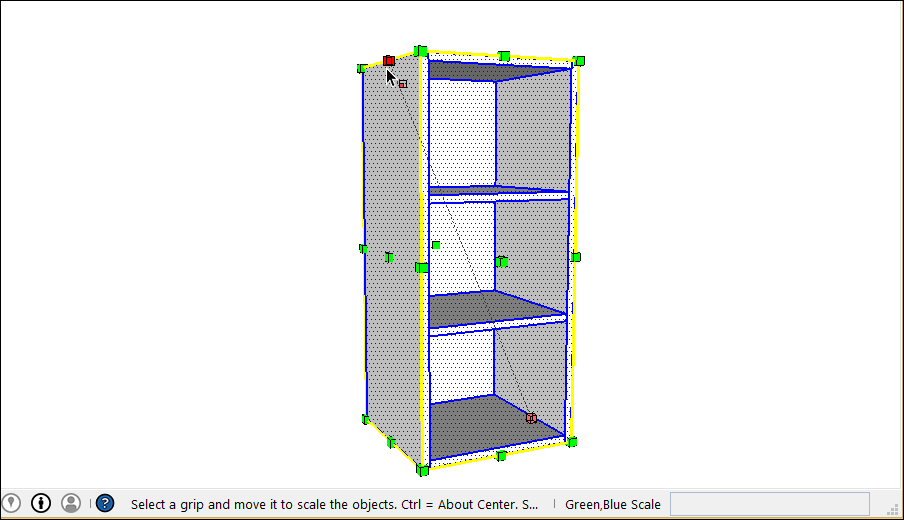
- Move the cursor to scale the entity. The Measurements box displays the scale dynamically. Press the Esc key at any point to start over. To set the scale from the center instead of the opposite edge or face, tap the Ctrl key (Windows) or the Option key (macOS) to toggle this functionality while you move the red corner grip.
- Click to set your selection's new scale, or type the desired scale dimensions in the measurements box and press Enter. Type measurements separated by a comma, to designate a specific measurement for each axis.
Scaling Components
You can use these scale techniques on components as well as everyday geometry. See Components for an overview of what components are and how you can use the different types of components in your models.
The Scale tool can be used on all types of components, including Live Components.
When you scale a component, you can resize either a single instance of the component or all component instances in your model.
Scaling a single component instance
If you have multiple instances of a component in your model, you can choose to only scale a single instance. Doing this allows you to have differently scaled versions of the same component in your model. To scale a single instance, click the component instance with the Scale tool and use the grips to adjust the scale of the component.

Scaling every component instance
To scale every instance of a component, double click to open that component. Dashed lines will appear around the component, and the lines and faces within the component become editable. With the component open, you can scale each part of the component. Any changes you make scales all instances of the component in your model to match.