В SketchUp вы можете изменять размер и форму модели в зависимости от относительных размеров ребер и граней. Выполняйте с помощью инструментов масштабирования SketchUp следующие действия:
- Масштабируйте всю модель с помощью инструмента «Рулетка».
- Изменяйте размер объектов, сохраняя их пропорции, с помощью инструмента Tape Measure (Рулетка) или Scale (Масштаб).
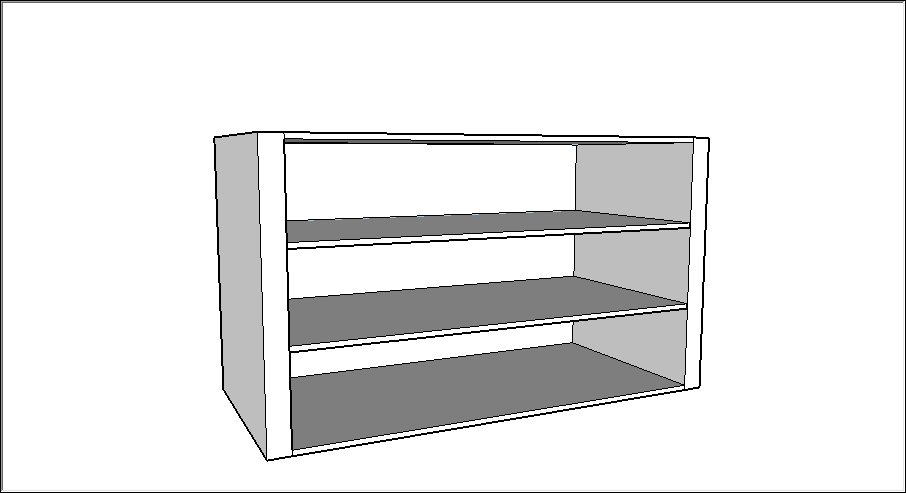
- Растягивайте или сжимайте объект для масштабирования с помощью инструмента Scale (Масштаб). Например, растяните шкаф так, чтобы он был вдвое больше нынешней ширины, или сузьте автомобиль на 5 процентов.
- Масштабируйте один или все компоненты в вашей модели.
Масштабирование всей модели
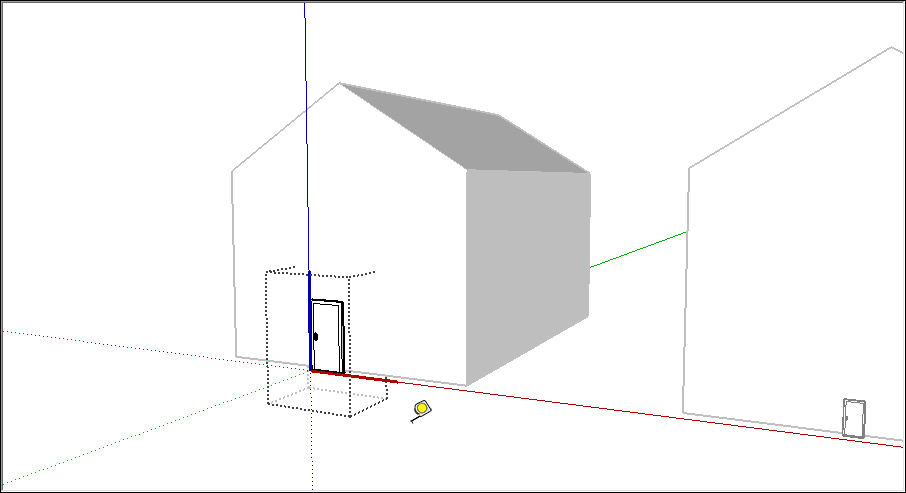
Если вы хотите масштабировать всю модель, используйте инструмент Tape Measure (Рулетка) (![]() ). Инструмент Tape Measure (Рулетка) поможет вам точно выполнить масштабирование, создав контрольную линию. Чтобы сохранить модель, выполните следующие действия:
). Инструмент Tape Measure (Рулетка) поможет вам точно выполнить масштабирование, создав контрольную линию. Чтобы сохранить модель, выполните следующие действия:
- Выберите инструмент Tape Measure (Рулетка) (
 ) или нажмите клавишу T. Курсор примет вид рулетки.
 - Измерьте расстояние между двумя точками на модели, щелкнув один конец отрезка линии, чтобы задать начальную точку измерения.
- Переместите мышь в конечную точку того же отрезка линии. Когда вы перемещаете мышь, временная линия рулетки со стрелками на каждом конце тянется от вашей начальной точки.
Щелкните на другом конце отрезка линии. Окончательное расстояние появится в поле Measurements (Измерения).
- Введите новое значение, до которого вы хотите масштабировать свою модель, в поле Measurements (Измерения) и нажмите Enter.
- Появится диалоговое окно с вопросом, хотите ли вы изменить размер модели. Нажмите Yes (Да), чтобы продолжить.
Масштабирование выделения
Если вы хотите изменить размер геометрического объекта в модели и сохранить пропорции, вы можете использовать инструмент Tape Measure (Рулетка) (![]() ) или инструмент Scale (Масштаб) (
) или инструмент Scale (Масштаб) (![]() ). Используйте инструмент Tape Measure (Рулетка) для измерения определенной линии или края. Используйте инструмент Scale (Масштаб), чтобы изменить размер выделенной области на основе процента от ее исходного размера.
). Используйте инструмент Tape Measure (Рулетка) для измерения определенной линии или края. Используйте инструмент Scale (Масштаб), чтобы изменить размер выделенной области на основе процента от ее исходного размера.
Чтобы масштабировать часть вашей модели с помощью рулетки, выполните следующие действия:
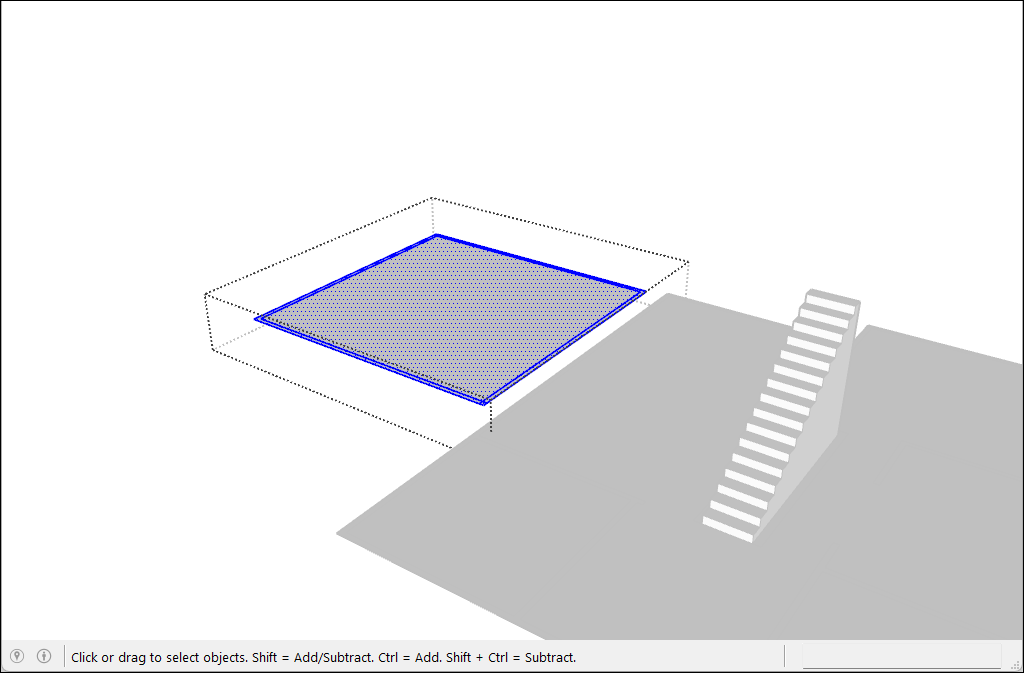
- Выберите объекты, которые вы хотите масштабировать.
- Щелкните выборку правой кнопкой мыши и выберите Make Group (Создать группу).
- Дважды щелкните группу. Вокруг группы появится рамка из пунктирных линий.
- Активируйте инструмент Tape Measure (Рулетка) ().
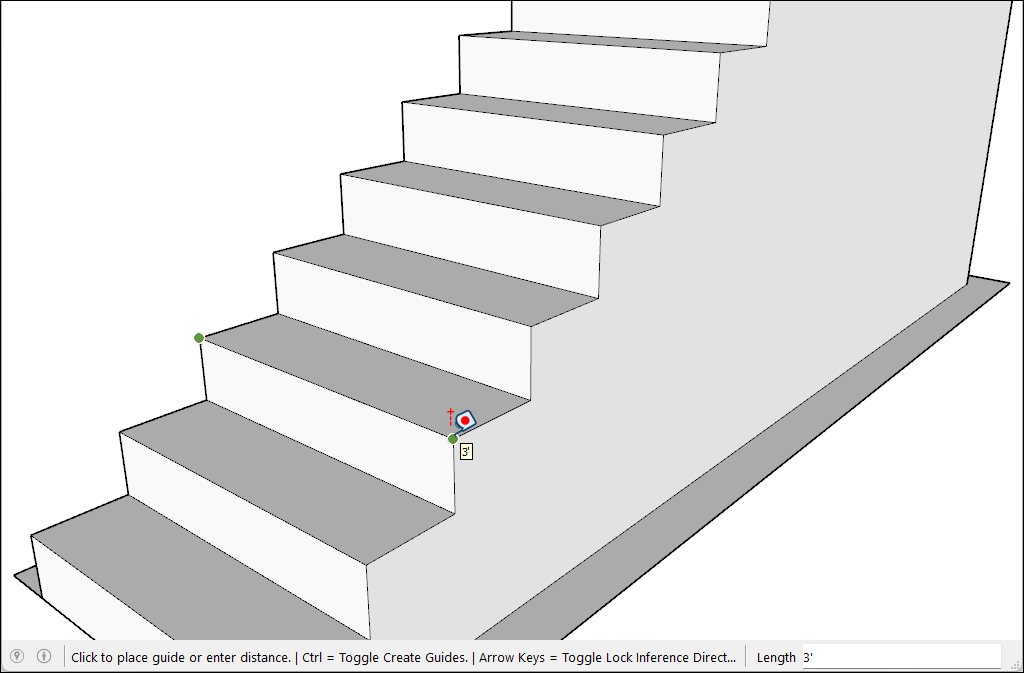
- Щелкните, чтобы разместить первую точку опорной линии.
- Щелкните еще раз, чтобы создать конечную точку опорной линии. Расстояние отобразится в поле Measurements (Измерения).
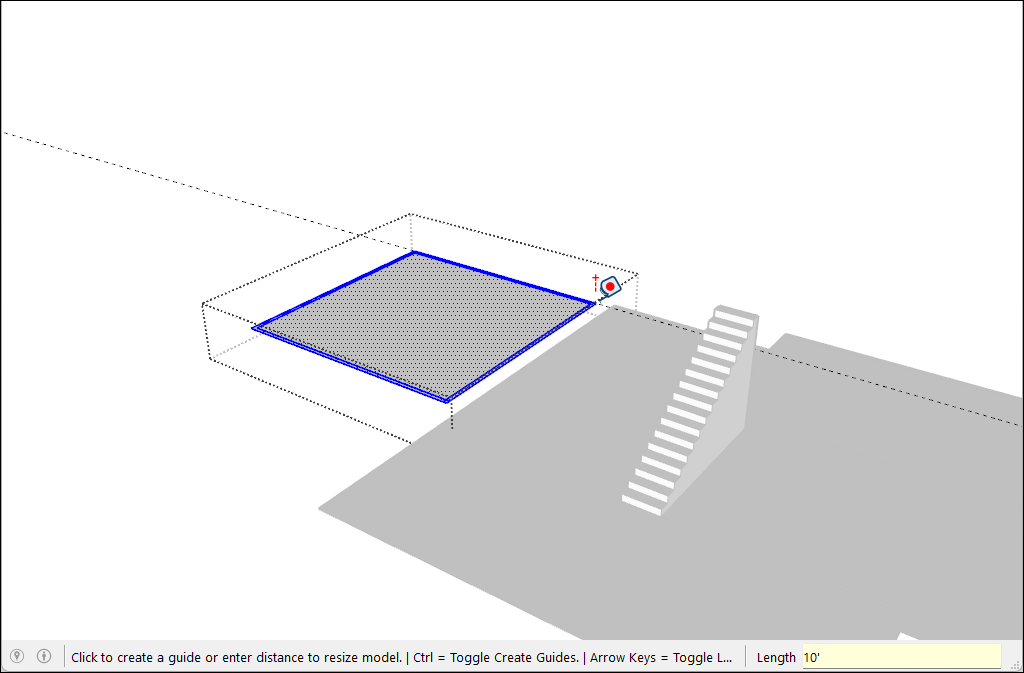
- Введите новый размер линии и нажмите клавишу Enter.
- Появится подтверждение. Нажмите Yes (Да), чтобы завершить операцию.
Чтобы использовать инструмент Scale (Масштаб) для масштабирования в процентах, выполните следующие действия:
- Выберите геометрический элемент, который вы хотите масштабировать.
- Активируйте инструмент Scale (Масштаб) (
 ). Вокруг вашей выборки появится желтая рамка с зелеными ручками.
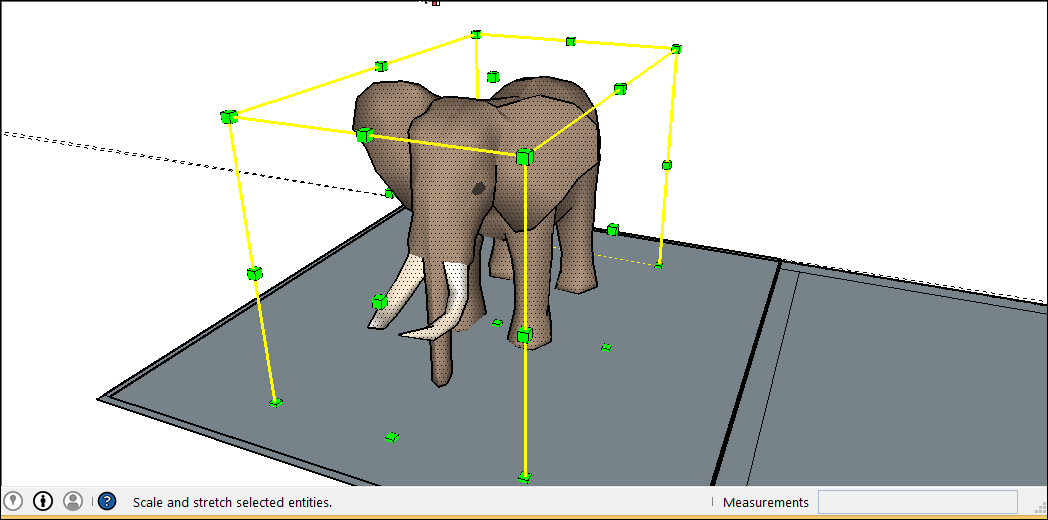
- Для равномерного масштабирования или сохранения пропорций выборки щелкните угловую ручку масштабирования. Выбранная ручка и противоположная ей ручка масштабирования станут красными. В поле измерений отобразится 100 %. Если нужно, чтобы масштабирование не привело к деформированию геометрических объектов, попробуйте нажать Shift, чтобы включить функцию Scale Uniformly (Масштабировать равномерно).
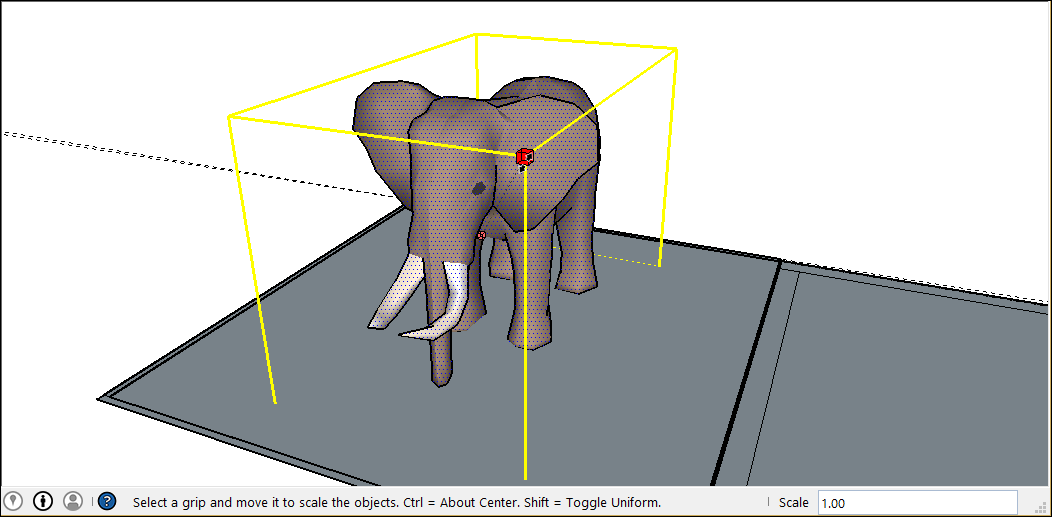
- Переместите курсор, чтобы масштабировать объект. В поле Measurements (Измерения) масштаб отображается динамически. Чтобы начать все заново, в любой момент нажмите клавишу Esc. Чтобы установить масштаб из центра, а не из противоположного угла, удерживайте клавишу Ctrl (Windows) или клавишу Option (macOS), перемещая красную ручку угла для переключения функциональности.
- Щелкните, чтобы установить новый масштаб вашей выборки. Или введите желаемые размеры шкалы и нажмите Enter.
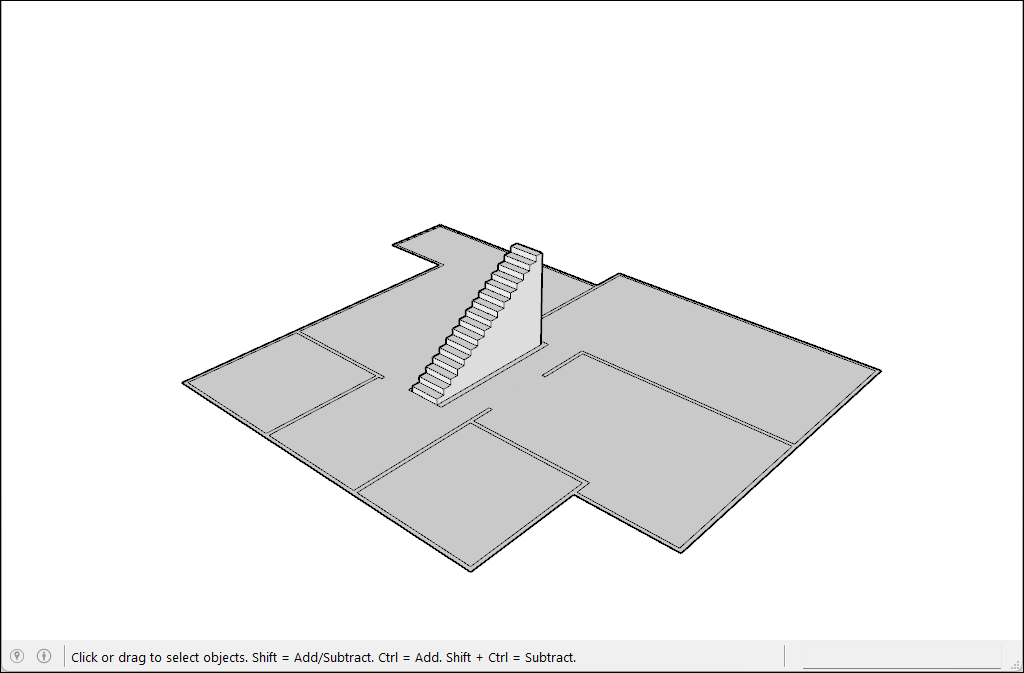
Масштабирование для растяжения или сжатия
Чтобы использовать ручки по краям или граням инструмента Scale (Масштаб) для растягивания или сжатия одной части более крупной модели, выполните следующие действия:
- Выберите геометрический элемент, который вы хотите масштабировать.
- Активируйте инструмент «Масштаб». Вокруг вашей выборки появится желтая рамка с зелеными ручками.
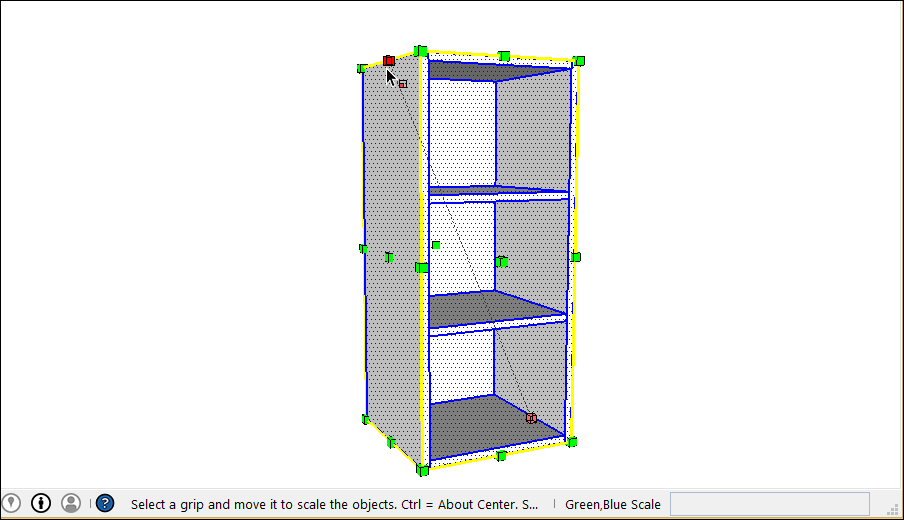
- Щелкните ручку ребра или грани (не угловую ручку). Выбранная ручка и противоположная ей ручка масштабирования станут красными.
- В поле Measurements (Измерения) отображается масштаб 1,00. Это означает, что геометрический объект имеет исходный размер или масштабирована до 100 %. В поле Measurements (Измерения) также отображается направление оси для вашей шкалы, например синяя шкала или красная шкала. Если вы выберете ручку ребра, вы увидите две оси: красную и зеленую шкалу.
- Переместите курсор, чтобы масштабировать объект. В поле Measurements (Измерения) масштаб отображается динамически. Чтобы начать все заново, в любой момент нажмите клавишу Esc. Чтобы установить масштаб от центра, а не от противоположного ребра или грани, удерживайте клавишу Ctrl (Windows) или клавишу Option (macOS), перемещая ручку красного угла для переключения функциональности.
- Щелкните, чтобы установить новый масштаб вашей выборки. Или введите желаемые размеры шкалы в поле измерения и нажмите Enter. Введите измерения, разделенные запятой, чтобы обозначить конкретное измерение для каждой оси.
Масштабирование компонентов
Вы можете использовать эти методы масштабирования как для компонентов, так и для геометрических объектов в повседневной работе. В разделе Компоненты приведен обзор компонентов и возможностей использования их различных типов в моделях.
Инструмент Scale (Масштаб) можно использовать для всех типов компонентов, включая динамические.
При масштабировании компонента вы можете изменить размер одного экземпляра компонента или всех экземпляров компонента в вашей модели.
Масштабирование одного экземпляра компонента
Если в модели имеется несколько экземпляров компонента, можно масштабировать только один экземпляр. Таким образом можно использовать в модели версии одного и того же компонента с разным масштабом. Чтобы масштабировать отдельный экземпляр, щелкните экземпляр компонента с помощью инструмента Scale (Масштаб) и используйте ручки для изменения масштаба компонента.

Масштабирование каждого экземпляра компонента
Чтобы масштабировать каждый экземпляр компонента, откройте компонент двойным щелчком. Вокруг компонента появятся пунктирные линии, а линии и грани внутри компонента станут доступными для редактирования. Когда компонент открыт, можно масштабировать каждую его часть. При любых внесенных изменениях все экземпляры компонента в модели масштабируются в соответствии с ними.