Many models start with basic shapes. In SketchUp, the shape tools help you draw rectangles, circles, and polygons. You find these tools on the Getting Started toolbar, the Drawing toolbar, and the Large Tool Set toolbar.
Drawing a rectangle or square
In SketchUp, you can draw rectangles pretty much anywhere:
- On the ground plane
- On a vertical plane
- On existing faces
- Separate from existing geometry (aligned to an axes plane)
- Inferenced from existing geometry
To draw a rectangle with the Rectangle tool, follow these steps:
Select the Rectangle tool (
 ) from the toolbar or press the R key. Tip: To start over at any point during these steps, press Esc.
- Move the cursor diagonally to find the desired size and shape for your rectangle. To draw the rectangle with precise dimensions, use the Measurements box.
- Use SketchUp’s inference engine to see how the rectangle relates to existing geometry.
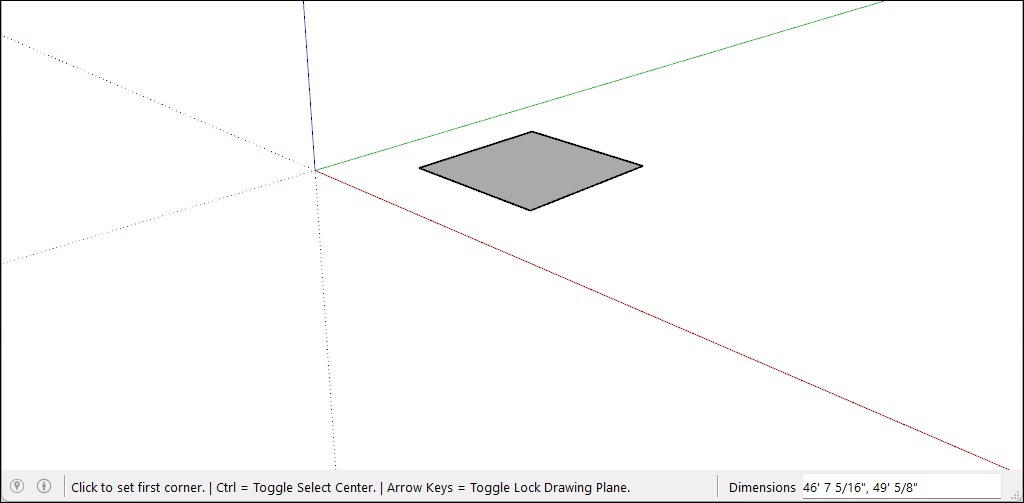
As you draw a rectangle, the Measurements box helps you model precisely as follows:
- The length and width. Type a length value, a comma, a width value, and then press Enter. For example, type 8‘,20’ and press Enter. If you type only a number or numbers, SketchUp uses the current document units setting. You can also override the document units setting by specifying imperial (such as 1’6") or metric (such as 3.652m) units.
- Only the length or width. If you enter a value and a comma (3‘,), the new value is applied to the first dimension, and the second dimension doesn’t change. Similarly, if you type a comma and then a value (,3’), only the second dimension changes.
- The rectangle’s position. If you enter a negative value (–24, –24), SketchUp applies that value in a direction opposite to the one that you indicated while drawing.
As you move your cursor with the Rectangle tool selected, the SketchUp inference engine displays the following cues:
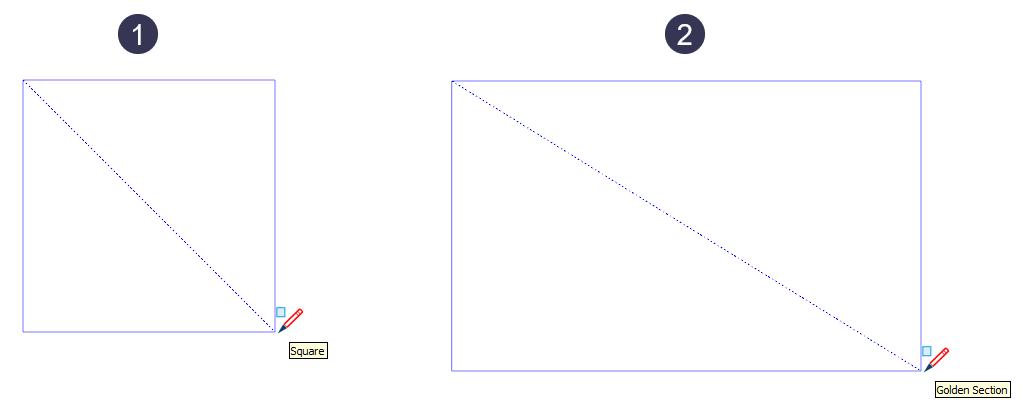
- Square: When the rectangle’s proportions are a perfect square, you see blue dots and the Square ScreenTip appear.
Golden section: A golden section is a rectangle in which the ratio of the longer side to the shorter side is a golden ratio. When a rectangle is a golden section, blue dots and the Golden Section Screen tip appear.
You can hold down the Shift key to lock this inference while dragging.
In the video, you can see these features of the Rectangle tool in action.
Drawing a rotated rectangle
The Rotated Rectangle Tool draws rectangles at an angle to SketchUp's default red, green, or blue axes or to other geometry.
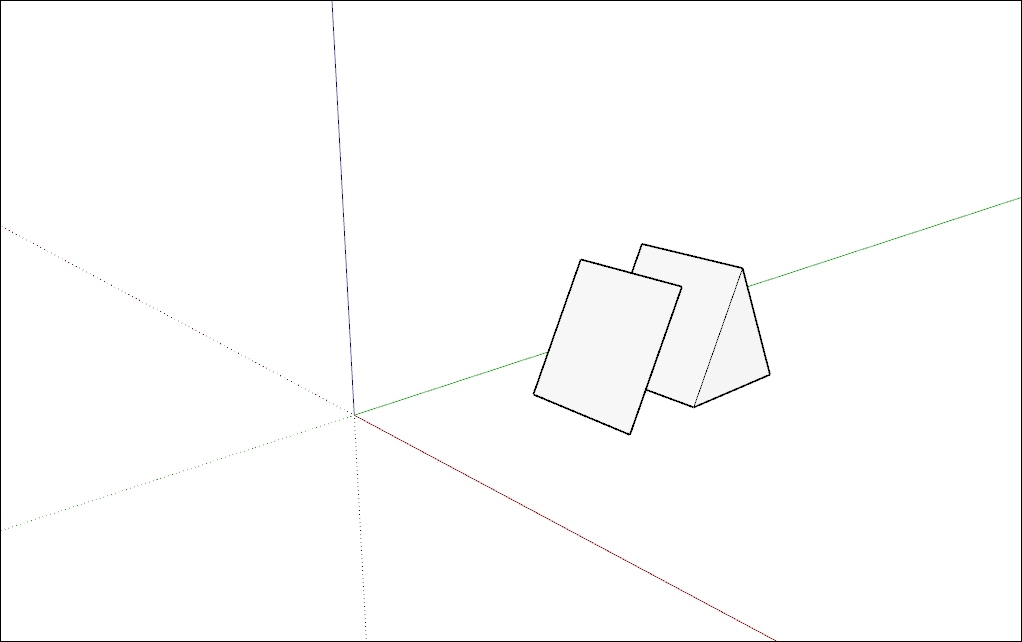
To create a rotated rectangle, follow these steps:
- On the toolbar, from the Shape Tools menu, select the Rotated Rectangle tool (
 ). Or select Draw > Shapes > Rotated Rectangle from the menu bar.
 - (Optional) Press an arrow key to set the plane for your rotated rectangle. For example, press the left arrow key to constrain the plane of your rotated rectangle to the green plane.
- Click once to set the first corner of your rectangle.
- Create the first edge of your rotated rectangle by:
- Typing a precise measurement and press Enter.
Or moving the cursor to where you want to place the second endpoint of the edge using the SketchUp inference engine.
Tip: You can use a few modifier keys as you complete this step. Hold down the Shift key to keep the first edge to its current direction. The Alt (Windows) or Command (macOS) key locks the protractor plane. The arrow keys can help align the first edge to an axis.
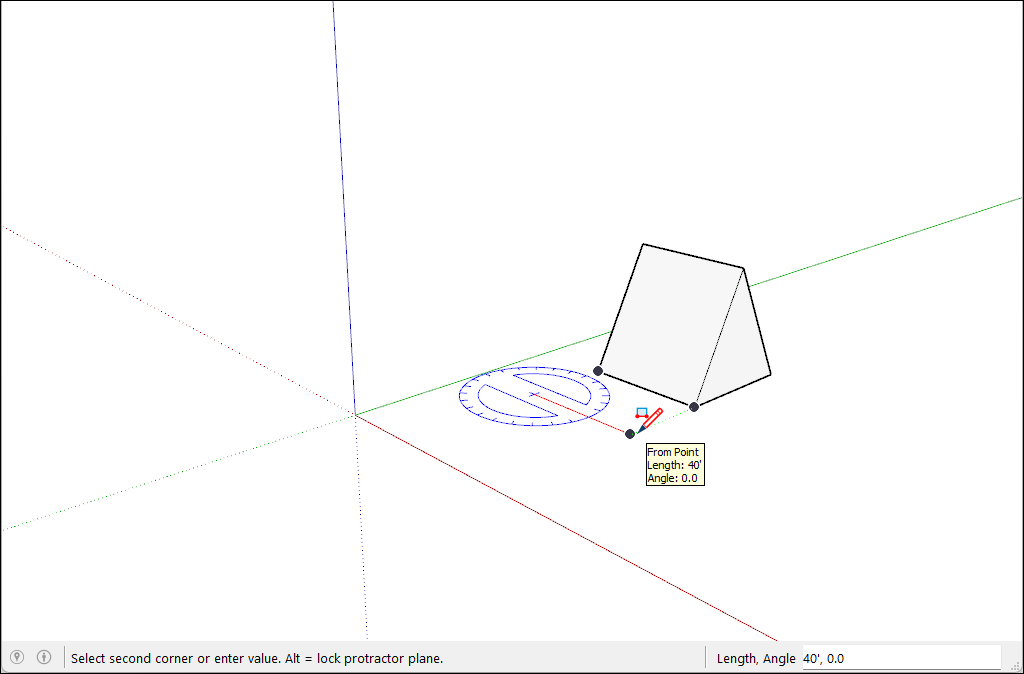
- Set the width and angle of your rectangle by moving the protractor to set the angle. Move your cursor away from the center of the protractor to set the width. To constrain the angle, hold down the Shift key.
- Click to finish creating the rotated rectangle.
Drawing a circle or ellipse
Before you draw a circle, it’s helpful to understand how SketchUp creates circle entities:
- Circle entities have a radius and connect multiple line segments.
- These segments act as a single line by defining the edge of a face and dividing a face. Selecting one segment selects the entire circle entity.
- SketchUp’s inference engine still sees the segments in the circle. So, if you hover your mouse around the circumference of the circle entity, you’ll see endpoint and midpoint inferences.
To draw a circle, follow these steps:
On the toolbar, select the Circle tool (
 ) or press the C key. The Measurements box indicates the default number of sides. To change the number of sides, type a value in the Measurements box.
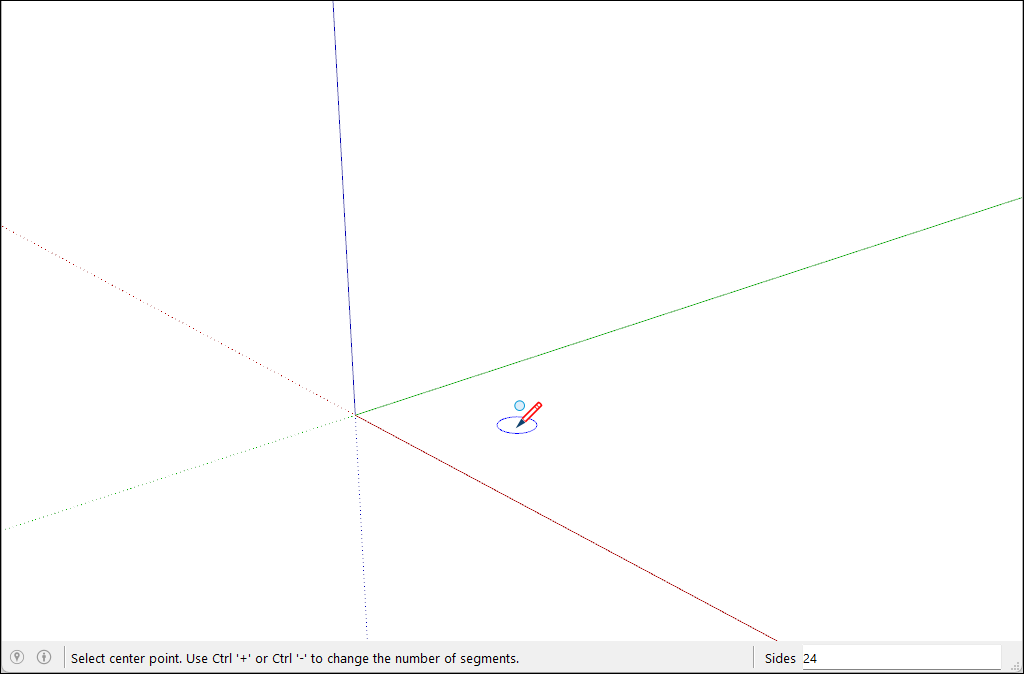
- Move the cursor out from the center point to define the circle’s radius. As you move the cursor, the radius value is displayed dynamically in the Measurements box. Press Esc at any point to start over.
- Click to finish the circle. SketchUp creates a circle-shaped face, as shown in the figure.
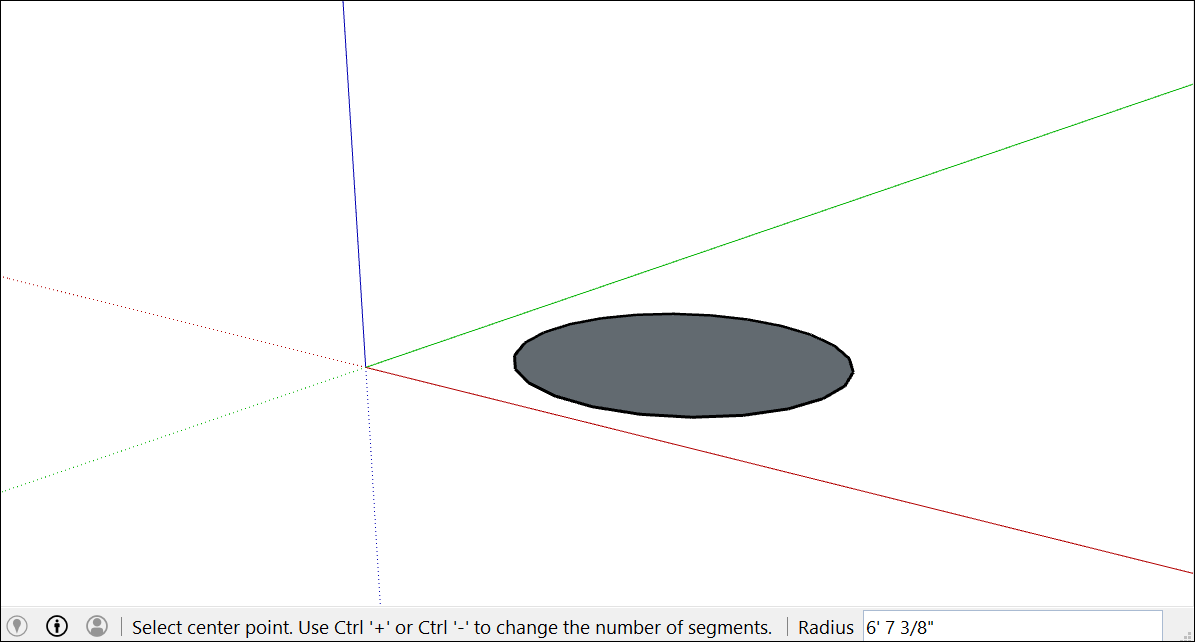
- (Optional) Until you select a new tool or draw a new circle, you can use the Measurements box to change the circle’s radius or the number of sides:
To change the radius: Type a number and a unit (if desired), such as 6”, 8’, 34cm, or 7m. Then press Enter or Return.
Tip: The Entity Info dialog box offers a handy way to edit the sides and radius values anytime. See Editing shapes later in this article for details.
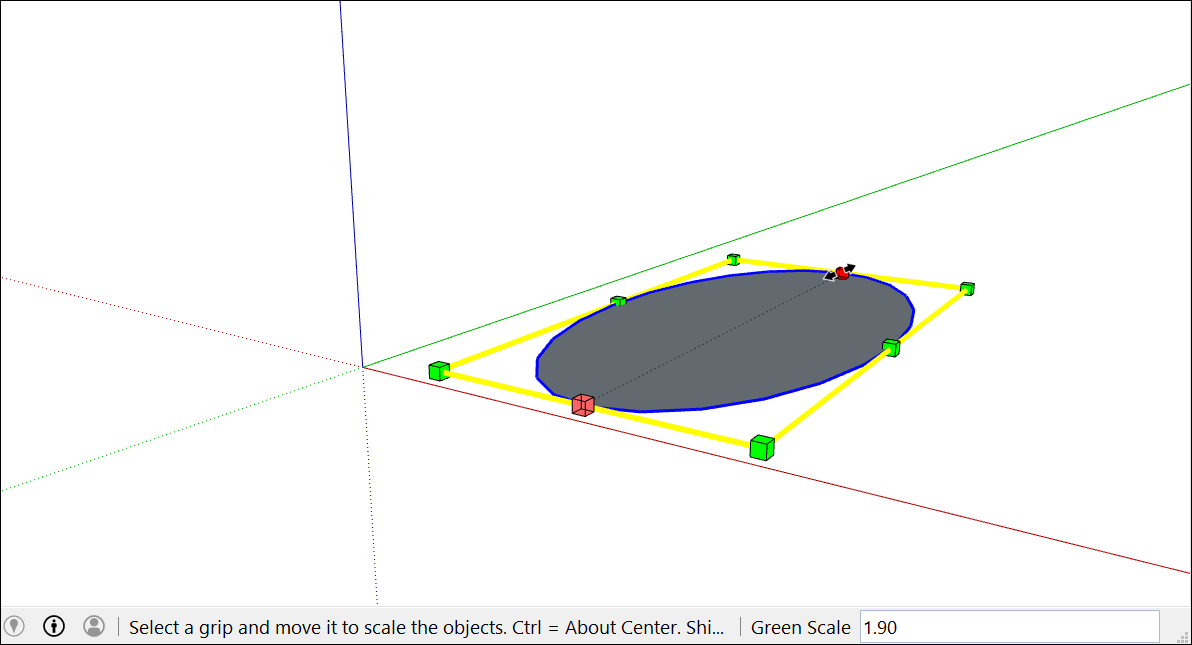
To draw an ellipse or oval, follow these steps:
- Draw a circle with the Circle tool.
- Select the Scale tool (
 ).
). - Click the circle. A bounding box with eight green grips is displayed around the circle.
- Click one of the middle grips (not one of the corner grips) and move the mouse to pull the circle into an ellipse, as shown here.
- Click again when you’re done scaling the circle.
Drawing a polygon
You can create polygon entities with the Polygon tool. Here are a few facts that may come in handy when you create them:
- In SketchUp, a polygon has a radius and 3 or more sides measured from a center point. The number of sides determines the type of polygon you draw. A pentagon has 5 sides; an octagon has 8 sides.
- Polygon entities act as a single line both defining an edge and dividing a face. Selecting one side of the polygon selects the entire polygon.
- The SketchUp inference engine sees each side of a polygon as a segment. As you hover your cursor over a polygon, you see endpoint, midpoint, and from point inferences.
- You can draw polygons on faces or separate from existing geometry.
Follow these steps to draw a polygon:
- Select the Polygon tool (
 ) on the toolbar. The Measurements box indicates the current number of sides. To change the number of sides in your polygon, type a number value.
 - Move the cursor out from the center point to define the radius of your polygon. As you move the cursor, the radius value is displayed dynamically in the Measurements box. To specify the radius, type a value and press Enter. You can also press Esc to start over.
Click a second time to finish the polygon.
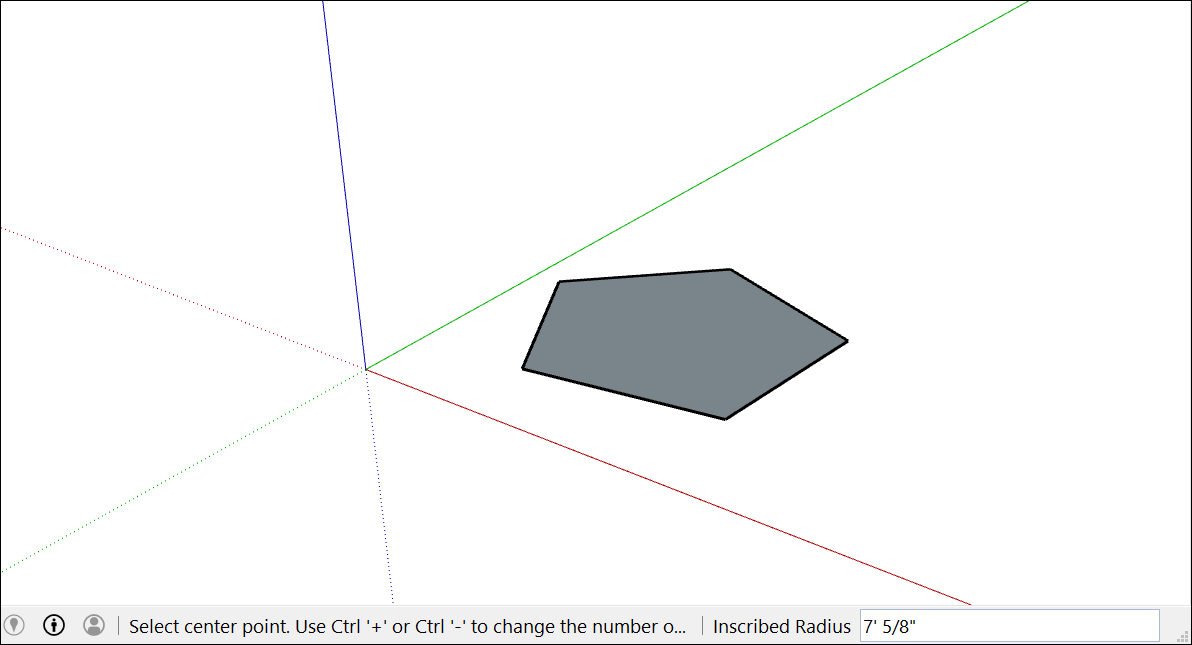
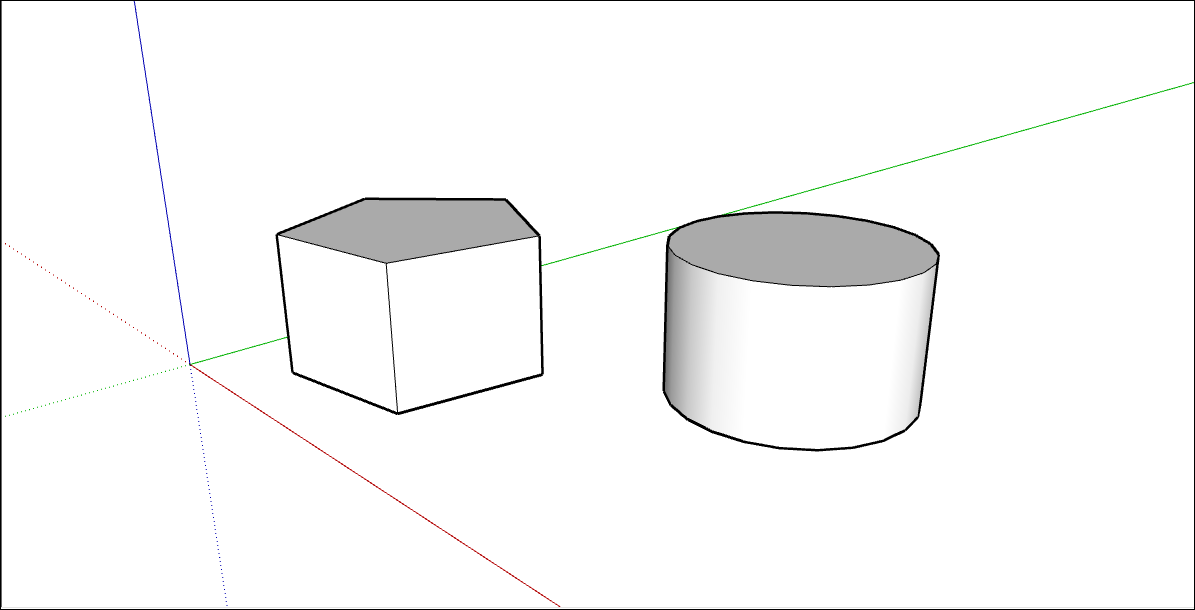
(Optional) Until you select a new tool or draw a new polygon, you can use the Measurements box to change the radius or the number of sides. Although the Polygon tool works similarly to the Circle tool, when you push/pull a circle or polygon into a 3D shape the circle’s edges look smooth, but a polygon’s edges show distinct sides.
Editing shapes
The Entity Info dialog box can help you change a circle or polygon’s radius or sides anytime after you create the shape. To make changes to a shape you have drawn:
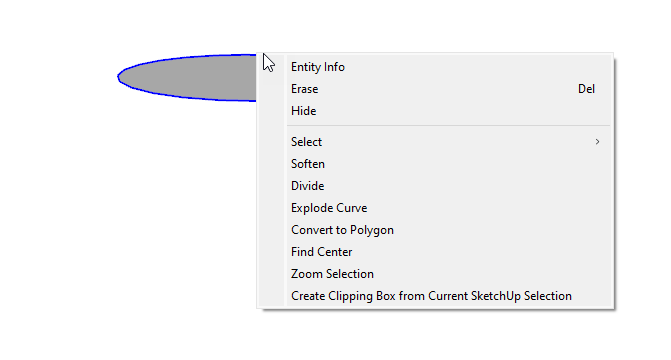
- Context-click an edge (not the face) of a circle or polygon that you want to edit.
Select Entity Info from the context menu that appears, as shown here.
- In the Entity Info panel, click in the Radius or Segments box, change the value, and press Enter (Microsoft Windows) or Return (Mac). After you press Enter or Return, your shape reflects your changes.