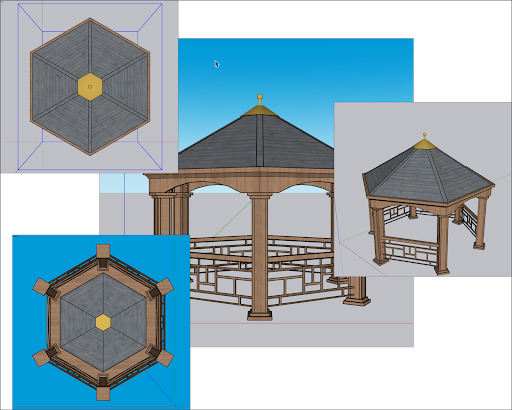
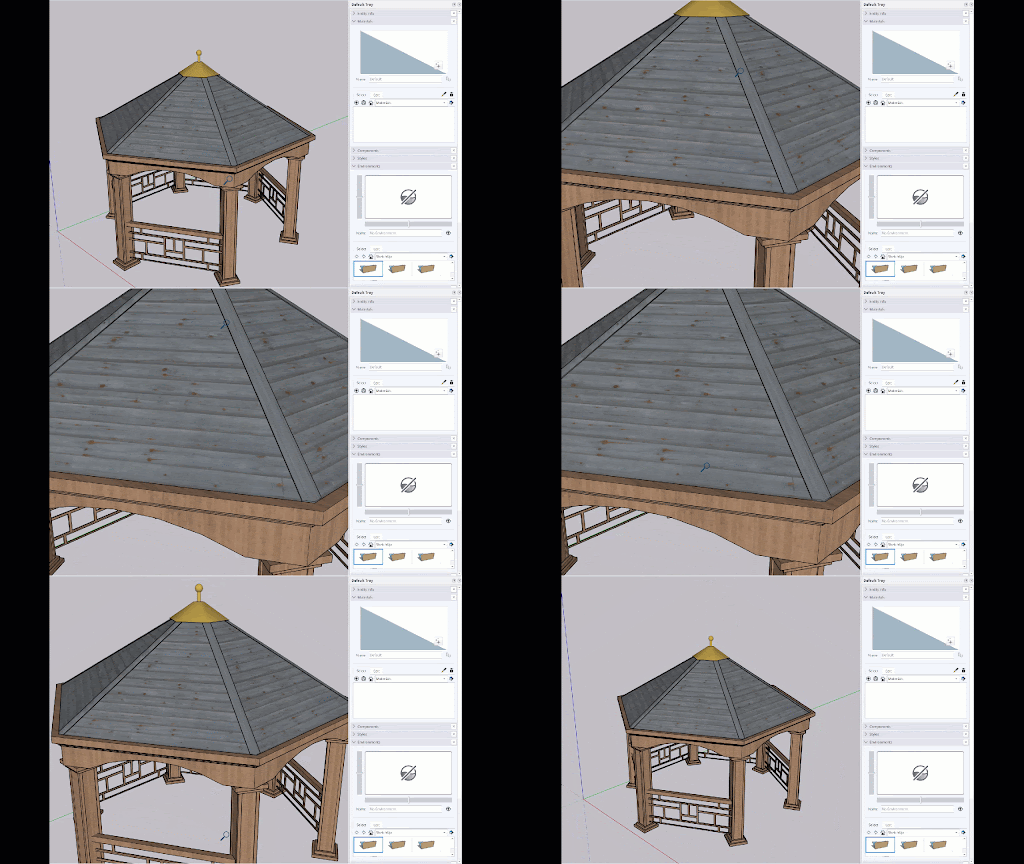
As you create a model in 3D, you need to view it from all sides. In SketchUp, you orbit, zoom, and pan all the time as you draw:
- Orbit: When you orbit, you move around, above, or below your model.
- Zoom: Zoom in to focus on a specific area as you draw, and zoom out to see more of your model.
- Pan: Move left, right, up, or down.
SketchUp’s Camera menu contains default top, bottom, left, right, front, back, and iso views. Each view helps you see your model from a different perspective.

SketchUp’s Camera menu also offers three perspective options that change how you view your model:
- Parallel Projection: Also known as an orthographic view, lines will appear parallel in both 3D and 2D space. Line lengths are at scale.
- Perspective: SketchUp’s default view. Lines vanish as they approach the horizon. Some entities may seem closer while other items appear far away. Entities are not to scale.
- Two-Point Perspective: Illustrators often use a two-point perspective when drawing 3D buildings and concept art. In SketchUp, choosing this view aligns your perspective so that the view has two vanishing points.
SketchUp remembers your views as you move from one to the next. To return to the preceding view, select Camera > Previous. After you return to a view, you can move to a later view by selecting Camera > Next.
Orbiting around a 3D model
Orbiting enables you to view geometry from the outside. To rotate the camera about a model, activate the Orbit tool (![]() ), which you find in the following areas of the SketchUp interface:
), which you find in the following areas of the SketchUp interface:
- Camera > Orbit on the menu bar
- Camera toolbar (Microsoft Windows)
- Getting Started toolbar
- Large Tool Set toolbar
- Tool palette (macOS)
You can temporarily activate the Orbit tool while using another tool using your mouse. On a three-button mouse, click and hold the scroll wheel. For a one-button mouse, hold down Ctrl + CMD/Windows and click the mouse button.
To orbit using the Orbit tool, follow these steps:
- Select the Orbit tool (
 ) or press the O key.
 - Click anywhere in the drawing area.
- Move your cursor in any direction to rotate around the center of the drawing area.
Beyond basic orbiting, the Orbit tool can do a few other tricks:
- To center a model in the drawing area, double-click in the drawing area.
- To roll the camera on its side as you orbit, press and hold the Ctrl key (Microsoft Windows) or Option key (macOS). This suspends the Orbit tool’s built-in sense of gravity, which keeps vertical edges pointed up and down.
Panning side to side and up and down
When you pan, SketchUp’s camera (your view) moves vertically or horizontally. Here’s where you find the Pan tool (![]() ):
):
- Camera > Pan on the menu bar
- Camera toolbar (Microsoft Windows)
- Getting Started toolbar
- Large Tool Set toolbar
- Tool palette (macOS)
To temporarily switch to the Pan tool while you’re in another tool:
- On a three-button scroll wheel mouse, hold down the scroll wheel and the left mouse button.
- On a one-button mouse or trackpad, press and hold the Control, Command, and Shift keys simultaneously while holding down the mouse button.
- On any mouse, if the Orbit tool is selected, press and hold the Shift key.
To use the Pan tool (![]() ) select it or press the H key. In the drawing area, click and drag the cursor in any direction.
) select it or press the H key. In the drawing area, click and drag the cursor in any direction.
Zooming in and out
As you draw a 3D model, zooming in can help you align edges and faces more precisely, whereas zooming out enables you to see your overall model or re-orient yourself so you can find a different part of your model to work on.
SketchUp also has two specialized zoom tools, Zoom Extents (![]() ) and Zoom Window (
) and Zoom Window (![]() ).
).
In the SketchUp interface, here’s where you find the Zoom tool (![]() ):
):
- Camera > Zoom on the menu bar
- Camera toolbar (Microsoft Windows)
- Getting Started toolbar
- Tool palette (macOS)
You can zoom while using another tool with the scroll wheel of a three-button mouse. Scroll up to zoom in or down to zoom out. When you zoom by scrolling, SketchUp uses your cursor as the zoom’s center point.
To use the Zoom tool (![]() ) select it or press the Z key. Click and drag up to zoom in or click and drag down to zoom out. When you zoom by dragging the Zoom tool cursor, SketchUp zooms in or out from the center of the screen.
) select it or press the Z key. Click and drag up to zoom in or click and drag down to zoom out. When you zoom by dragging the Zoom tool cursor, SketchUp zooms in or out from the center of the screen.

To instantly make your whole model visible and centered in the drawing area, click the Zoom Extents tool (![]() ) or press Shift+Z. You can also find Zoom Extents in:
) or press Shift+Z. You can also find Zoom Extents in:
- Camera > Zoom Extents on the menu bar
- The Camera toolbar (Microsoft Windows)
- The Getting Started toolbar
- The Large Tool Set toolbar
- The Tool palette (macOS)
To zoom in on a specific rectangular portion of your model, use the Zoom Window tool. You find Zoom Window in the same places where you find the Zoom and Zoom Extents tools. To zoom in on a portion of your model select the Zoom Window tool (![]() ). Click and drag to make a box appear around the area that you want to zoom in on. When you release the mouse button, everything in the box you drew fills the drawing area.
). Click and drag to make a box appear around the area that you want to zoom in on. When you release the mouse button, everything in the box you drew fills the drawing area.
Changing the field of view or focal length
A lesser-known Zoom tool feature is changing the field of view, or how much of your model you can see. Because your view in SketchUp is like looking through a camera, you can adjust the field of view in degrees or millimeters.
To adjust the field of view or focal length, follow these steps:
- Select the Zoom tool or press the Z key. You can also select Camera > Field of View from the menu bar.
- Type a value in degrees or millimeters.
- To manually adjust the field of view, hold down the Shift key while dragging the Zoom tool.