The first page you see when launching Add Location is Geolocate Model. Begin by narrowing down your location. Add Location will use your current location by default. You can specify a specific address, zip code, or location name in the box provided. As you type, SketchUp offers suggestions that match what you entered.
After choosing a location, the latitude, longitude, and elevation will appear in the left side of the window and a map of that location with your model placed in the center appears on the right. An arrow representing true north appears on top of your model along with the option to adjust the true north offset.
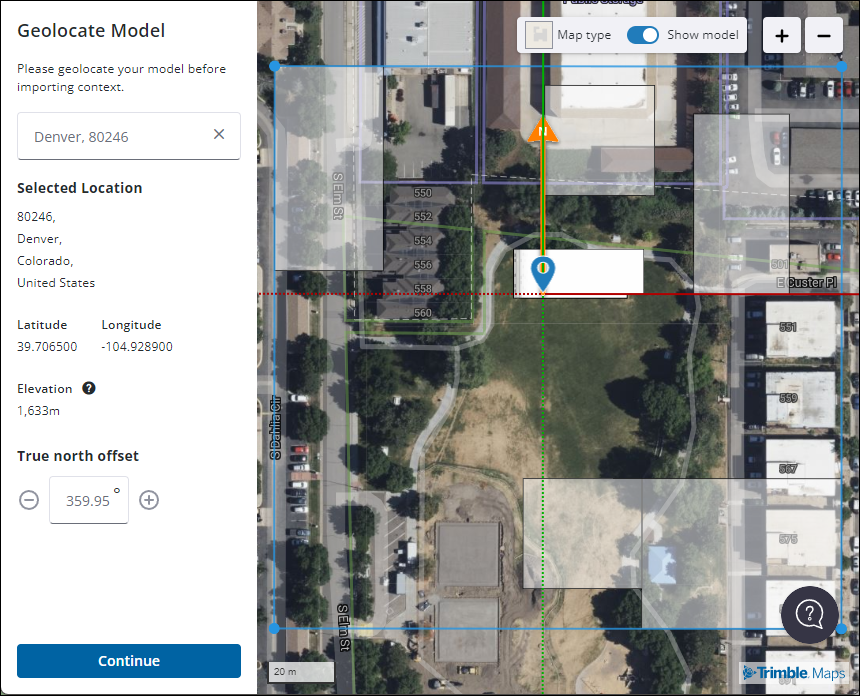
To zoom in and out, use the controls in the upper right or scroll with your mouse. To move your model, drag and drop the pin attached to it. As you move your model, you’ll see coordinates representing the latitude, longitude, and the true north offset in the left panel update to match your movements.
Once you are satisfied with the placement of your model click Continue to proceed to Add Site Context. You can then add site context using the options provided or click Skip Import to exit without importing terrain while retaining your geolocation data.