The LayOut Circle (![]() ) and Ellipse (
) and Ellipse (![]() ) tools let you draw circles and ellipses. These tools appear in both the Main and Drawing toolbars. You can also access the tools by selecting Tools > Circles from the menu and clicking the tool you would like to use.
) tools let you draw circles and ellipses. These tools appear in both the Main and Drawing toolbars. You can also access the tools by selecting Tools > Circles from the menu and clicking the tool you would like to use.
You can draw a circle or ellipse using your mouse. For a more precise shape, typing coordinates and values that define your shape, such as the length of the radius in the Measurements box, specifies an exact size.
As you draw a circle or ellipse, the below tips can be useful to keep in mind.
- You can switch between drawing by hand and using measurements, as needed. For example, you might use the mouse to place a circle’s center point but use the Measurements box to set an exact radius or diameter after you have drawn the shape.
- If you make a mistake, press the Esc key to start over.
- Absolute coordinates are relative to the drawing area’s upper-left corner. For example, to enter an absolute coordinate that’s 4 inches along the X axis and 4.5 inches down the Y axis for an ellipse, type
[4",4.5"].
Drawing a Circle
To draw a circle, follow the below steps:
Click the Circles icon (
 ) on the toolbar. Make sure Circle is selected in the dropdown if necessary. You can also select Tools > Circles > Circle.
- Click to place the circle’s center point.
- Draw the circle according to one of the below methods.
- Freehand: To visually define the circle's radius by hand, move the cursor away from the center point and click to set the circle's size.
Measuring: After you draw a circle by hand, type a radius or diameter value in a unit of measure.

Measuring: After you designate the circle's center point, type the radius or diameter.
Note: The radius value that you type in a unit of measure, such as inches or meters, is slightly different from what you type as the diameter value. For example, for a 5-inch radius, type5". For a 5-inch diameter, type5" d. If you don't specify a unit of measure, LayOut uses the default unit for the template you chose. You can specify a new default through the Units section of Document Setup. For more information, see Document Setup.- Press Enter (Microsoft Windows) or Return (Mac OS) if you entered exact coordinates or measurements.
Drawing an Ellipse
To draw an ellipse, follow the below steps. (There is more than one way to create an ellipse.)
Click Circles (
) on the toolbar and select Ellipse ( ) from the dropdown menu. You can also select Tools > Circles > Ellipse.
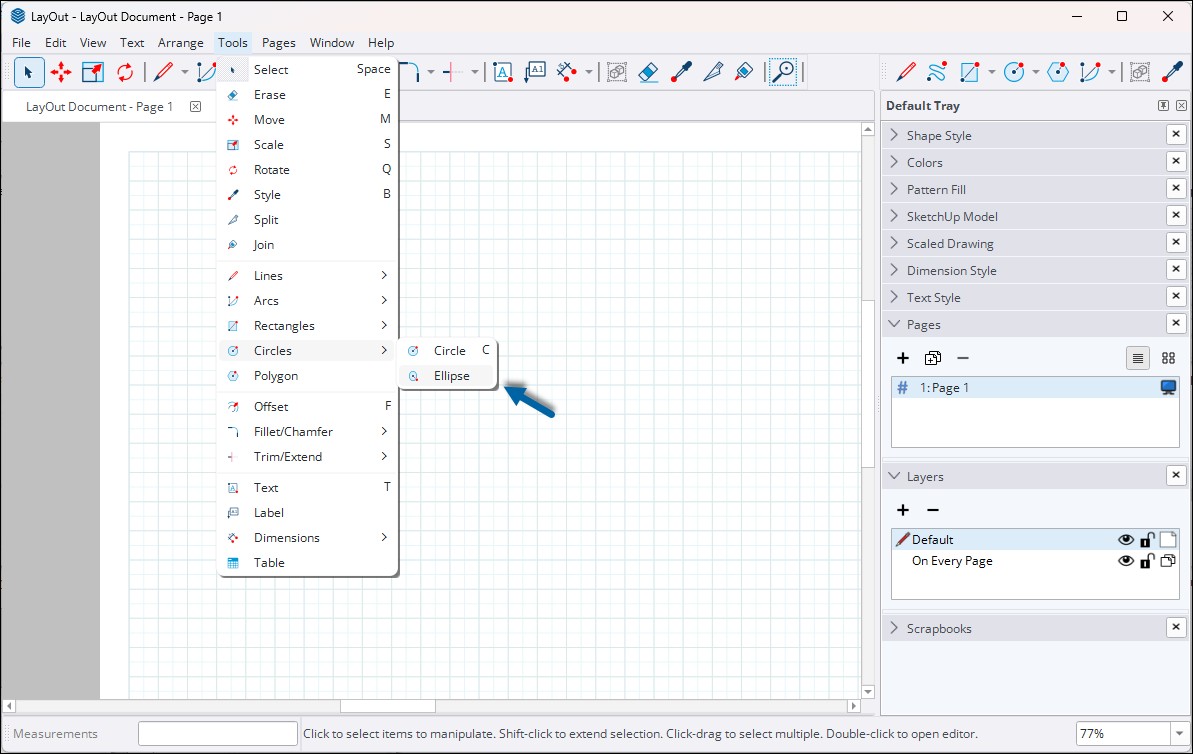
- To place the ellipse’s starting point, click in the drawing area.
- To define the shape of the ellipse by hand, move the cursor away from the starting point. You also have the following options:
- To constrain the ellipse to a circle, hold down the Shift key.
- To draw the ellipse from the center (instead of the upper left), hold down the Ctrl (Microsoft Windows) or Option (MacOS) key.
To size the ellipse precisely, type absolute coordinates for the end point or type width and height dimensions. The location of your mouse affects the dimensions’ direction. For example, to draw an ellipse that expands to the lower-left and is 4 inches wide and 3 inches high, type
4,3and press Enter (Microsoft Windows) or Return (MacOS). The following figure shows the ellipse before typing the dimensions (left) and after (right).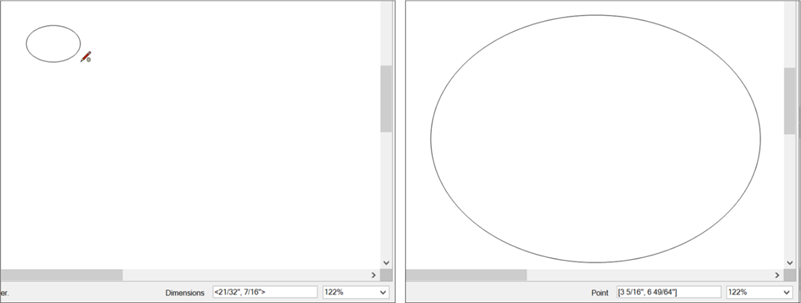
- If you used precise measurements, you’re done. If you’re using the mouse, click to finish creating the ellipse.