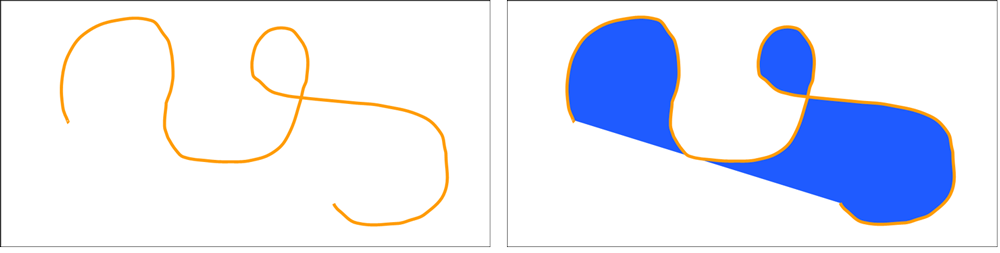
To draw the most basic lines in your LayOut document, you can use the orderly Line tool to draw straight lines or its freewheeling cousin, the Freehand tool, to draw loopy swerving lines any which way you like. You see an example of both in the following figure.
Each tool has a few tricks and secrets, as explained in the following sections.
Table of Contents
Drawing straight lines
Predictably, you draw lines with the Line tool (![]() ), which you find on the default toolbar or the Tools menu.
), which you find on the default toolbar or the Tools menu.
To draw a line or lines, follow these steps:
- Select the Line tool.
- To place the line’s starting point, click in the drawing area or set a precise location using the Measurements box. For details about using the Measurements box to draw lines, see the following table. To lock the line to the red or green axis, hold down the Shift key. (See Drawing Lines and Shapes for an introduction to LayOut’s inference engine.)
To place the line’s end point, double-click in the drawing area. (Alternately, you can select a new tool.)
Tip: If you single-click, LayOut treats the line’s end point as the starting point for another line, which is a handy way to draw polylines and unique closed shapes with the Line tool. To end a polyline, double-click or click the endpoint of another line.
Draw a line using coordinates
When you select the Line tool, the Measurement’s box is ready for you to type precise points, or coordinates, to define your line. Here’s how to use the Measurements box:
- Click in the drawing area or type an absolute coordinate value to set the starting point. Absolute coordinates are measured from the upper-left corner of the drawing area. For example, to set the starting point shown in the following figure, type an absolute coordinate of [2“,3”] and press Enter (Microsoft Windows) or Return (Mac OS X).
- After you define the first coordinate, you can define the second coordinate, or end point, with one of three coordinate types: absolute, relative, or polar. In the following figure, the end point was created with the absolute coordinates [5“,8”].
- After you type the end point coordinates, press Enter or Return, and your line appears precisely as you indicated.

| Coordinate Type | How It Works | Example |
|---|---|---|
| Absolute | Values are measured from the upper left of the drawing area. The first value is the X, or red, axis. The second value is the Y, or green, axis. | [5",8"] |
| Relative | Values are relative to the line’s starting point. | 3,0 |
| Polar | The first value is an angle, measured counter-clockwise from the positive X axis. The second value is the number of default units from the line’s starting point. | ^45,2" |
Draw a tangent line
If you need to draw a line that is tangent to an existing arc or circle, you can set a start point anywhere outside the circle and then hover the Line tool cursor over the edge of the circle until the the Tangent point inference appears, as shown in the following figure. Then click to place the end point at the tangent point.
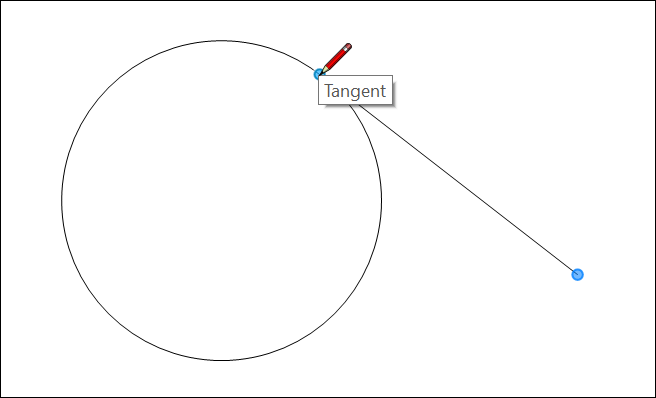
You can also set a line's start point on a circle or arc. After you place the start point, move the cursor until you see a rubber band-like inference line running tangent to the current mouse position. The line also seems to snap to the tangent point. Click to place the line's end point, and the tangent line appears.
Toggle the Auto Join feature
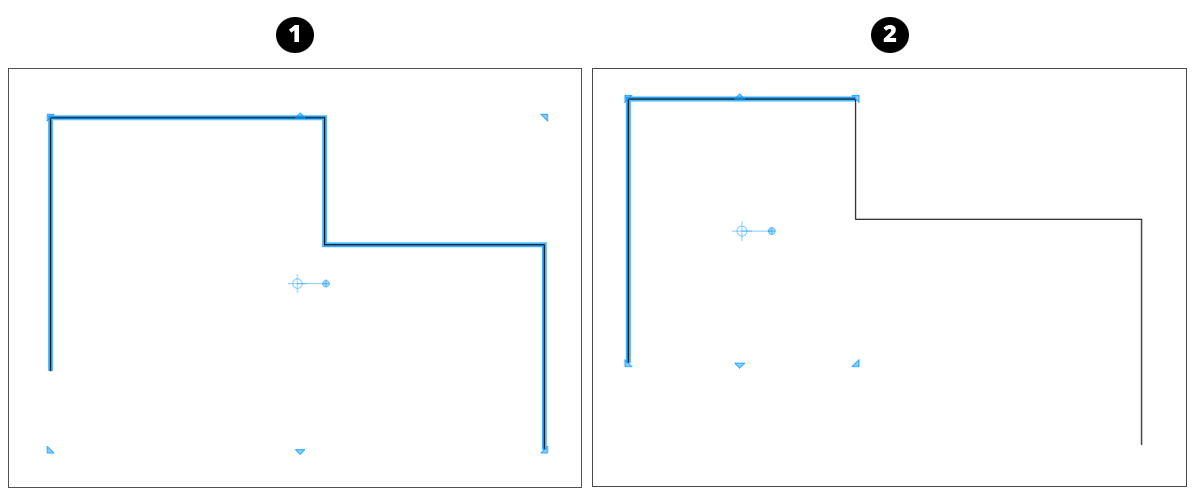
When you set a line's start point at the end of an existing line, by default, the new line joins the existing lines. As a result, after you finish drawing and select one of the lines, both the existing and new lines share a context. (See Callout 1 in the following figure.)
The Auto Join setting controls this behavior. If you toggle off Auto Join feature, the existing line or lines and the newer line or lines won't share a context when you select one of the lines.
To turn off Auto Join, context-click while the Line tool is active. On the context menu, clear the checkmark next to the Auto Join Lines option. After you toggle off Auto Join, the lines you draw beginning at an existing end point are not joined to existing lines. You can see the result in the following figure. (Callout 2)
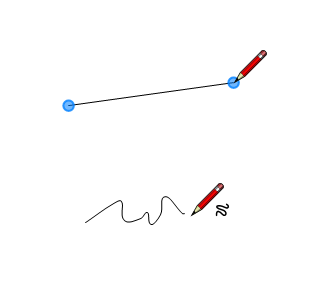
Drawing freehand lines
With the Freehand tool (![]() ), you can draw loopy lines or irregular shapes. (If you want to create arcs or curves, check out Creating Arcs or Bending Lines and Shapes with Paths and Points instead.)
), you can draw loopy lines or irregular shapes. (If you want to create arcs or curves, check out Creating Arcs or Bending Lines and Shapes with Paths and Points instead.)
To select the Freehand tool, click the down arrow next to the Line tool on the default toolbar or choose Tools > Lines > Freehand from the menu bar.
To draw with the Freehand tool, follow these steps:
- Select the Freehand tool.
- Click and drag the cursor to draw a curvy line or irregular shape. Drawing freehand can take patience and practice. Moving the mouse slowly helps you draw a smooth line.
- Release the mouse cursor to stop drawing. If you end the freehand line back at the starting point, you create a closed shape.