LayOut’s scrapbooks help you store and access a wide variety of reusable entities. The Scrapbooks panel contains several premade scrapbooks for common entities like arrows or signs. You can also create your own custom scrapbooks for things like company logos or branding elements.
Premade Scrapbooks
To get you started, LayOut includes the following premade scrapbooks:
| Name | Description | Categories |
|---|---|---|
| Architecture | Common architectural elements. | Doors, Doors with Wall Mask, Windows, Living, Bedroom, Kitchen, Bath |
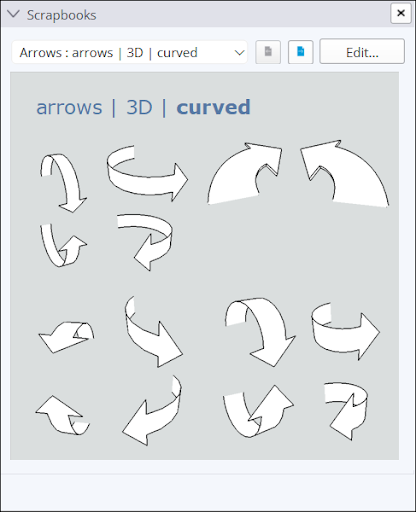
| Arrows | Differently styled and formatted arrows. | Curved, Straight Up and Down, Straight Left and Right, Curved Flat, Curved Tilted, North, Straight, Crazy |
| Cars | Various cars with different profiles. | Sub Compact, Hybrid, SUV, Wagon, Truck |
| Colors | Several themed color palettes. | N/A |
| People | Silhouettes and figures from different perspectives. | Elevation, Plan View |
| Signs | Common signage. | Pictograms, Traffic Symbols |
| Title Blocks | Graphic packages representing a title block template. | Contemporary, Elegant, Plain, Simple Sarif, Simple, Traditional |
| Trees | Trees from different perspectives. | Elevation, Plan View |
The Title Blocks scrapbooks are unique because they aren’t just single images, but entire templates. Each of these scrapbooks are organized into the following categories:
- Line Weights
- Drawing References
- Sections & Elevations
- Column Grid
- Site Graphics
- Auto-Text Enabled
- Sheet Index
Using Scrapbook Entities
To use a scrapbook entity in your document, follow these steps:
- Open the Scrapbook panel and choose the scrapbook containing the entity you want to use.
Locate the scrapbook entity you want to use.
Tip: For scrapbooks with multiple pages, use the page navigation at the top of the panel to quickly switch between scrapbooks in the same category.- Click the entity you want to use and drag it into your document.
- To add multiple copies of a scrapbook entity, click the entity then click again in your document for each copy.
Creating a Scrapbook
To create your own scrapbook, follow these steps:
- Create a new LayOut document.
- Add all entities you want to be in your scrapbook to that document.
- Click File > Save As Scrapbook.
- Name your scrapbook. This name is what will appear in the scrapbook panel.
- Choose the Scrapbook Folder you want to save your file to. You can create or manage Scrapbook Folders in Preferences.
- Click Save.
Editing a Scrapbook
You can edit a Scrapbook just like any other LayOut file. To edit one of your Scrapbooks:
- Select the Scrapbook you want to edit in the Scrapbooks panel.
- Click Edit. The scrapbook file will appear in the document area.
- Make your desired edits.
- Click File > Save when you are done editing.