The first thing you will see when opening LayOut is the Welcome Window. The Welcome Window is where you can create new files from templates and continue work on ongoing projects.
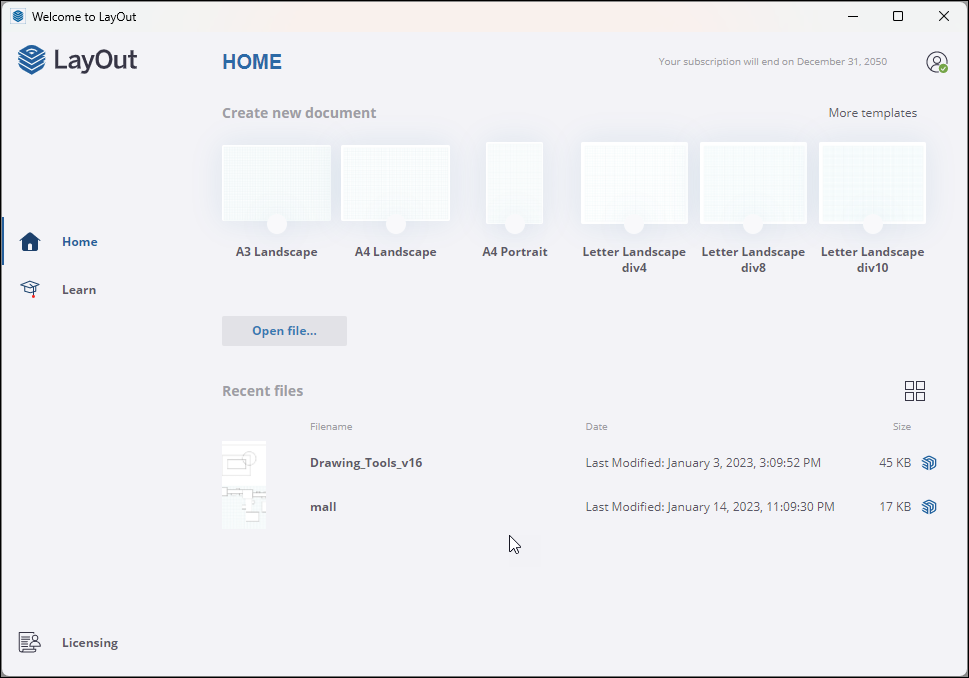
To create a new LayOut document, you will need to choose a template. LayOut offers basic templates to set your document's paper size and orientation, as well as title-blocked templates for drawing sets, presentations, or storyboards. You can also create your own template.
The most common templates appear on the Home page. To view more template options click More Templates. All template options appear listed under the following categories:
- Paper - Templates based on common paper sizes. Each paper size includes graph paper and plain paper options.
- Storyboard - Storyboard templates include preset boxes on each page for showing different angles, features, or views of a 3D model. You can choose from three different box widths.
- Titleblock - Choose from Contemporary, Modern, Rounded, Simple, Simple Serif, or Traditional Titleblock styles.
- My Templates - If you have created your custom templates you'll also see a My Templates tab.
To continue working on a document you've already created, click Open File or browse the Recent Files section for the document you're looking for.