Account Owners, Secondary Account Owners, and License Admins can use Trimble’s Admin Console to add and remove users to an account. Each user can then be assigned a role and a product license.
Adding Users
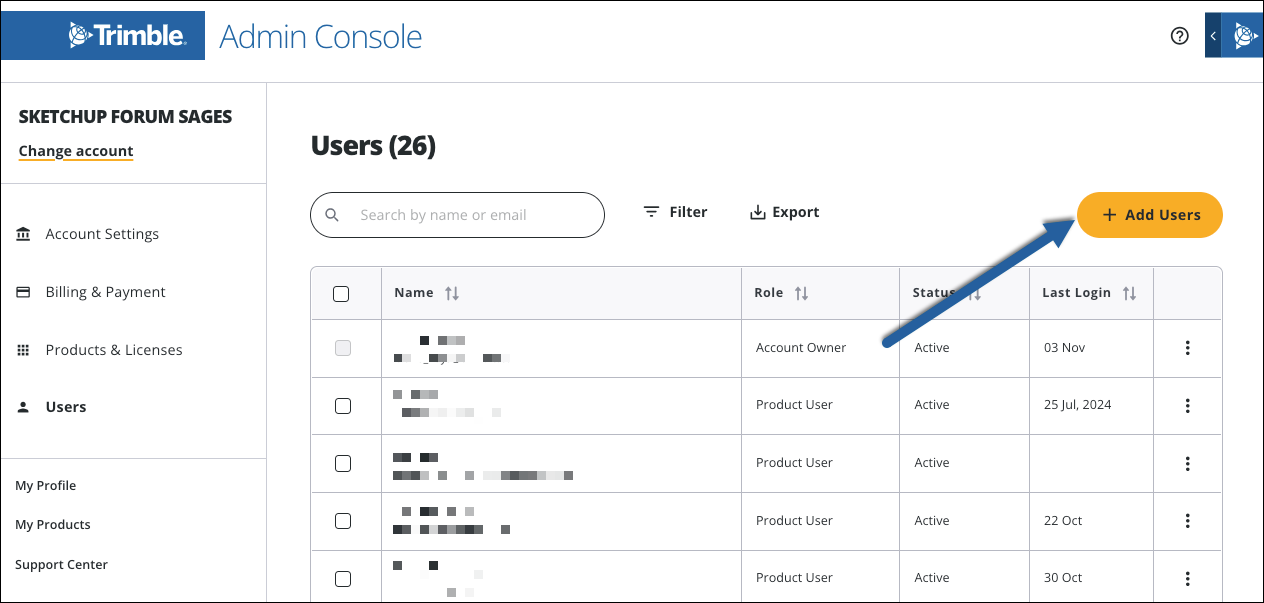
To add users to your account, open the Admin Console and follow these steps:
- Click Users in the left pane.
Click Add Users. The Add Users window will appear.
- Enter each new user’s email address under Emails. You can add up to 20 users at a time.
- Under Role select a role. That role will be assigned to each user you are adding.
- Click Add Users. Click Cancel to go back without adding users.
Adding users triggers the following actions:
- Added users will receive an email notification letting them know they have been added.
- Users who have not yet created a Trimble ID will receive an email asking them to create one.
The roles available when adding users depend on the role of the user who is adding users to the account. See Managing Roles for more information. To start assigning product licenses to users, see Assigning Products.
If you need to add more than 20 users, you can bulk upload up to 500 users with a CSV instead. To bulk upload users:
- Click Upload CSV Instead in the Add Users window.
- Click Download CSV Template.
- Fill out the template. The template contains an Email, Name, and Role column. The Email column is required for each user.
- Drag and drop the file to the space provided, or browse your local file system to upload the file.
Removing Users
To remove a user, follow these steps:
- In the left pane click Users.
- Click the context menu (
 ) next to the user you want to remove.
 - Click Remove User. A warning message appears.
- Click Remove User under the warning message to remove the user.
Users removed from an account lose all permissions associated with their role.