The red, blue, and green axes in a SketchUp model are not only starting points. These axes also serve as guides you can use throughout the modeling process. Some examples of how using the drawing axes can help with your workflows include:
- Some tools use the drawing axes when modifying geometry. Aligning the edges you want to modify with an axis can make an operation easier and provide more reliable results.
- Aligning geolocated terrain to your model. Syncing up the drawing axes to the cardinal directions can help you place a model on the geolocated terrain.
- Cast realistic shadows. By aligning axes to the cardinal directions, you can see how your model looks at different times of day and convey a sense of realism.
Positioning the Axes
Before adjusting the drawing axes, find the best view of your model or choose a point in your model that you want to align to.
When you activate the Axes tool (![]() ) you can double click at any point in the modeling window to instantly place the axes in a new location. For a more specific placement follow these steps:
) you can double click at any point in the modeling window to instantly place the axes in a new location. For a more specific placement follow these steps:
- Click to place the origin point. A dotted red axis will extend from that point to wherever you move your cursor.
- The red axis will be active by default. Press Alt (Windows) or CMD (MacOS) to choose the blue or green axis instead.
- Move your mouse to where you want to place the first axis and click again to place it.
- Move your mouse to adjust the position of the other two axes and click again to complete the operation.
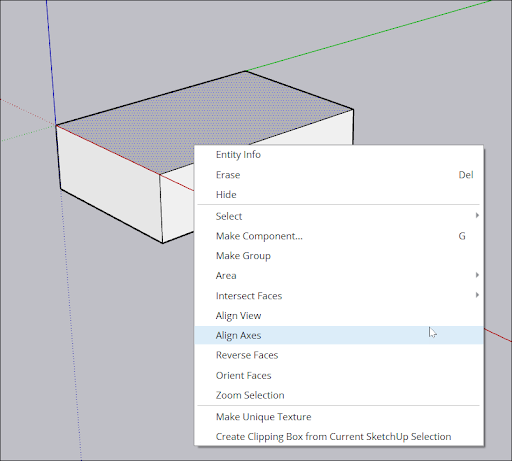
To align the axes to a face, context-click the face and select Align Axes. How the axes align depend on what plane that face exists in. For example:
Selecting a face in the blue-red or blue green plane rotates the axes 90 degrees.

Selecting a face in the red-green plane will not rotate the axes, but will align the ground plane to that face.
Moving the Axes
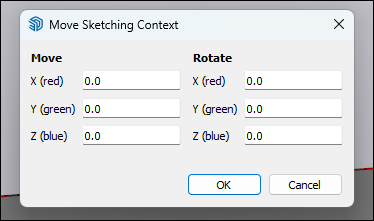
If you need specific, precise values for each axis, you can move the axes by following these steps:
- Context-click one of the axis lines and select Move.
- In the modal that appears, enter the precise values of how far you want to move the axes and how you want to rotate each axis.
- Click OK when finished, or Cancel to exit.
Resetting and Hiding the Axes
After changing the axes, you can always reset them back to their default position by selecting Reset in the axes context menu.
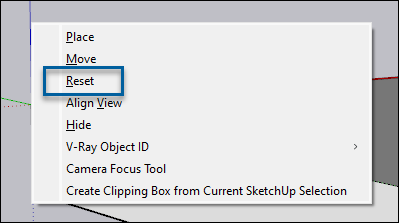
To hide the axes, select Hide in the context menu.

Aligning to Cardinal Directions
Each axis has a solid line on one side of the origin and a dotted line on the other side of the origin. These lines correspond to one of the cardinal directions (north, south, east, west) as follows:

| Line | Direction |
|---|---|
| Solid green line | North |
| Dotted green line | South |
| Solid red line | East |
| Dotted red line | West |