Placing Models and Objects on Terrain
After importing or creating your own terrain, you may want to add new entities to your model. The Stamp tool (![]() ) and the Drape Tool (
) and the Drape Tool (![]() ) can help add those entities and incorporate them into the terrain you’ve added.
) can help add those entities and incorporate them into the terrain you’ve added.
Stamping
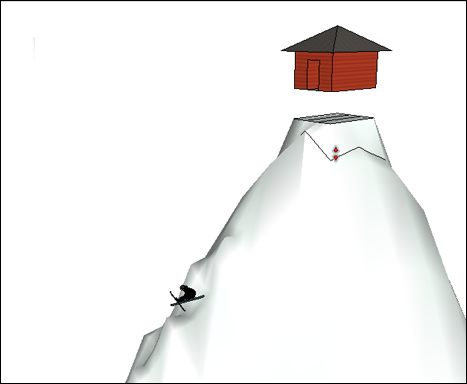
The Stamp tool creates a flat surface on terrain that matches the bottom of an entity you would like to place on your terrain. The Stamp tool creates the surface then seamlessly transitions the new object into the surrounding terrain.
Note: The Stamp tool will not work on a group or component open for editing. Make sure the group is closed before activating the Stamp tool.
To use the Stamp tool follow these steps:
- Move the entity you want to place on the terrain to just above the desired location on the TIN.
- Activate the Stamp tool.
- Click the entity you want to place.
- Enter an offset value in the Measurement box designating the space needed for the transition between the group and selected entity. The value should represent how the entity will blend in with the surrounding terrain and how flat or sloped that terrain is.
- Click the terrain. The pad for the entity will appear and the cursor will change to an arrow.
- Move the cursor up or down to set the flat surface’s height.
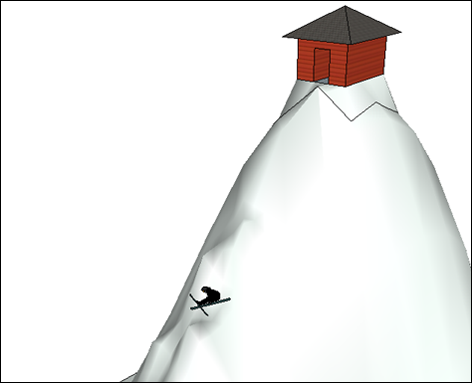
- Click again to complete the operation.
Tip: Using the Flip Edge tool before you set an entity can help eliminate unwanted flat edges.
Draping
The Drape tool transfers edges from a flat face onto the curved surface of a TIN.
Tip: An easy way to create edges to use with the Drape tool is to draw a rectangular face above your TIN, draw the edges you want to drape using X-Ray mode to keep the TIN visible, then erase all edges and faces you don’t need.
When you are ready to drape edges, follow these steps:
- Place the edges above the TIN.

- Select the edges you want to drape over the TIN.
- Activate the Drape tool.
- Click the TIN. The selected edges are now transferred to the TIN.