Placing Models and Objects on Your Terrain
If you like arranging furniture, blank terrain is as exciting as moving into a new home: Everything is clean and open and ready for your stuff. Can’t wait to set the house you designed onto its site, model a winding path through your garden, and fill the landscape with plants and trees? You’re in the right place.
In SketchUp, two Sandbox tools help you place objects on terrain:
- Stamp tool: This tool stamps a flat surface onto your terrain and creates a transition from that flat surface to the surrounding terrain.
- Drape tool: This tool enables you to transfer edges from a face onto your terrain, so that the edges follow your terrain’s curves.
In the following sections, find out how to stamp or drape geometry onto your TIN (triangulated irregular network).
Table of Contents
Stamping a surface onto a TIN
When your 3D object is a group or component, the Stamp tool uses your object’s bottom to create a flat pad for your 3D object. So, before you begin using the Stamp tool, turn your object into a group or component.
When you’re ready to stamp your TIN with a group or component, follow these steps:
- Move the group or component so that it hovers above your TIN, in the position where you want to create the stamp.
- Click the Stamp tool () on the Sandbox toolbar or select Tools > Sandbox > Stamp from the menu bar.
- Click the group or component that you want to use as a stamp.
- Type an offset value and press Enter (Microsoft Windows) or Return (Mac OS X). This sets how much space you have to create a transition between your group or component and the terrain. The value you choose depends on how you want your object to blend in (or not) with the surrounding terrain, as well as how flat or sloped your terrain is.
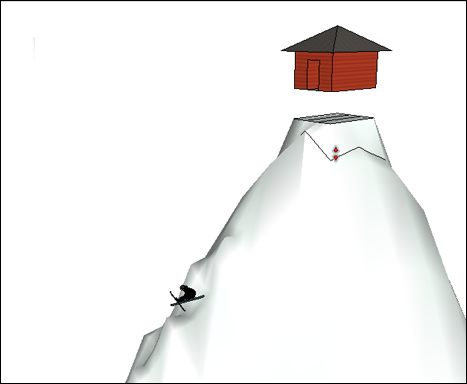
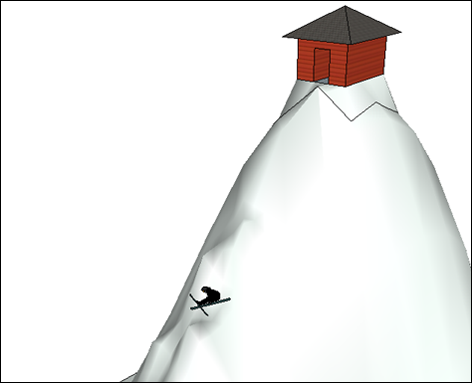
- Click your terrain. The pad for your group or component appears, and the cursor changes into an up and down arrow, as shown in the figure (Callout 1).
- Move the mouse cursor up or down to set the flat pad’s height.
- Click to finish the stamp operation. When you’re done, you can use the Move tool to set your group or component on its flat surface, as shown on the right in the figure (Callout 2).
Draping edges onto a TIN
When you use the Drape tool, SketchUp transfers edges from a flat face onto a TIN’s curved surface.
When you’re ready to drape the edges, follow these steps:
- Select the edges you want to drape over the TIN.
- Select the Drape tool () from the Sandbox toolbar or select Tools > Sandbox > Drape.
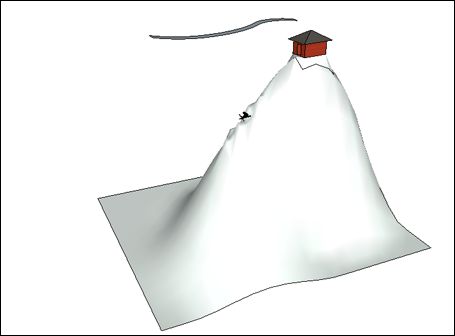
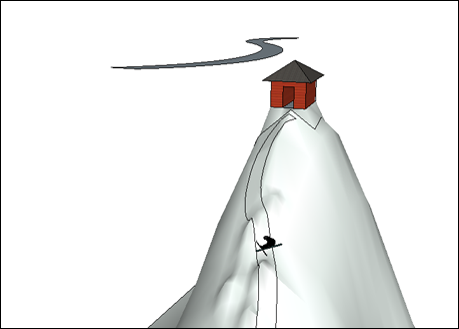
- Click the TIN to drape the selected edges onto the TIN, as shown on the right in the following figure (Callout 2).