Depending on how complex the terrain in a model is, it can impact performance. Because SketchUp doesn’t render hidden geometry, hiding terrain can help improve performance. Hiding terrain can also help when attempting to view a specific part of your model that would otherwise be covered.
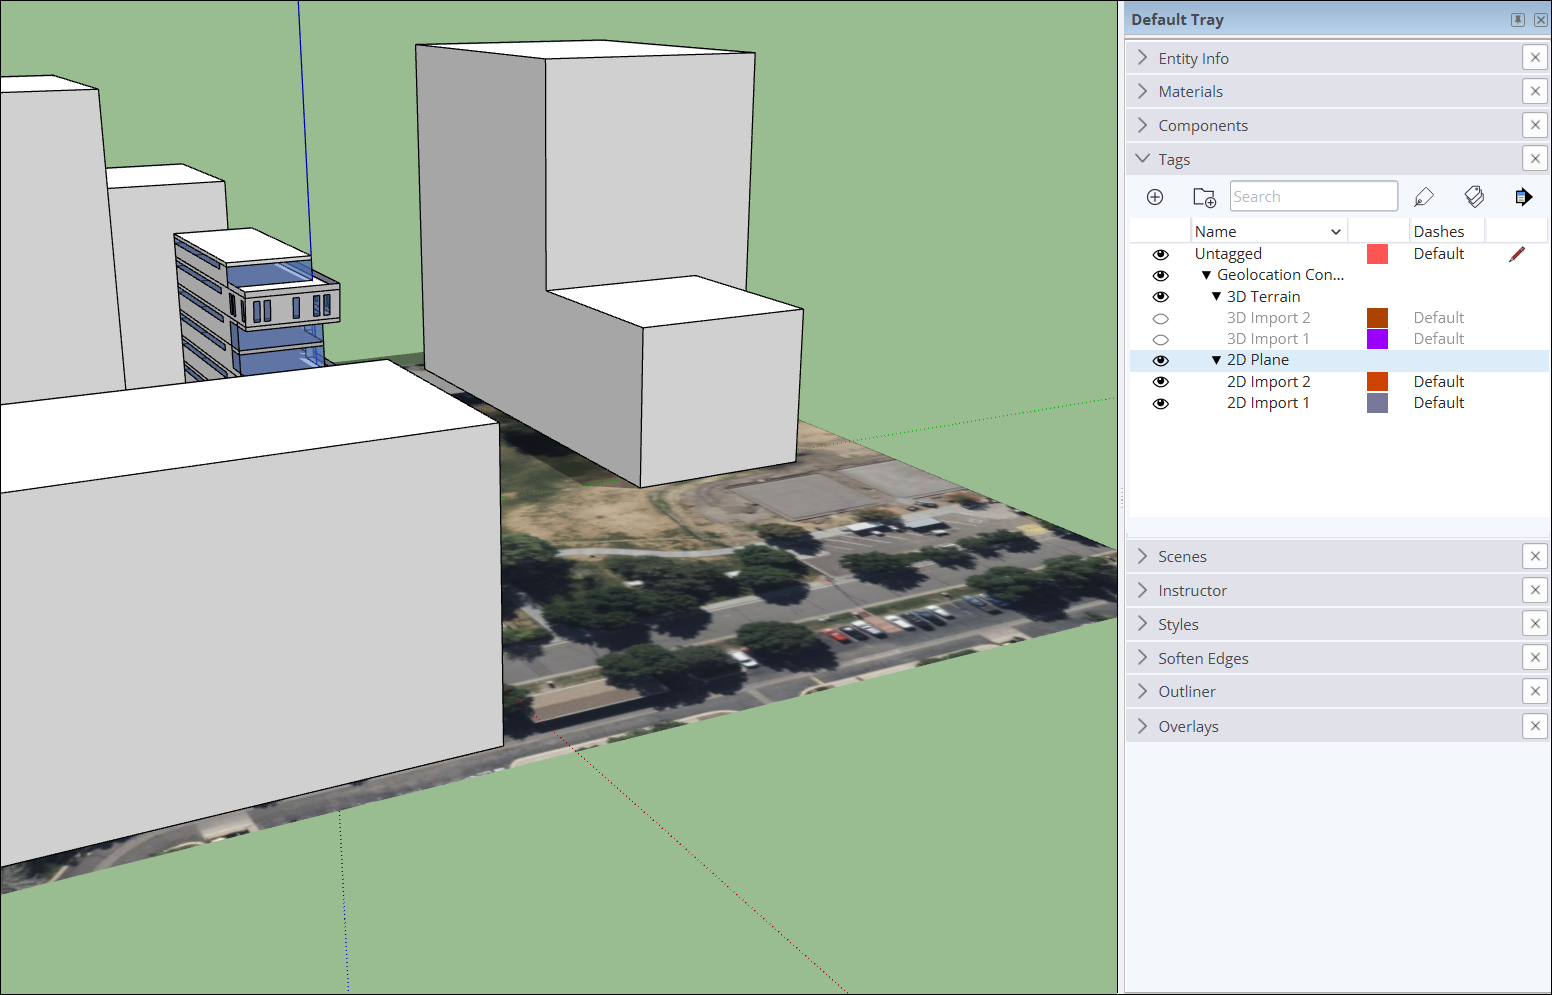
Imported or created terrain visibility can be controlled in the Tags panel. Tags are similar to layers in other programs, but with their own unique functionality and options.
For more information on how to use Tags see Controlling Visibility with Tags.