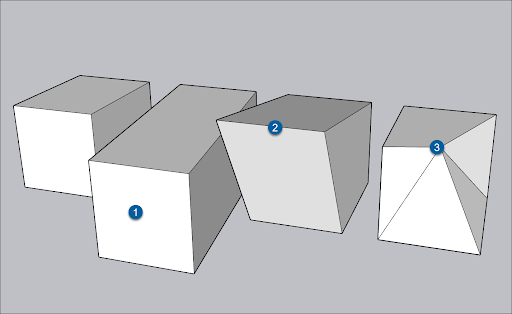
When you move geometry that's connected to other geometry, SketchUp stretches your model.
To stretch your geometry, select the Move tool (![]() ). Clicking and dragging different parts of an entity will give the following results:
). Clicking and dragging different parts of an entity will give the following results:
- A face – Stretches the entity while keeping the selected face intact.
- An edge – Stretches all faces adjacent to the selected edge.
- An endpoint – Stretches all edges and faces adjacent to the selected endpoint.

Resizing surface entities
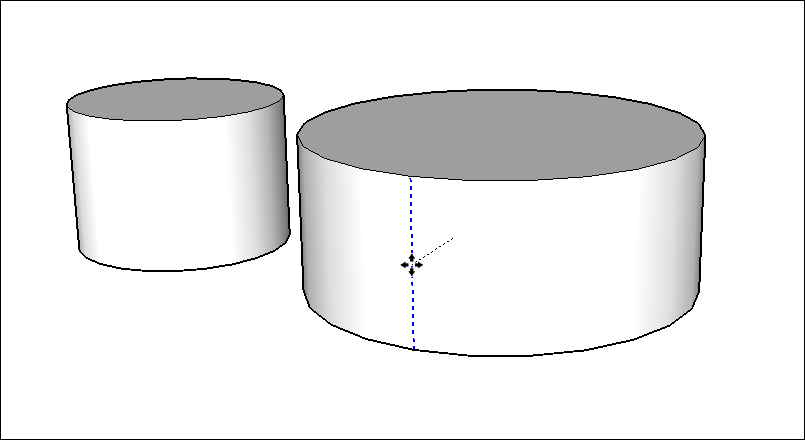
In a surface entity, if you click and drag a control edge, you resize the surface entity without distorting the geometry. You create a surface entity by extruding an arc, circle, or polygon. See Softening, Smoothing, and Hiding Geometry or the articles about arcs, circles, and polygons for details.
When you position the Move tool over a surface entity's control edge, the edge lights up in a way that nearby edges do not.

A surface entity extruded from a curve entity does not have a control edge. Similarly, if you stretch a circular cylinder into an ellipse, the surface entity lacks a control edge.
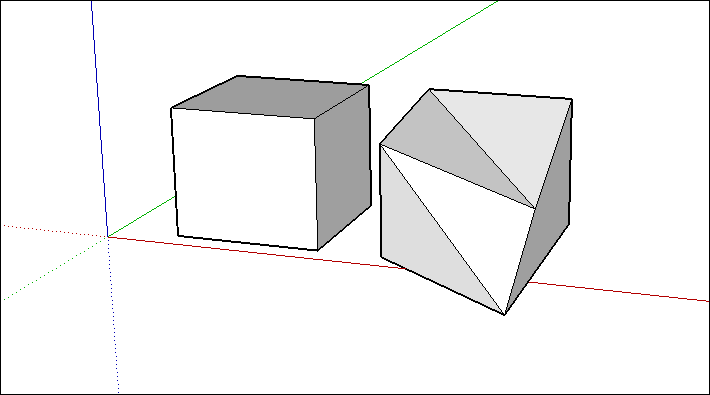
Bending faces with Autofold
In SketchUp, faces must remain planar. To help with that, SketchUp uses a feature called Autofold. If you stretch geometry in a way that bends a face, Autofold makes a crease so that all the faces in your geometry remain flat.
