Note: Style Builder is no longer included when downloading SketchUp and will no longer be supported. For more information see End of Support — Style Builder.
In Style Builder’s Preview pane, the default model preview shows off your styles as you add strokes to each set in the Sets pane. This aspect of previewing happens automatically, with no extra effort on your part.
However, Style Builder also includes a few extra tools and features that enable to change your preview:
- Change the preview model
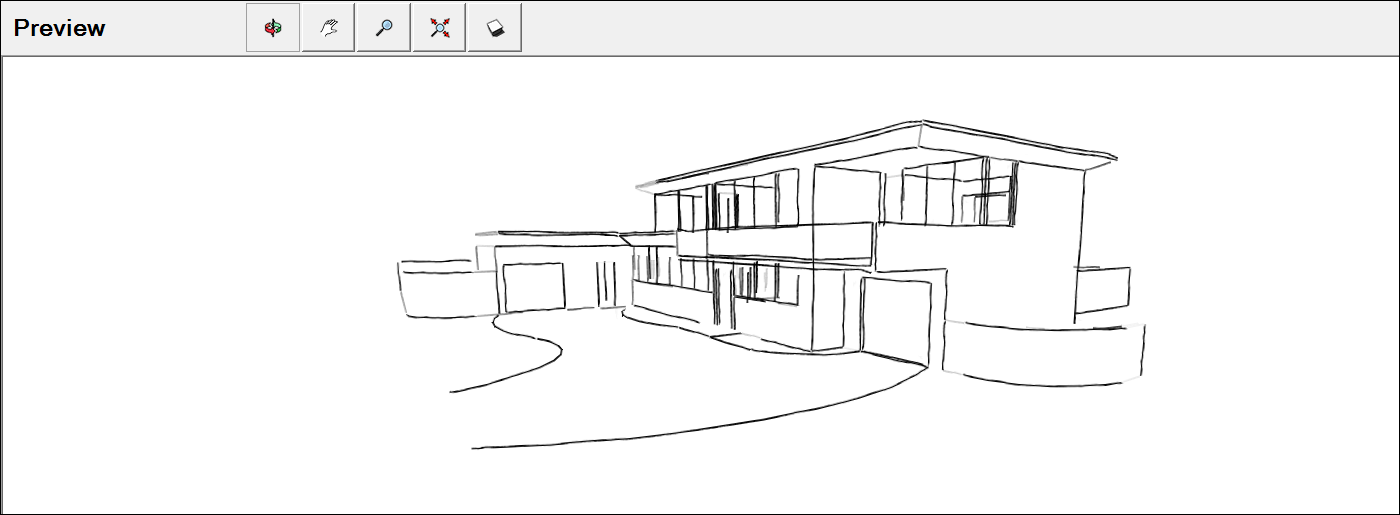
- Change how you see the preview model with a selection of camera tools and a Toggle Shadows tool, as shown in the following figure.
To change the model you see in the Preview pane, follow these steps:
- Select Preview > Change Model from the menu bar.
- In the Open dialog box that appears, navigate to the SketchUp model file that you want to see in the Preview pane.
- Select the
.skpfile. - Click Open, and the model you selected now appears in the Style Builder Preview pane.
If you create models in SketchUp, the Preview pane’s tools are likely familiar to you: They look and work just like the ones you find in SketchUp. The following table outlines the tools you find at the top of Style Builder’s Preview pane.
| Tool | Icon | What It Does |
|---|---|---|
| Orbit | Rotates your model so you can view it from different angles. | |
| Pan | Moves the view to the left, right, up, or down. | |
| Zoom | Zooms in or out of the model preview. | |
| Zoom Extents | Centers the sample model within the Preview pane. | |
| Toggle Shadows | Shows or hides the display of shadows. |
Tip: In the SketchUp area of the Knowledge Center, you find details about using each tool. Viewing a Model offers tips and tricks for using the Orbit, Pan, Zoom, and Zoom Extents tools. Casting Realistic Shadows explains how to see and control shadows and when the shadows feature is most useful.