Using the Scenes Panel
If a model contains scenes that were created in SketchUp, you’ll have the option to navigate to those scenes in SketchUp Viewer for HoloLens. (For an introduction to scenes in SketchUp, see Creating Scenes in the SketchUp area of the Help Center.)
To access the Scenes panel and view the Scenes in your model:
-
Raise either your right hand or left hand with your palm facing the HoloLens. The SketchUp Viewer app Summon menu will appear, as seen in Fig. 1 below. Tap the Tools button (
 ) to open the Tools screen.
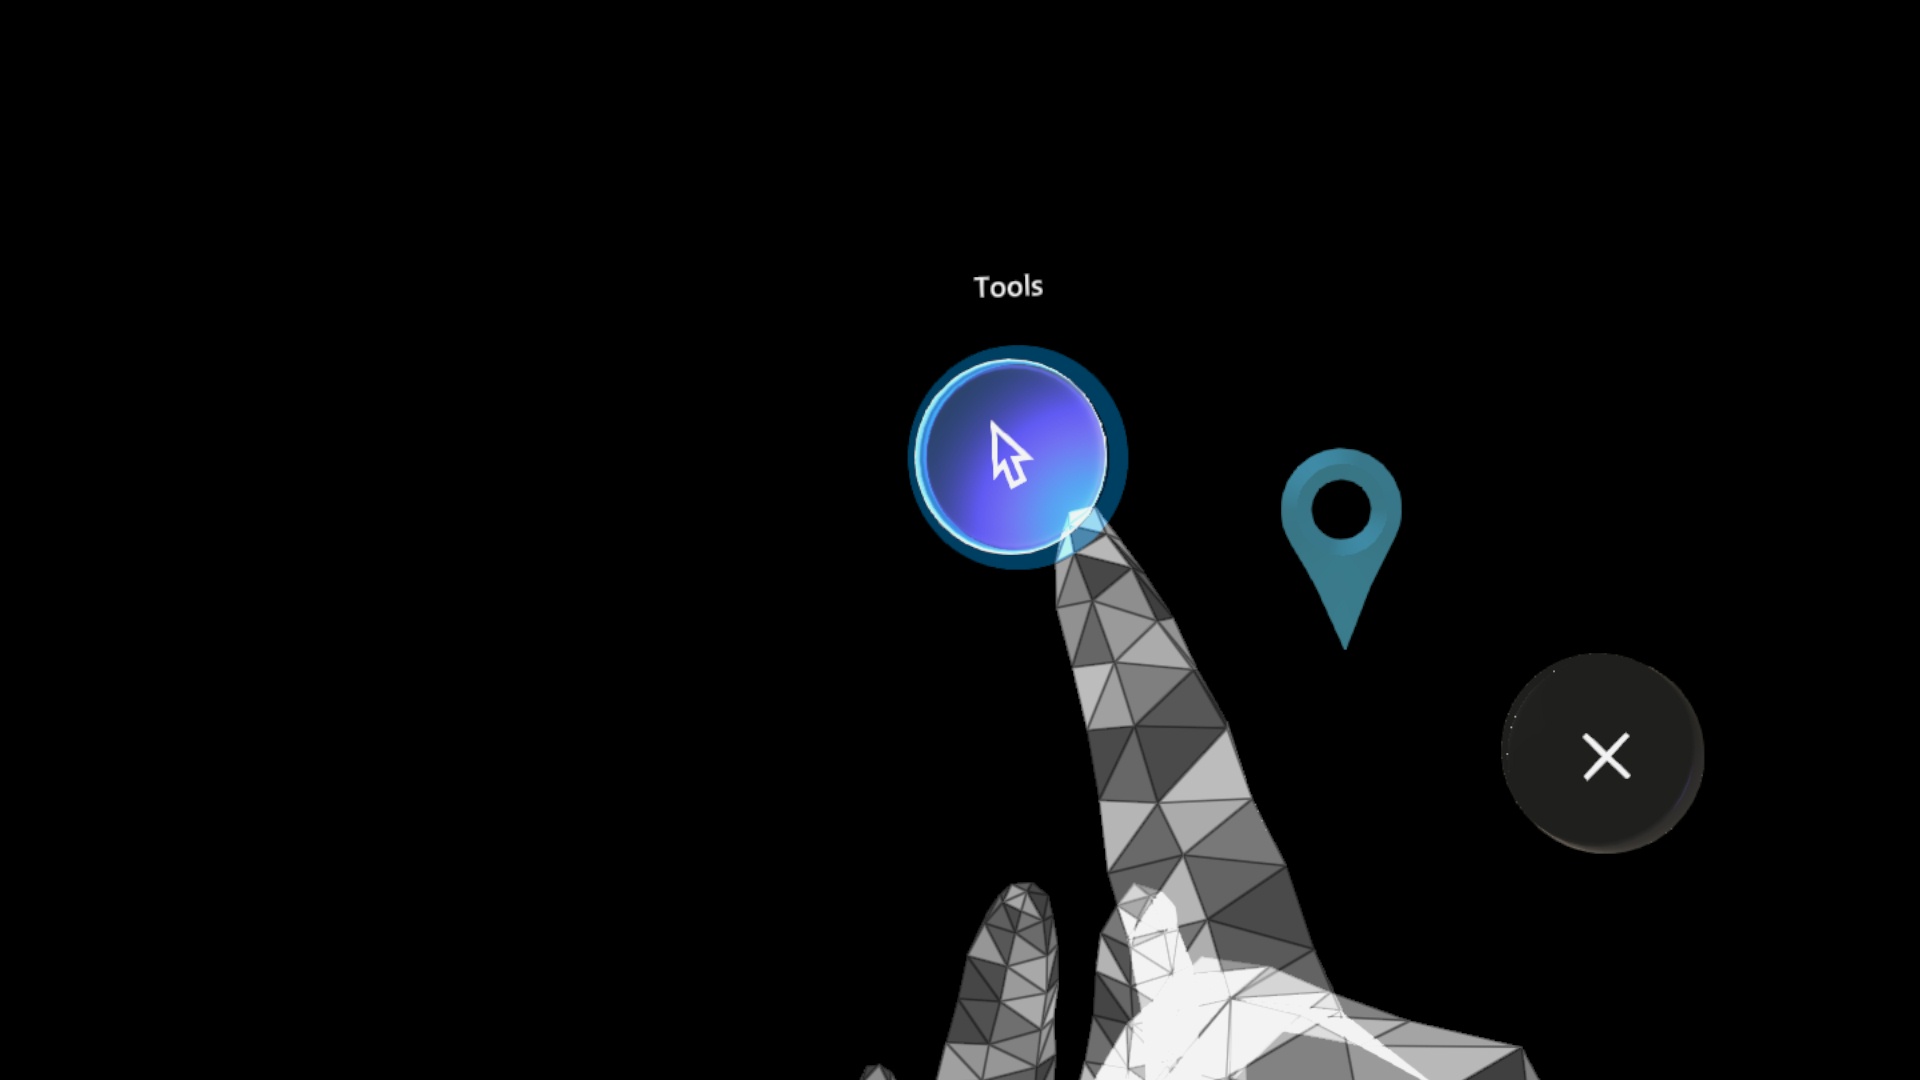
Fig 1. The SketchUp Viewer app Summon menu appears when you raise your right or left hand with your palm facing the HoloLens.
-
From the Tools screen, tap the Scenes panel button (
 ). The Scene panel appears, as shown in Fig. 2 below.
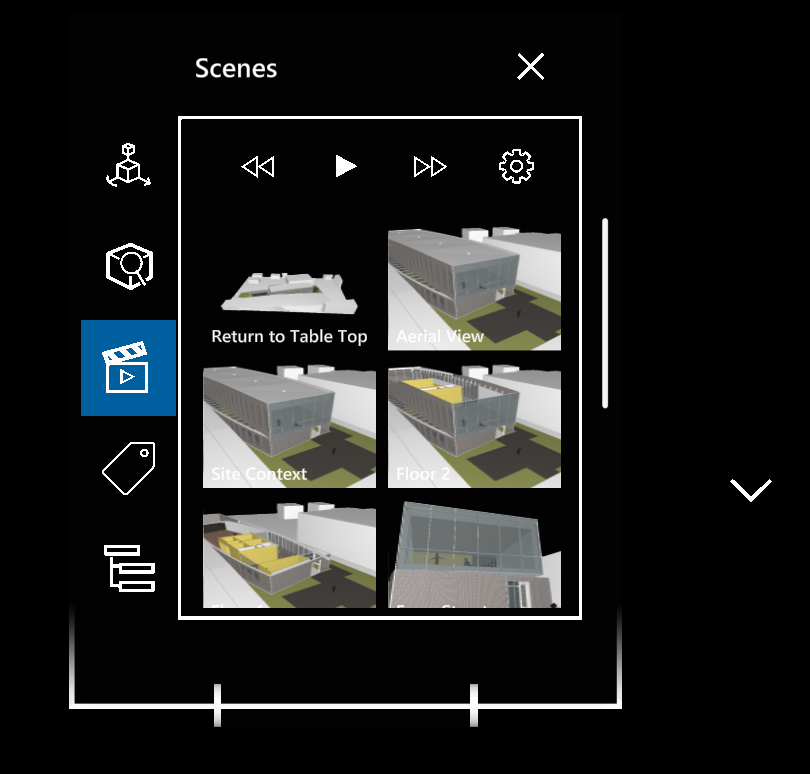
Fig 2. The Scenes panel as it appears in the Dance Center sample model.
While on the Scenes panel, you’ll find the following options:
-
Jump to a scene by air tapping on the thumbnail.
Tip: For each scene that you navigate to, you will automatically be placed into Immersive viewing mode, and the model will be scaled to 1:1 scale. In some cases, for example with most ‘Birds-eye scenes’ that means that you may be positioned way up in the air, relative to your model. Some immersive mode capabilities, for example, the Jump tool have a functional limit of only being able to jump to a maximum distance of about 50 feet (or about 15 meters). You may want to take this into account when creating Scenes in SketchUp, if you plan to navigate to those scenes in the HoloLens viewer app.
- Tap the Play button (
 ) to cycle through all the scenes; tap the Previous button (
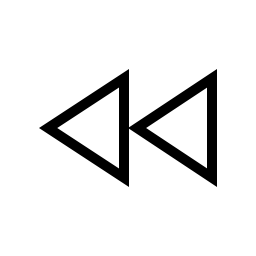 ) to view the previous scene; or tap the Next button (
 ) to view the next scene.
 - For all models, you’ll see an additional scene in the Scenes panel titled ‘Return to Table Top.’ That scene is automatically created by the app, and is there to offer a shortcut for returning to Table Top view mode.
- Tap the Settings button (
 ) to modify the timing for scene transitions or the scene delay animation options. You’ll also find a Markers toggle switch that allows you to toggle the visibility of 3-dimensional Scene markers. The scene markers appear at the location of the camera for the respective scenes in your model (note: this feature is much cooler and more useful in Table Top mode). With Scene markers toggled on, not only can you see the camera locations in the model, but you can simply poke a marker to navigate to that scene and be placed in immersive mode in the model.