Images can enhance your LayOut documents all sorts of ways, from a photorealistic rendering of a proposed design to a small branding element like a logo.
The following table outlines the file formats that LayOut supports. You can insert an image file in any of these formats into your document.
Tip: If your image file is saved in a format that doesn't appear in the following table, an image-editing program (like Photoshop) enables you to save the file in one of the supported formats. For most images, either the
.jpeg or .png format works well. Both of these formats use compression, which helps to keep both the image file and thus your LayOut file size small. If your image file is large or your presentation includes lots of complex images, try using an image-editing program to lower the resolution or compress the file a bit. | File Format | What It's Used For |
|---|---|
.bmp or .dib |
These bitmap formats can display black-and-white or color images on most devices. |
.jpg, .jpeg, .jfif |
Most digital cameras store photos in the .jpg or .jpeg format, which can compress images to lower their file size. |
.gif |
The .gif format does a good job of displaying basic graphics, like logos with only a few colors, while keeping the file size small. |
.png |
The .png displays drawings, graphics, and screen shots well, with small file sizes. In the past decade, this format has become a popular alternative to .gif. |
.tif or .tiff |
Images in these formats can be photos or graphics, and typically have the largest file size of any format. These files have no compression and are typically used in high-quality printing. |
.pdf (Mac OS X only) |
PDFs are often used to share print layouts and designs, but the format works just as well for images, too. You can also insert a .pdf file as an image if you use LayOut on a Mac. |
Ready to import your image into your LayOut document? Follow these steps:
- Select File > Insert. An Open dialog box appears.
- Navigate to the image file on your hard drive. Tip: On Microsoft Windows, to see only supported image files, select Raster Images from the drop-down list that's to the right of the File Name box. On Mac OS X, if a file isn't a supported image file, the file is grayed out in the dialog box.
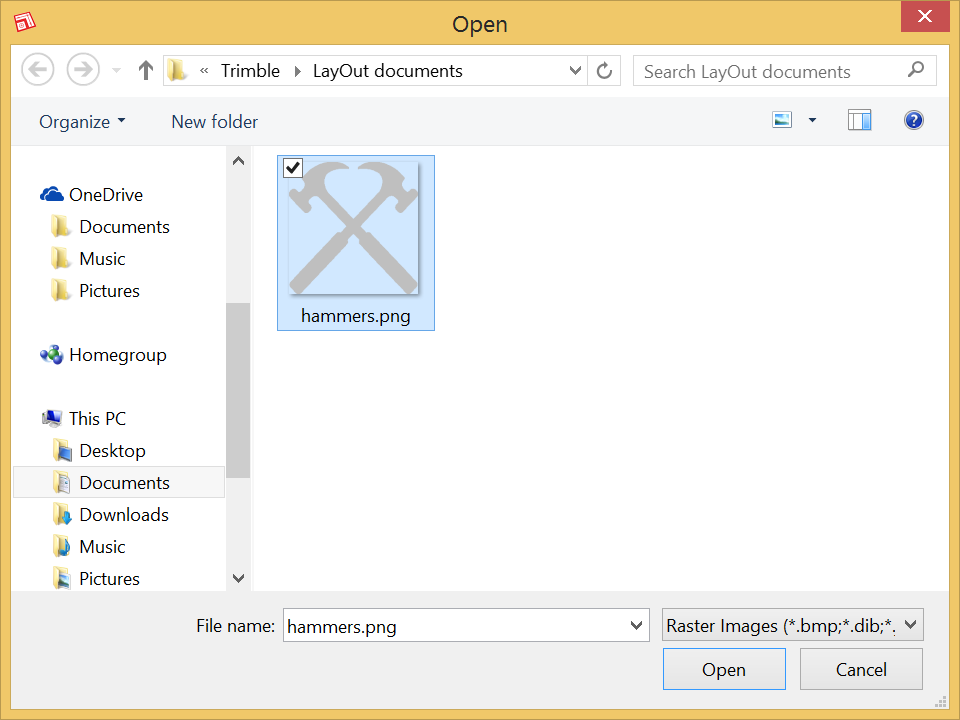
- Select the file you want to insert, as shown in the following figure, and click Open. Your image appears in the drawing area, where you can move, rotate, or scale the image by clicking and dragging the bounding box controls with the Select tool.
Tip: You can also drag and drop an image from Windows File Explorer or the Mac OS X Finder into the LayOut drawing area.

Tip: After you insert an image file, LayOut keeps track of your image file references. Checking and updating image file references and SketchUp model entity references works the same. See Managing Changes and Updates to SketchUp Files within LayOut for details.