Customizing Your Model’s Background
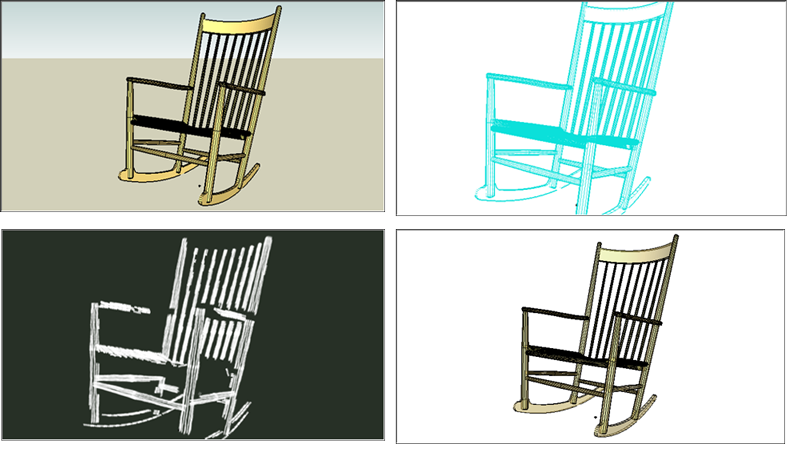
In SketchUp, you see a tan and blue background that suggests the earth and sky. The default background might be great for buildings, but looks a little strange for a model of a rocking chair, as shown in the upper-left corner of the figure. No matter what you’re modeling, you may just want a plain background with sketchy edges to communicate that your model is a blueprint or prototype. Or you may want a polished and detailed background that simulates an interior or a street scene.
Notice how the different backgrounds change the look of the model in the figure.
So how do you customize the background of your 3D model? As with most things in SketchUp, you have a couple of options:
- Styles: Choose from preset styles or mix your own style in the Styles panel. See Choosing a Style for details.
- Images: SketchUp enables you add image files to your model and position those images so that they act as a background. For example, you can have a single image placed vertically behind a house so that you can study what will be seen from certain angles within the house. A more advanced technique is applying an image as a projected texture to a curved face that you place behind a model, so you can see through more windows of an interior model. The articles you find in Applying Colors, Photos, Materials, and Textures explain the concepts and techniques you need to know in order create these image effects.