Clipped or Missing Faces
If you orbit around your model and you see an effect that looks like a section plane attached to your view at a fixed distance you may be worried that something is wrong with your model.
Worse yet, objects may disappear or appear to shake when you try to zoom in.
First of all, don't worry. Your model isn't damaged. This is a known issue called Camera Clipping Plane. There are several situations in which you might encounter this:
- Your Field of View (FOV) is set very wide. The default FOV is set to between 30 and 35 degrees, depending on which version of SketchUp you are running. You can adjust the FOV between 1 and 120 degrees. It's easy to unintentionally change the FOV by pressing the Shift key while you are zooming in or out using the Zoom tool. When this happens, you can change it back by selecting Field of View from the Camera menu and typing your desired field of view in the measurement toolbar.
- The Perspective camera mode is turned off. In that case, use Zoom Extents tool (
 ) or choose Zoom Extents from the context menu. This zooms the camera out and displays the entire model, eliminating the clipping. Newer version of SketchUp prevent clipping when switching between Perspective and Parallel Projection modes.
 - For models with large extents, clipping may occur when zooming in on the smaller parts of a model. In these cases, enable Hide Rest of Model. This option is found in the View menu under the Component Edit options. Once enabled, SketchUp will re-interpret the view and eliminate the clipping. For more information about how to control the components in a model, click here.
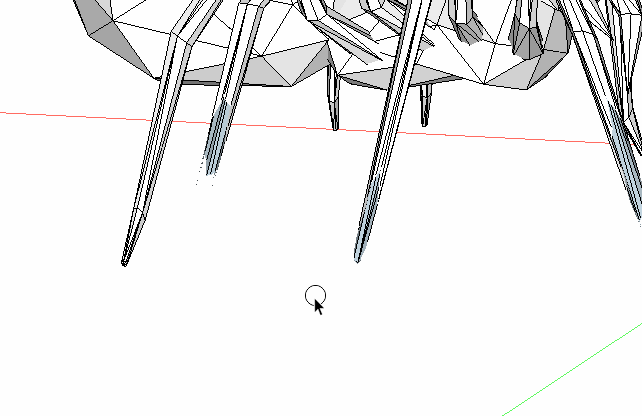
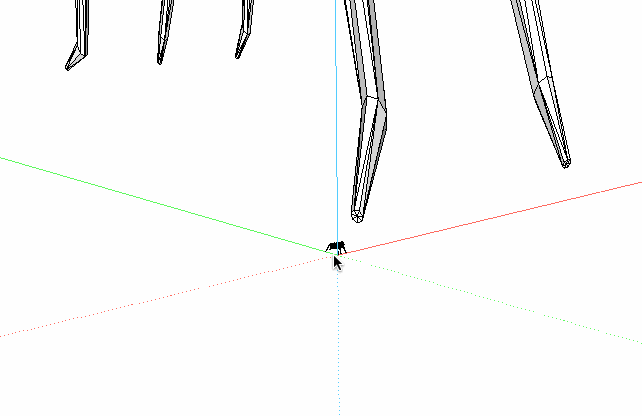
- Your model is very far away from the origin point, the point where the r ed, green and blue axes intersect. In that case, you can move your model closer to the origin point following these steps:
- Select all of the geometry in your model by typing Control+A or Command+A, or using the Select tool.
- Change to the Move tool (
 ).
). - Grab a corner point of the selected geometry that is on the ground plane and start to move the selected geometry.
- Type
[0,0,0](including the square brackets) in the Measurement toolbar. The selected point will be moved to the origin point.
You can also use the Axes tool to move the origin point to your model.
- After a DWG import clipping can appear because of a combination of all the above points. If you're moving your geometry to the origin or adjusting the scale, make sure you can see all the geometry in the model. These three steps will help you do that:
- Turn on all your layers in the Window > Layers menu.
- Unhide geometry using the Edit > Unhide all command.
- View all hidden geometry by clicking on View > Hidden Geometry.
After making all your geometry visible, go to use the Zoom Extents tool (![]() ) or select Zoom Extents from the context menu to see the extents of your model. If you find geometry located long distances from the origin, removing that geometry will help resolve this problem.
) or select Zoom Extents from the context menu to see the extents of your model. If you find geometry located long distances from the origin, removing that geometry will help resolve this problem.
Flickering Faces in your model
Flickering behavior on some surfaces when two faces are fighting to be seen on the z-axis. This "z-fighting" happens when two faces are either co-planar or nearly co-planar and SketchUp is trying to show both.
Ungrouped, overlapping geometry will just "cut" the surface and no flickering will occur. You'll see this flickering when a face is drawn on grouped geometry, or when 2 different groups have a face on the same plane. The group (or component) prevents the 2 faces from merging into one face, so the 2 faces compete. To eliminate z-fighting:
- Change how the geometry is grouped so that the faces merge. eg. Explode your group or component or re-nest the geometry.
Move the 2 faces away from each other.
Note that moving it so that it is still nearly co-planar will still result in some flickering at different zoom levels.- Give the top face some thickness. Use Push/Pull to pull that 0 thickness face into a piece of geometry with some thickness to it.
If you need to adjust the nested level of the geometry, rather than just exploding, you can use the Outliner to move geometry between levels. To adjust the nest level:
- Select one set of geometry by double-clicking that group until you're able to select ungrouped geometry.
- Go to Edit > Cut.
- Change nested levels either by double-clicking until you can select the remaining surface or use the Outliner to find the desired nest level.
- Use Edit > Paste In Place to paste the cut geometry into the nested group definition.