In SketchUp, grouped geometry is called an Object. There are two types of Objects, Groups and Components. Groups are just what they sound like they are, a selection of multiple pieces of geometry. Components are more complex, reusable Objects. Both types of Objects can help you organize your model in a few ways:
- Objects hold other entities. In a 3D model of a house you select the entire house and make all geometry, inside and out into an Object.
- You can nest Objects within Objects. In that same model of a house, you can make each room into its own Object within the larger house Object. You can then nest other Objects like furniture in each of those room Objects.
- Objects don’t stick to other entities. Each Object can be edited independently of other Objects, even if the Objects are stacked on top of each other. In your house model, you can change the flooring in one room without changing the flooring in another.
- You can lock Objects to prevent editing. A locked Object can't be moved or edited and is a great way to create boundaries for convenient snapping without accidentally modifying your geometry.
Creating Objects
To create a Group Object from existing geometry, follow these steps:
- Select all the geometry you want to include in the Object.
- In the menu bar, click Edit > Make Group. You can also context-click your selection and click Make Group.
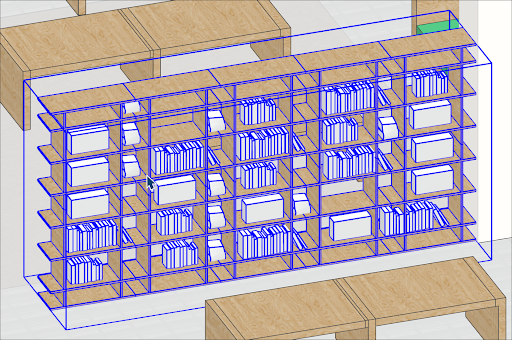
- A bounding box will appear around your selection designating it as a Group.
To create a Group without selecting geometry first:
- Initiate creating the Group in one of the following ways:
- Go to Edit > Make Group
- In the modeling window, context-click on an empty space and click Make Group
- In the drawing window, begin drawing the geometry you want for your Group.
- After you are finished drawing, activate the Select tool, then click an empty space to exit.
Components are a bit more complicated than groups. There are a few different types of Components you can create and each type of Component is made in a specific way. For more information on how to create basic, dynamic or Live Components, see Components.
Working with Objects
To select an Object, click it with the Select tool. The Object's bounding box becomes highlighted. 
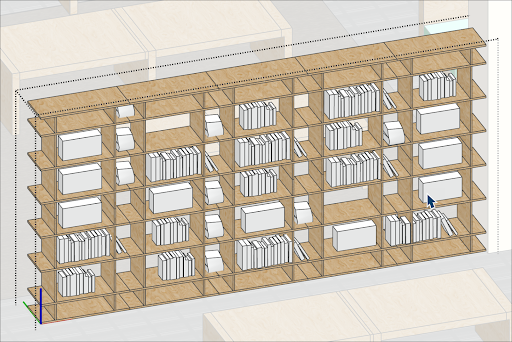
To open an Object’s context so that you can edit the entities within the Object, double-click the Object with the Select tool. The dotted box indicates the Object’s context is open and you can edit the entities. To leave the Object’s context, click an empty part of the drawing area, or choose Edit > Close Group/Component.

To break up the Object, click to select it and choose Edit > Group > Explode or Edit > Component > Explode.
To lock an Object so it can't be edited, context-click it and select Lock. After you lock an Object, the menu item changes to Unlock, so you can reverse the change. Lock an Object to prevent it from being edited accidentally as you work on nearby parts of a model.