Getting Started with Modeling from Trimble Vision Imagery
By using Trimble Vision Imagery to collect precisely located imagery, you can now use Trimble Business Center (TBC) to generate key points from the collected data that will aid the modeling process within SketchUp.
Note: This article assumes that you have a good understanding of drawing geometry and making components. For more information about the process performed in Trimble Business Center (TBC), please consult the TBC Help system. This article only addresses the process of importing the .skp file generated from TBC onward.
- Open the .skp file that was exported from Trimble Business Center (TBC) via File > Open.
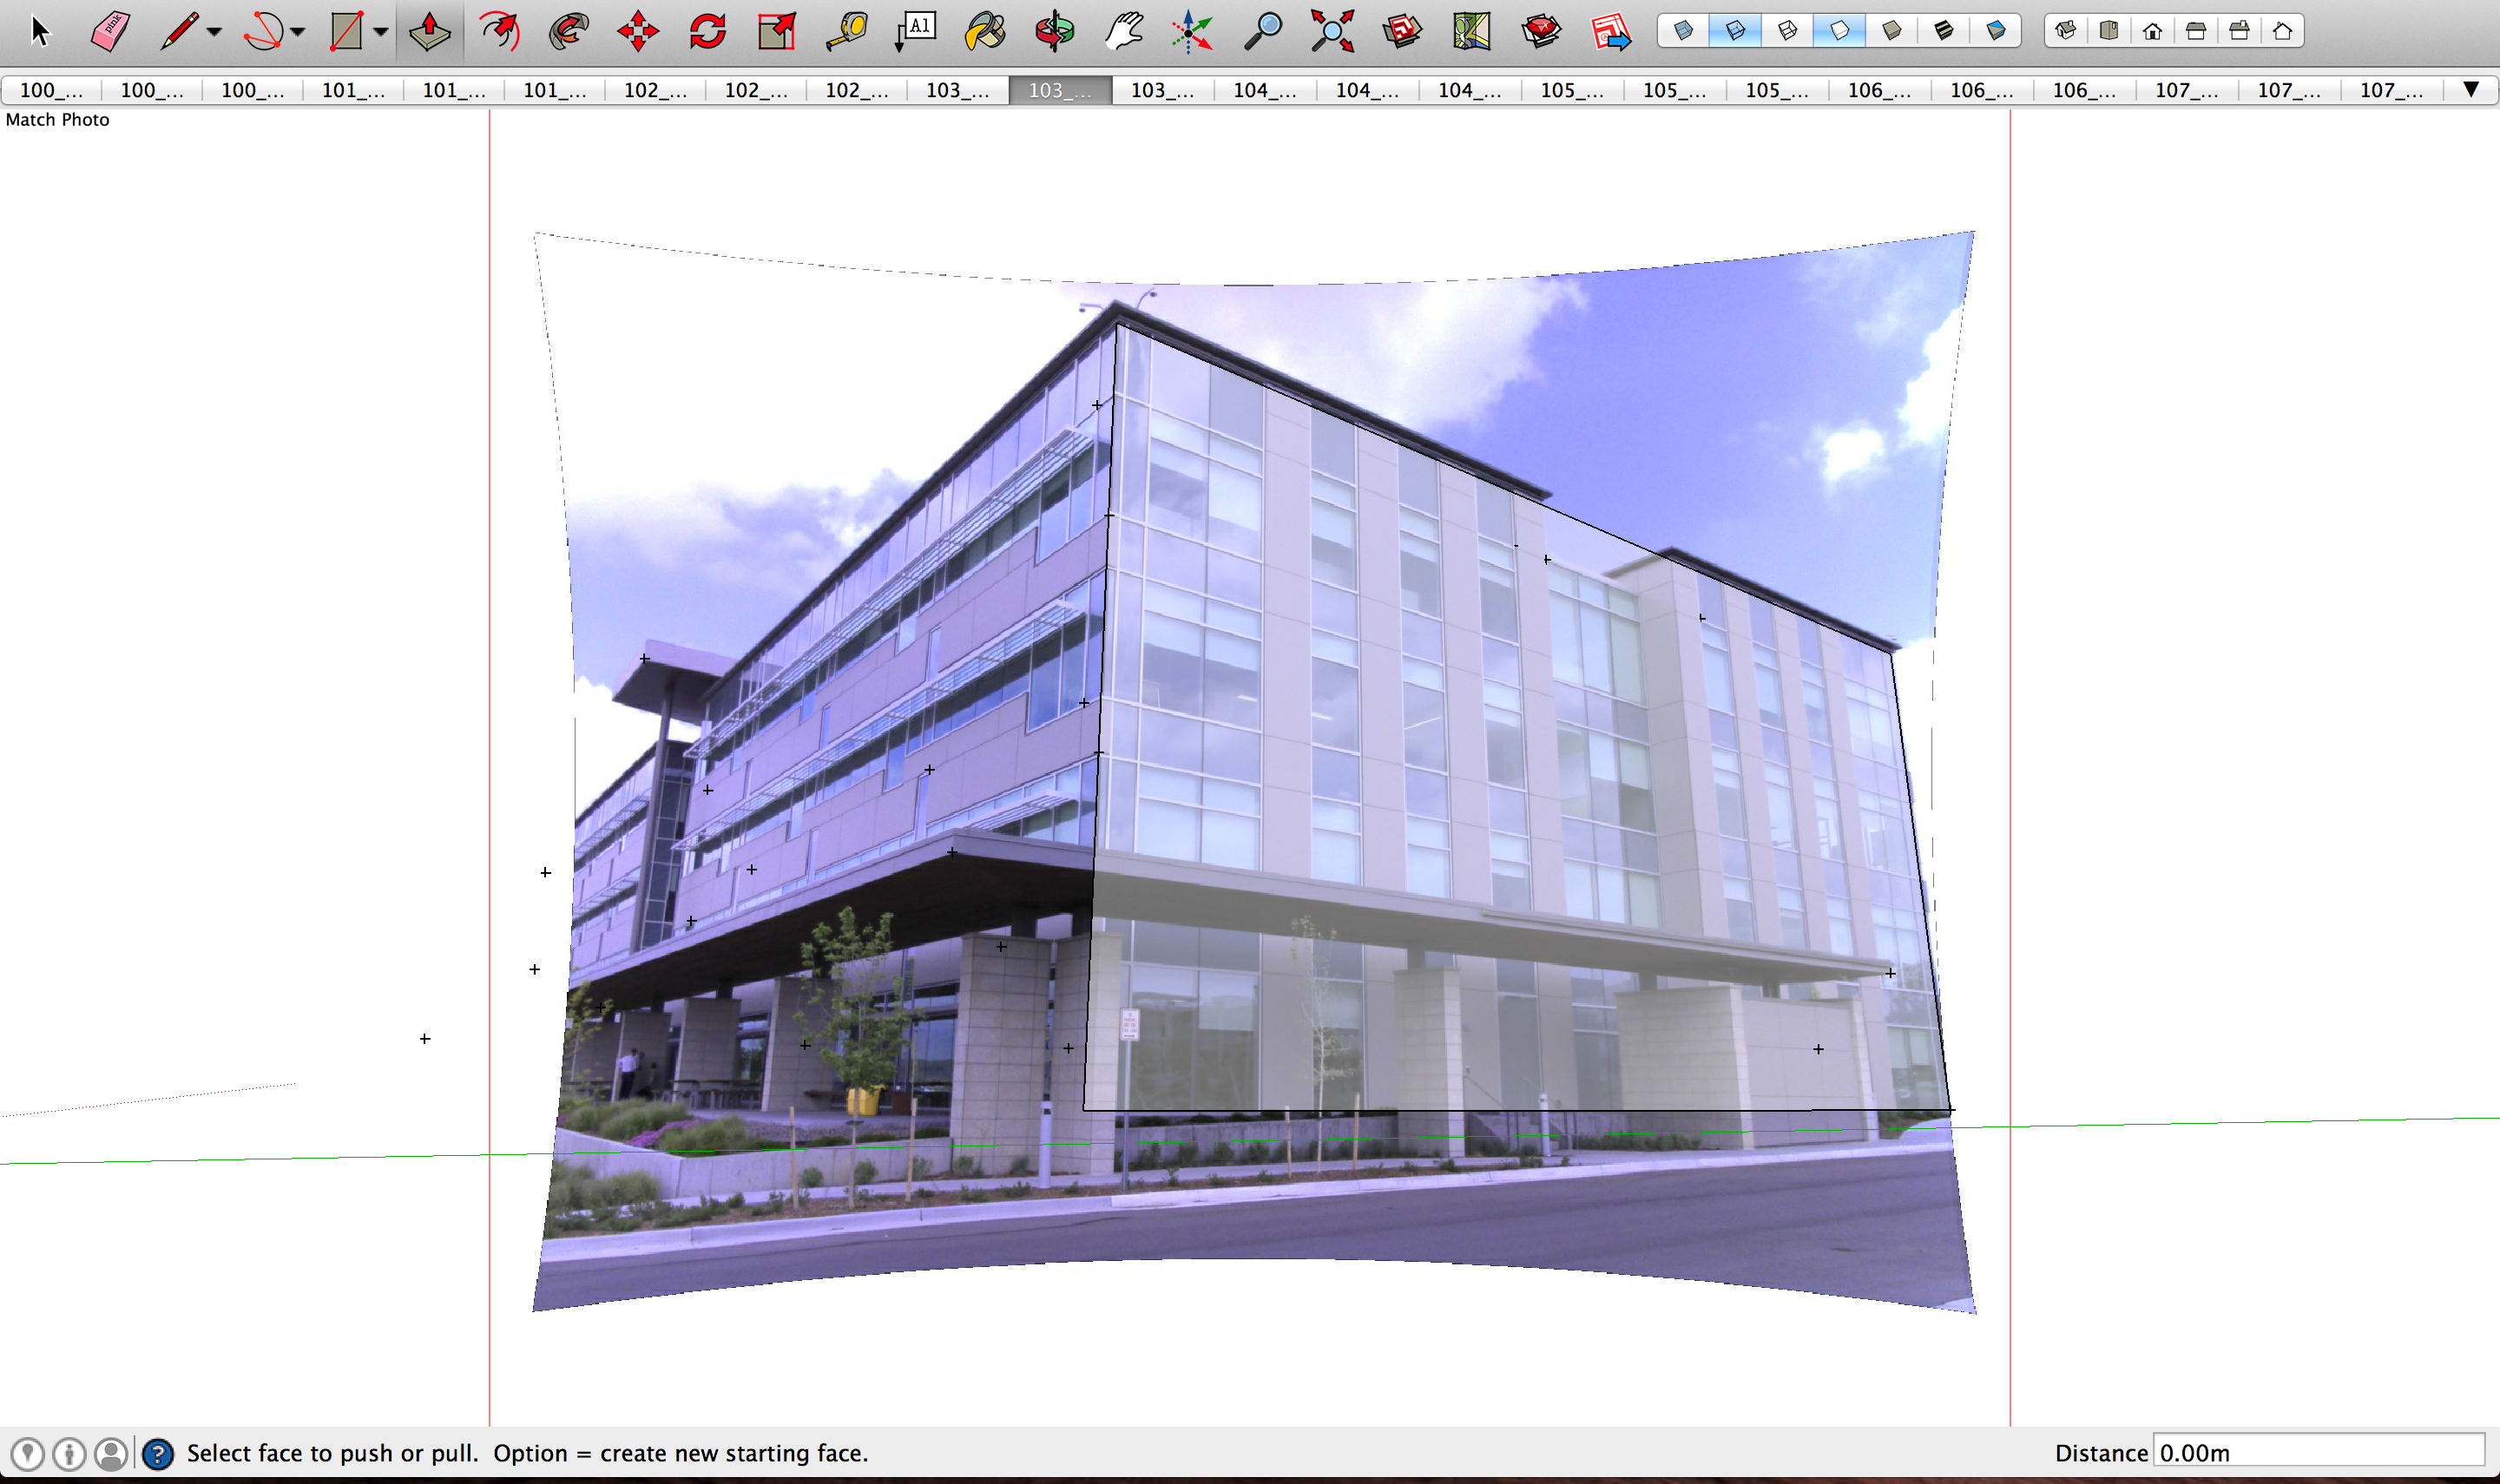
- Once imported, you will see the guide points generated from TBC as seen below:

- Each panoramic image is imported as its own Match Photo Scene which are located across the top of the modeling window. Scenes can be modified by using the Window > Scenes window or by right-clicking an individual scene tab at the top of the modeling window. Note: When importing V10 data, the imagery captured from the downward facing cameras could be included. To delete unwanted images, simply delete them by using the described methods above.
- The blue axis will be oriented in its native vertical direction. However, the red and green axes will need to be aligned with the orientation of the building.
- To do this, use the Axes tool (
 ) to set the model axes so successive geometry is properly aligned with the building orientation.
 - To start modeling, use the Image Igloo View (Camera > Image Igloo) to navigate to a Matched Photo Scene with a guide point present and press Enter or double-click the scene to activate the highlighted scene.
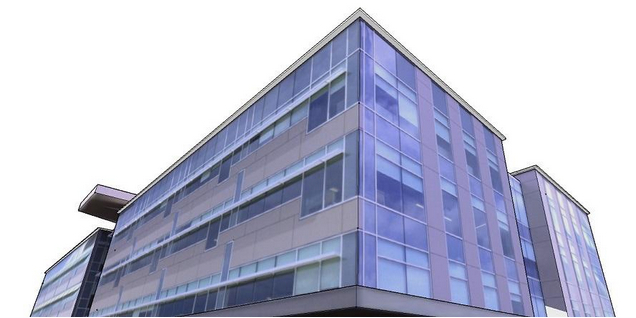
- In this example, we will be modeling this building starting with the guide point shown below:
- Use the Line tool (
 ) to draw a line from the guide point to the corner inferencing the blue axis as shown here in yellow:
 - Now use the Line tool () to draw the face of the building inferencing the axes. It is helpful to use the zoom feature as you draw:
- Once one face of the building is modeled, use the Push/pull tool (
 ) to create the basic 3D structure of the building:
 - Continue modeling by using the Image Igloo View to navigate between scenes and use the guide points generated in TBC. If needed, use the Photo Point tool(
 ) to manually create camera guidelines that can be used for geometry when guide points are not available.
 - Once finished, textures can be applied to your model by using the Position Texture tool or by using the "Project textures from photo" function within the Match Photo window.