You can edit any of SketchUp’s default styles to better match your workflow. When editing a style, SketchUp provides options that can change how faces look in your model.
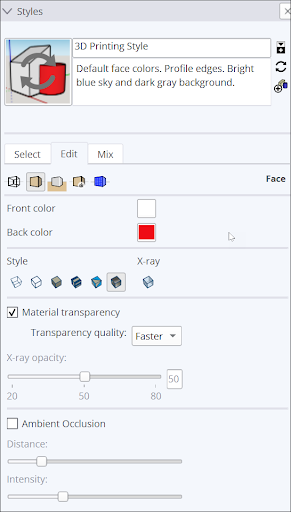
The following style options are available under Face Settings in the Styles panel:
| Option | Example | Good to Know |
| Front Color, Back Color | 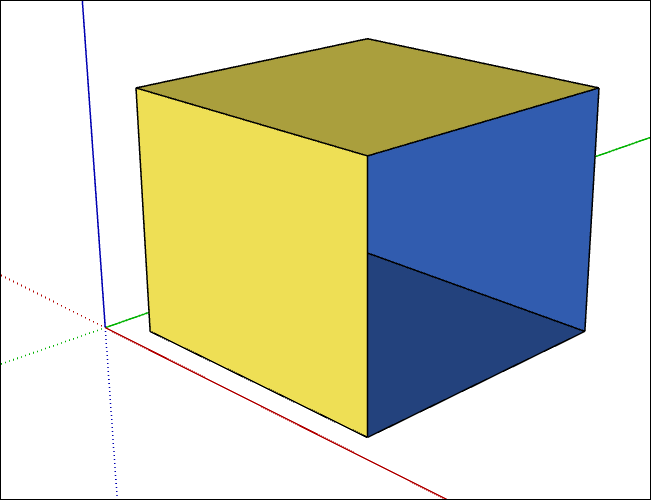 | Sets the default color for all front and back sides of faces. Materials assigned to faces override this setting. In this example, a face was removed from the cube so that you can see both front and back colors. |
| Style: Display in Wireframe Mode | 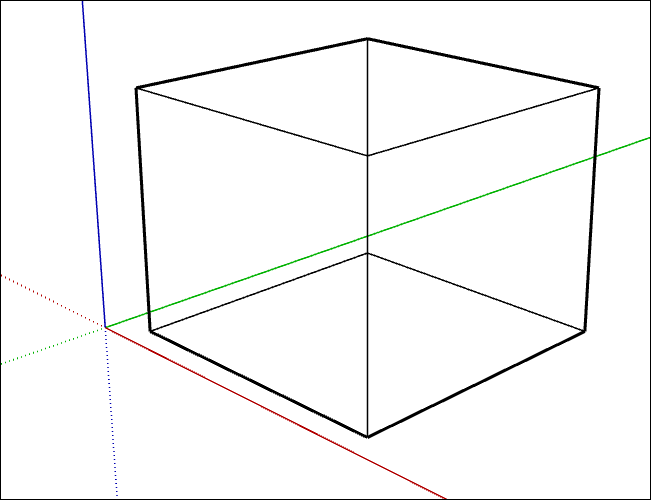 | Only displays the lines in a model. Faces are not displayed and you cannot use face modification tools like Push/Pull. |
| Style: Display in Hidden Line Mode | 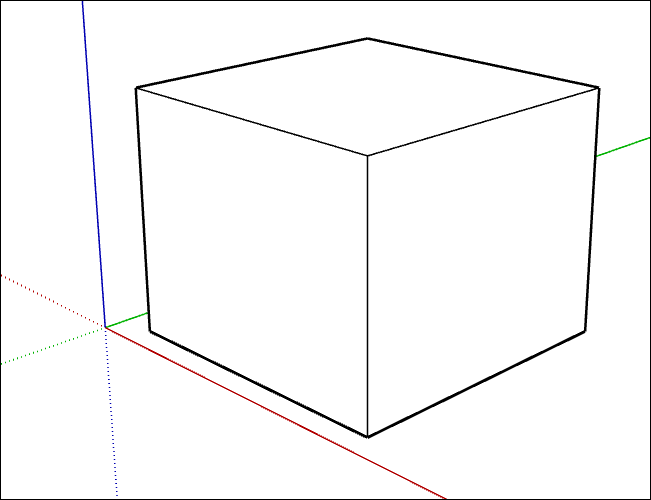 | Display faces without any shading or textures. This style is ideal for presenting a model in black and white. |
| Style: Display in Shaded Mode | 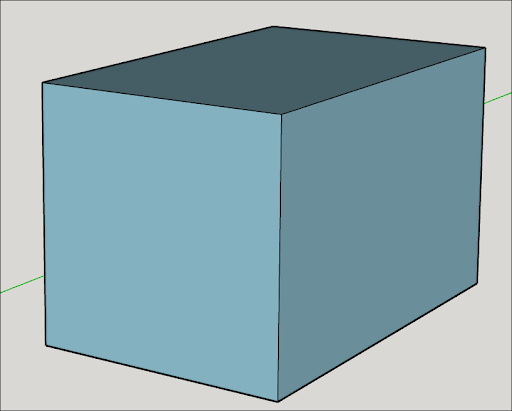 | Uses basic shading to roughly simulate a light source. |
| Style: Display Shaded Using Textures Mode | 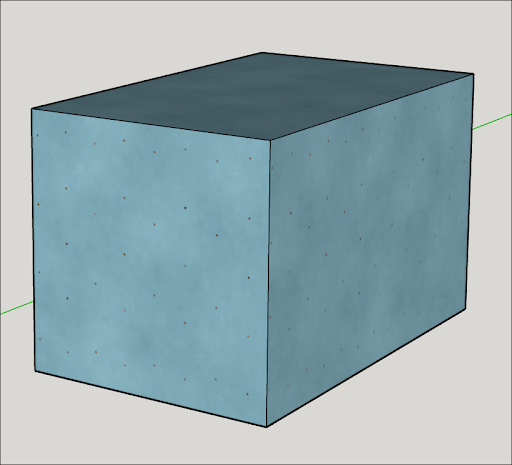 | Uses basic shading to roughly simulate a light source interacting with basic textures. |
| Style: Display Shaded Using All Same |  | Displays both the front and back of faces using the selected front face color. |
| Style: Display Photoreal Materials | 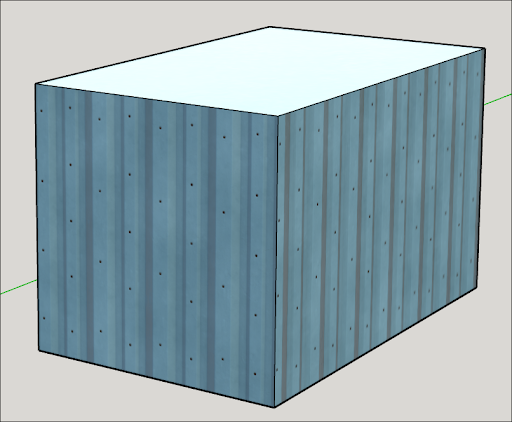 | Displays faces using the Photoreal Based Rendering (PBR) texture maps assigned to its applied material. An Environment must be selected for PBR materials to display their full effects. |
| X-Ray | 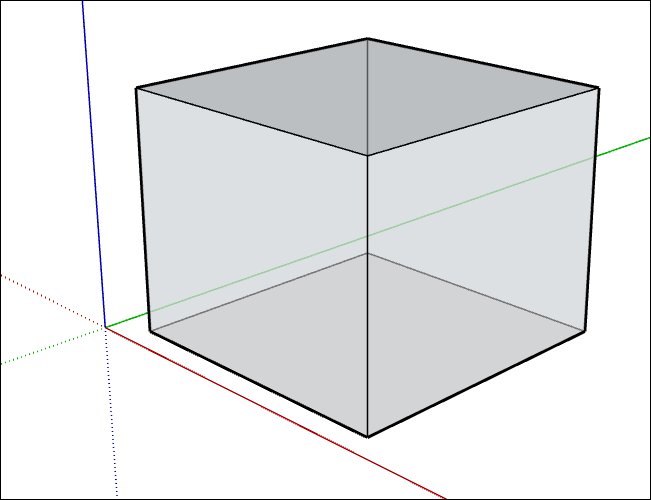 | Activate to make all faces transparent. In this mode, you can easily visualize, select, and snap to points and edges that would otherwise be hidden behind faces. Faces cannot cast shadows in X-Ray mode. Can be activated at the same time as a Style setting. |
After choosing a face style, there are a few more options you can adjust:
- Material Transparency – Toggles global material transparency on or off.
- Transparency Quality – Change speed and quality of transparency sorting between Faster or Nicer. Faster provides faster rendering, but has lower quality. Nicer won’t render as fast but looks better.
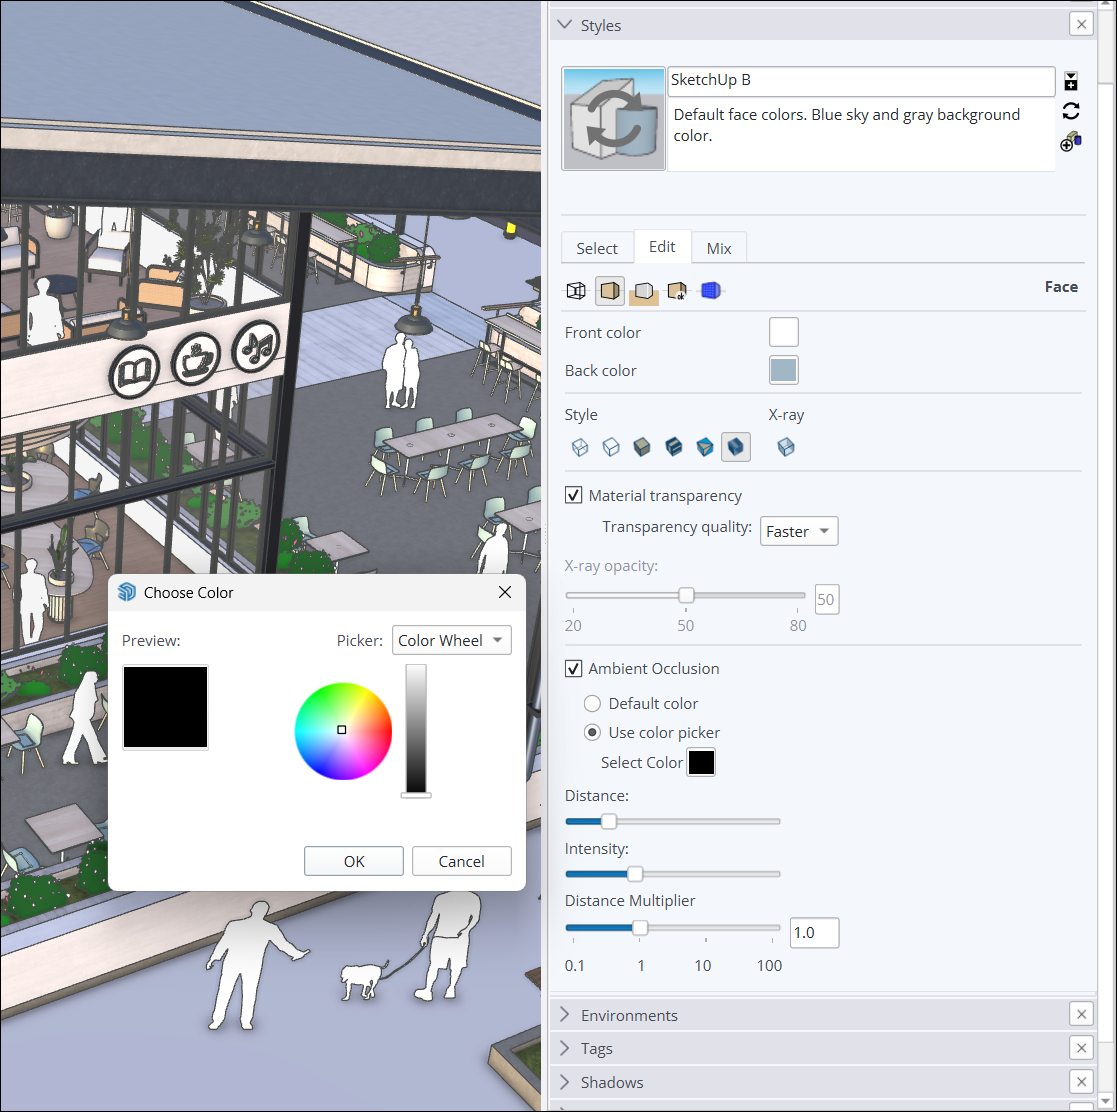
- Ambient Occlusion – Enabling Ambient Occlusion provides the following additional options:
- Color Controls – Choose between the default colors in your model, or use the color options to choose a color. The color you chose applies dynamic shading effects.
- Distance – Increase or decrease how far away the effect of occlusion is from your edges.
- Intensity – Increase or Decrease the depth and strength of the shading used on your edges and faces.
- Distance Multiplier – Control the distance at which occlusion effects appear in your models. A higher number means occlusion effects will still be visible when zoomed out.