A component has its own axis origin point, which determines the component's insertion point, or the point that's loaded onto the Move cursor when you place a component in your model.
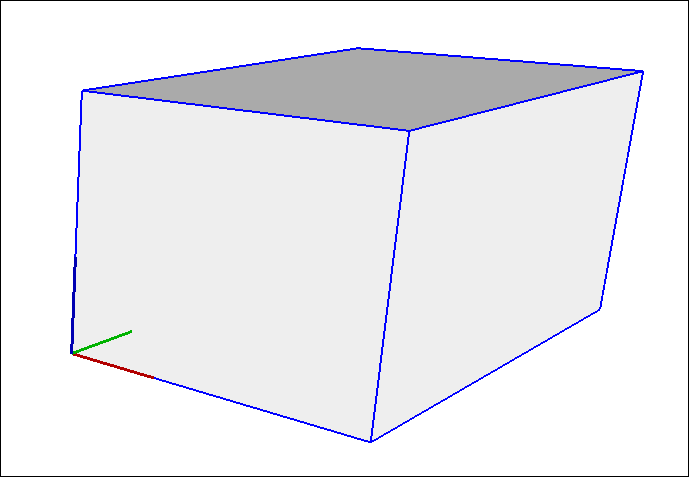
If the component is box-shaped (such as a dresser or cabinet), the insertion point is typically the front, lower-left corner, as shown in the figure. That placement works great - unless you need to place the component against other components or otherwise work around existing geometry.
Whatever your reasons for moving the insertion point, here's how to reset a component's axis origin:
- Select the component in your model.
- Context-click the component and select Change Axes.
- With the Axes tool cursor that appears, reset the axis origin. See Adjusting the Drawing Axes for details about working with the Axes tool. The only difference is that you're setting the axis origin for a component, not the whole model.
Tip: After you place a component in your model, you can move the component by any point you like. Simply select the Move tool ( ), click the point you want to use for moving the component, and click again to place the component. For example, after placing a cabinet component in your model, you might need to move the cabinet by its midpoint so you can slide the cabinet next to existing cabinets. See Moving Entities Around for more about moving entities with the Move tool.