Inserting Components

Inserting components

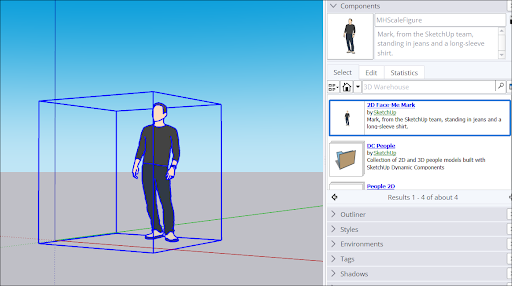
You can insert a component instance into your model in three ways:

  • Select or download a component via the Components panel.
  • Import a SketchUp file (with the .skp file extension).
  • Drag a SketchUp file from File Explorer (Microsoft Windows) or the Finder (Mac OS X) into your model.

Premade components are most often inserted from the Components panel into a model. Follow these steps:

  1. By default, the Components panel opens to the Components Sampler collection, as shown in the figure.


  2. You can select one of the sample components and proceed to the next step. However, the sampler's selection is limited compared to the vast selection in the 3D Warehouse. To try the 3D Warehouse, type a search term in the 3D Warehouse search box. (Searching for components, later in this article, explains other ways to search the 3D Warehouse.) To browse collections, click the down arrow next to the In Model icon () and select a collection. (See Organizing component collections for details about the existing collections and how to create your own.) After you select or download a component, SketchUp loads the component onto the Move cursor.
  3. Click in the drawing area to place the component in your model.
Tip: If you have trouble seeing the components in the Components panel, try changing your view options. Click the View Options button () and choose from Small Thumbnails, Large Thumbnails, Details, or List.

Note: After you download a component from the 3D Warehouse, the creator might update that component. To quickly update your local version of the component, context-click the component in your model, and select Reload from the context menu that appears. The components details page in the 3D Warehouse appears, where you can download the new version and thus reload your In Model component with the latest 3D Warehouse version. If you want to keep the old component but also add the new version to your model, context-click the component and select View Details. You see the component's details page, but instead of reloading the old component, the new version is added to your model as a new component instance.


If you have a SketchUp model saved to your hard drive, you can import that model as a component in another model. Follow these steps:

  1. Open the model into which you want to import a SketchUp file.
  2. Select File > Import.
  3. In the Open dialog box that appears, navigate to the SketchUp file. If you don't see your file, in the Files of Type drop-down list, select SketchUp Files (.skp).
  4. Select the SketchUp file, and click Open. SketchUp loads the component onto the Move cursor.
  5. Click in the drawing area to place the component in your model.

Dragging a SketchUp file from the File Explorer (Microsoft Windows) or the Finder (Mac OS X) into an open model also loads the SketchUp file onto the Move cursor. Simply click to place the component in your model.

Tip: When your component is loaded onto the Move tool cursor, the Move tool is anchored to the component's axis origin point. If that doesn't work for you, change the location of the component's axis origin before you insert the component. Doing so will change the default insertion point. See Adjusting a component's insertion point for details.
Was this article helpful?