Scenes help you save different model views and properties. You can then present those views to show off different aspects of your model. Each scene you create appears in a tab along the top of the modeling window, allowing for easy navigation and management.
With scenes you can:
- Quickly change to a different view while modeling.
- Save a view you want to represent your model to stakeholders or when sharing to 3D Warehouse.
- Animate a sequence of scenes to make a presentation.
Adding a Scene
Before you create a scene, set the view and apply any styles, fog, shadows, or section cuts that you want the scene to display. Also, hide any geometry or adjust tag visibility as needed. Each of these properties will be saved in the scene you create.
Once you have prepped your model, follow these steps to create a scene:
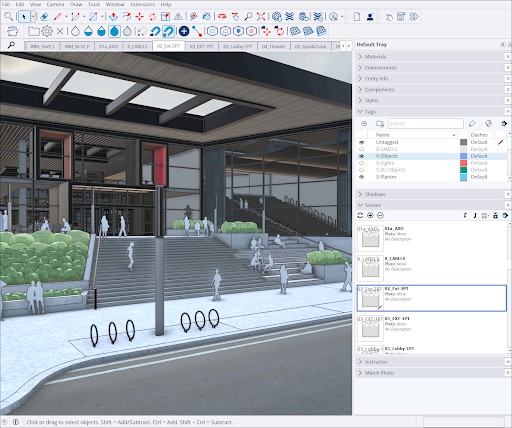
- Open the Scenes panel.
- Click Add Scenes (
 ). SketchUp will add the new scene in the Scenes panel.
 - Click Show Details (
 ) to adjust the scene's details. You can rename it, add a description, or change saved properties.
Managing Scene Properties
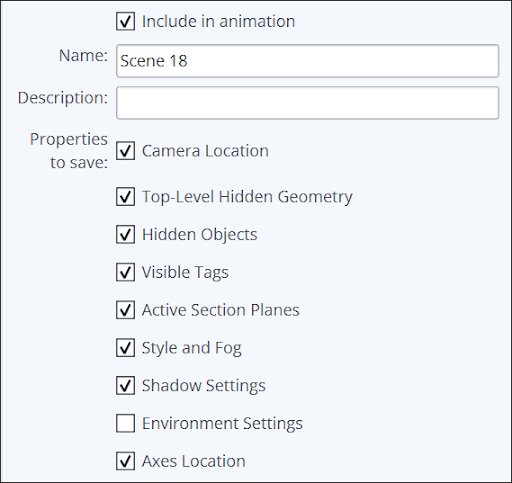
When you add a scene, SketchUp saves the properties that affect the view of your model. If you want to make sure a scene is included when you animate all your scenes together in a presentation, select Include in Animation. You can also change the name or description at any time.
The following settings in a scene’s details can help control what properties are saved:
- Camera Location – Camera properties include point of view, zoom distance, and field of view.
- Top-Level Hidden Geometry/Hidden Objects – For scenes with hidden geometry, make sure that geometry remains hidden every time you load the scene.
- Visible Tags – If you have tags controlling visibility in your model, selecting this makes sure the scene saves those visibility settings.
- Active Section Planes – For models containing several section planes, this setting makes sure that only the active section planes are captured.
- Style and Fog – Applies all style and fog settings.
- Shadow Settings – Stores all shadow related information like time and date.
- Environment Settings – Captures all environment settings like the sun position and skybox.
- Axes Location – Captures the settings of the axes, including visibility.
Managing Scenes
Here are some tips to help when managing scenes:
- To update a scene after making changes to a model, or changing any of the scenes properties, select the scene you want to update and click Update Scene (
 ).
). - To delete a scene, select the scene you want to remove and click Remove Scene (
 ).
). - To use an image of the scene as its thumbnail, context click the scene and select Use Scene Thumbnail. If you change the way a scene looks and want to update its thumbnail, select Update Scene Thumbnail instead.
- You can use Move Scene Down or Move Scene Up in the Scenes panel to change the order they appear in.
- To change the order in which scene tabs appear in the modeling window, context click the scene you want to move and select Move Left or Move Right as needed.
- To search for a specific scene from your tabs in the drawing window, use the Search (
 ) option on the left of your tabs to select the scene from a list.
 - To download a model from the 3D Warehouse and preserve its scenes, click No when asked if you want to load it into your current model. Save it to your device or Trimble Connect and open it as a new model to see that model’s scenes.