With a watermark you can place a graphic in front of or behind your model. Watermarks can be used to add a company name or logo to identify your designs, but can also have creative applications.
To add a watermark to your model, follow these steps:
Open the Styles Panel and navigate to the Edit tab.
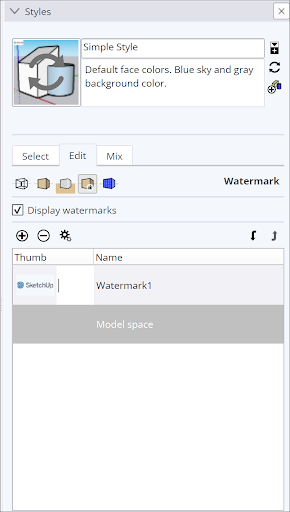
- Select Watermark Settings (
 ). Display Watermarks is selected by default. If unselected, watermarks won’t appear in your model.
 - Click Add Watermark (
 ). Locate the image you want to use as a watermark. You can use .jpg, .png, .psd, .tif, .tga, .bmp files as watermarks.
 - Name your watermark and select either Background or Overlay. Background places the watermark behind your model, Overlay in front. Click Next.
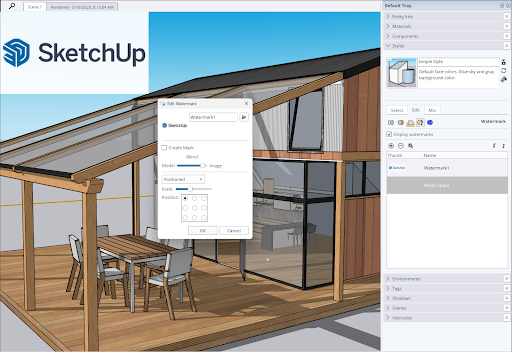
- Selecting Create Mask to create a vignette-like mask of your image where the white portion of the graphic becomes transparent and the black areas use the background color.
- Use Blend to set how transparent your watermark is. The closer the slider is to the Background side the more transparent the watermark appears.
- Click Next.
- Use the options provided to set your watermark’s position. You can choose Stretched, Tiled, or Positioned.
- Click Finish if you’re done creating your watermark, click Previous to go back and change a selection, or click Cancel if you decide you don’t want the watermark after all or to start over.
After you create your watermark, you can edit the watermark by following these steps:
- Select the watermark in the Styles panel.
- Click Edit Watermark Settings (
 ).
). - Use the Edit Watermark dialog to adjust your watermark.
- Click OK when you’re done editing your watermark.
To delete a watermark, select it in the Styles panel and click Delete Watermark (![]() ). If you have more than one watermark, click Move Watermark Up (
). If you have more than one watermark, click Move Watermark Up (![]() ) or Move Watermark Down (
) or Move Watermark Down (![]() ) to set how the watermarks are layered in your model.
) to set how the watermarks are layered in your model.