In SketchUp, collections help you organize styles and easily access the ones you use most often. SketchUp includes several default collections, but you can create your own and save collections to a favorites list.
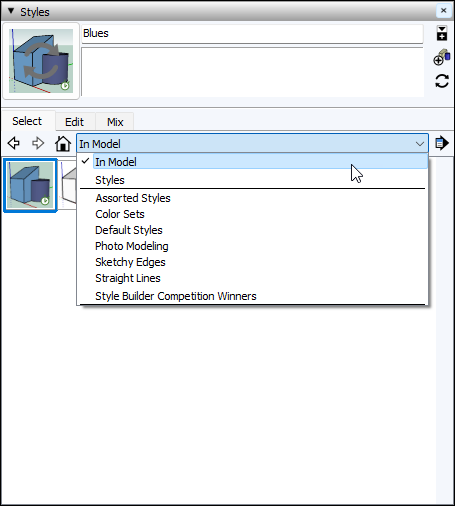
The In Model styles collection is particularly helpful, because it contains all the styles currently included with your model file. To see your In Model styles, follow these steps:
- Open the Styles panel by selecting Window > Styles. opening the Styles dialog box in the Default Tray.
- On the Select tab, click the In Model icon (
 ) or select In Model from the Styles Collections drop-down list, as shown in the figure.
With a custom collection, you can bundle predefined styles that you often use in SketchUp or styles that you created or customized for a specific project. (See Creating and Editing a Style for details.) To create your own collection, follow these steps:
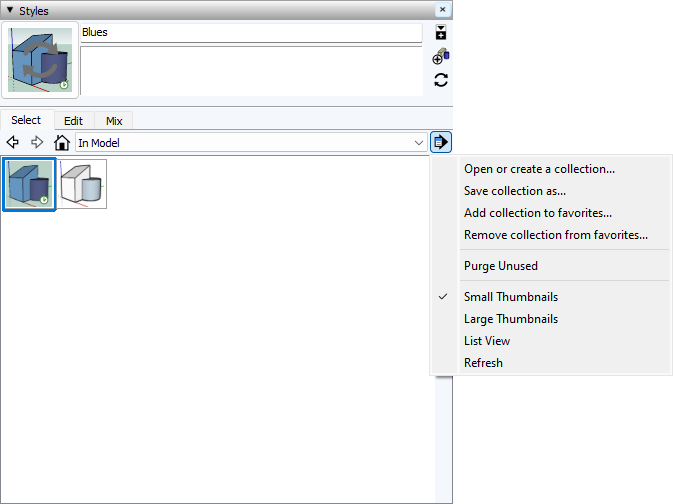
- In the Styles panel, click the Details arrow (
 ) and select Open or Create a Collection from the menu that appears.
 - Click New Folder to create a subfolder in your selected folder and give your folder a name.
- Click the Display Secondary Selection Pane icon (
 ) to open a pane below your new collection, which is currently empty.
 - In the secondary selection pane, navigate to a style you want to add to your collection.
- Drag the style from the secondary selection pane into your new collection. Continue navigating to and dragging styles to your collection until it contains all the styles you want.
After you create a custom collection, accessing it in another model is easy. You simply open it — and if you use the collection frequently, add it to your favorites: