With SketchUp's Freehand tool (![]() ), you can create hand-drawn lines. The Freehand tool is handy when you need to trace imported drawings, create a 2D sketch, or decorate your model.
), you can create hand-drawn lines. The Freehand tool is handy when you need to trace imported drawings, create a 2D sketch, or decorate your model.
You can find the Freehand tool (![]() ) in the following places:
) in the following places:
- In the Getting Started toolbar. If you don't see the Freehand tool, click the drop-down arrow next to the Line tool.
- The Drawing toolbar (Windows).
- The Freehand icon in the Large Tool Set.
- Under the Draw menu, the Lines submenu.
Under the hood, the lines that you draw with the Freehand tool become curve entities. A curve entity contains multiple line segments but can define and divide a face like a single line. Although you select all the segments in a curve entity at once, the SketchUp inference engine displays point and edge inferences for each segment in the entity.
Drawing freehand curves or polylines
You can draw freehand curves on existing faces or separate from existing geometry. To draw a curve, follow these steps:
- Select the Freehand tool (
 ). The cursor changes to a pencil with a curve.
 - If you want to draw your curve on a specific axis plane, use the arrow keys (Left Arrow for green, Up Arrow for blue, and Right Arrow for red) to select the drawing plane for your curve. You'll see a notification at the cursor that the inference is locked.
- Click and hold to place the starting point of your curve.
- Drag the cursor to draw. As you draw, the color of your line corresponds to the axis perpendicular to your drawing plane. Release the mouse button to stop drawing. The line turns black.
- (Optional) Curves in SketchUp are actually made up of a series of line segments. The more segments, the smoother your curve. After drawing a curve you may decrease the segmentation of your curve using modifier keys:
- For Windows users, press the Ctrl - to decrease segments and Ctrl + to increase segments.
- For macOS users, the Command - decreases the segments while Command + increases them.
- You cannot add more segments than were created in your initial freehand stroke.
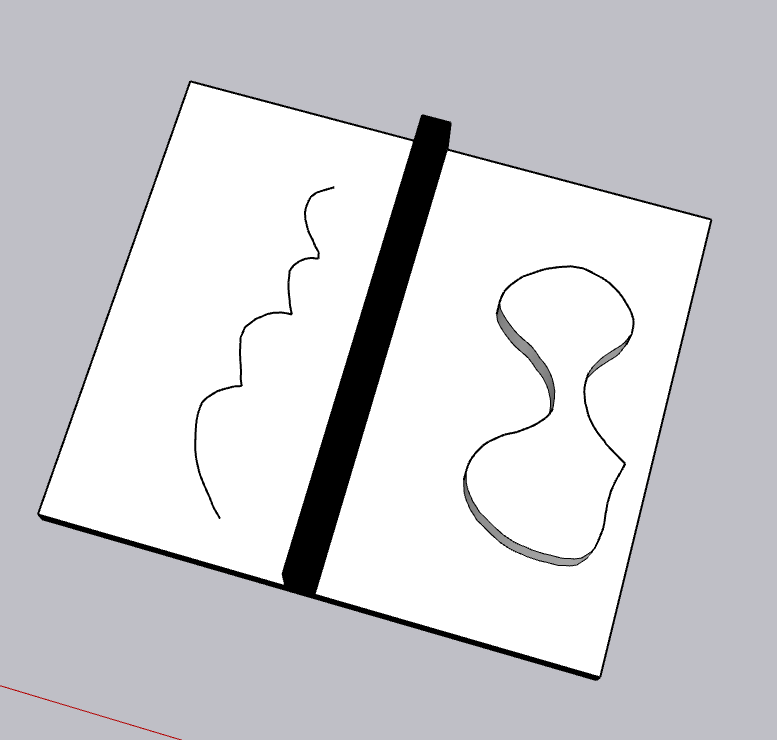
(Optional) End your curve at the point where you started drawing to create a closed shape. The figure shows an open curve (left) and a closed curve (right).
Editing a freehand curve
You can change the length of a freehand curve entity as long as it doesn't bound a face. To edit a curve, follow these steps:
- Select the Move tool (
 ).
). - Hover the cursor over the curve to locate an end point.
- Click and drag the end point to adjust the curve and release the mouse when you're done.