LayOut's Auto-Text generates title block text like dates, page numbers, or other custom text that you define. Auto-Text tags help improve accuracy and can even save some time. LayOut includes the following preset Auto-Text tags:
- Address
- Author
- Company
- Current Date
- Date Created
- Date Modified
- Date Published
- File Name
- Page Count
- Page Name
- Page Number
LayOut also supports the following tags:
- Classifier
- ComponentDefinition
- ComponentDefinitionAttribute
- ComponentDescription
- ComponentInstance
- ComponentInstanceAttribute
- Coordinates
- DynamicComponent
- FaceArea
- FaceLength
- GroupName
- Ratio
- Scale
- SceneDescription
- SceneName
- SectionName
- SectionSymbol
- Volume
Auto-Text tags allow you to automatically insert information into your drawing in the same way you add normal text to your drawing. You can also customize those tags, or even create your own (see below). To use Auto-Text in your drawing, just follow these steps:
- Select the Text tool from the default toolbar or by selecting Tools > Text from the menu bar.
- In the document area, click where you want to insert the Auto-Text tag.
- From the menu bar, select Text > Insert Auto-Text and then select a tag from the submenu that appears. The tag you select is inserted into the document area. You can also type the tag name, such as <PageNumber> and include it in a text box with normal text and press Enter.
- Click outside the text area. The Auto-Text tag displays the text that your audience will see in the document area.
Customizing Auto-Text tags
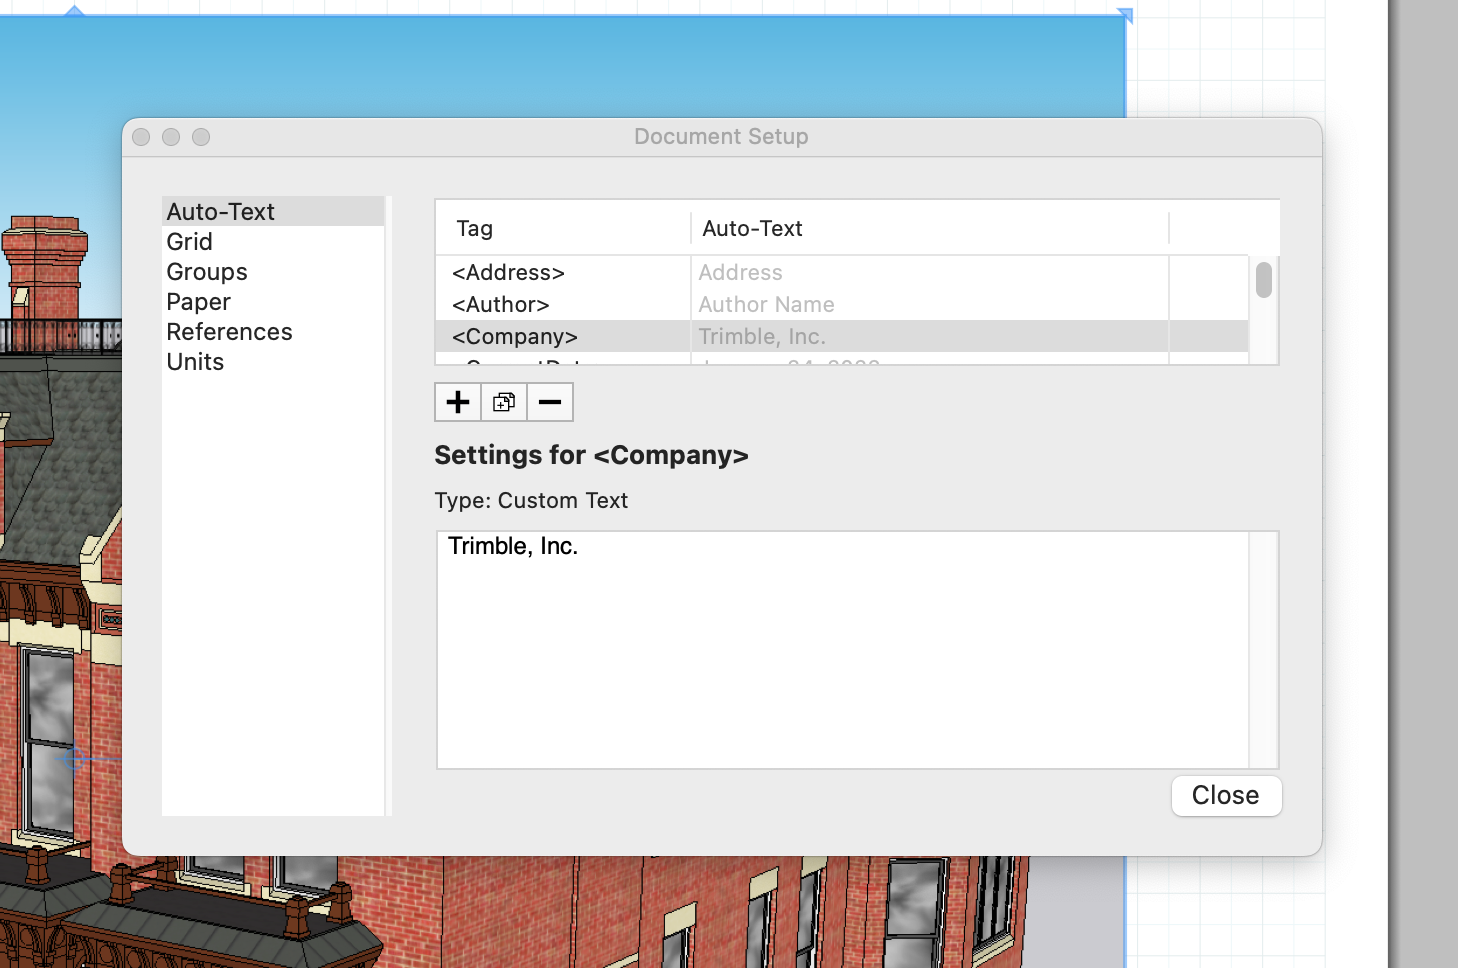
You can customize the preset tags or create your own Auto-Text tags in the Document Setup dialog box. For example, you can customize the <Company> tag with your company's name, or create a custom tag for a specific project.
To customize a preset Auto-Text tag, follow these steps:

- Select File > Document Setup or Text > Customize Auto-Text from the menu bar. Either command opens the Document Setup dialog box.
- In the 'Document Setup' dialog box, make sure Auto-Text is selected in the sidebar on the left.
- From the list of tags at the top-right, select the tag you want to customize.
- The selected tag now appears next to Settings for in the middle of the dialog box. Depending on the type of tag you select, you can now perform one of the following actions:
- Address, Author, Company - Insert the custom text that you want associated with the selected tag.
- Current Date, Date Created, Date Modified, Date Published - Change the date format.
- File Name - Choose how the file name appears.
- Page Count, Page Number - Set the style, start, and ending pages.
- When you're done, click the Close button.
Creating New Auto-Text Tags
To create a new Auto-Text tag, follow these steps:
- Click the + button (the plus sign) below the list of tags in the Document Setup dialog box, and from the menu that appears, select the type of tag you want to add. See the following list for details about your options. After you select an option, a new tag is highlighted in the list of tags at the top of the Document Setup Auto-Text pane.
- Type a name for the new tag, such as ProjectName, and press Enter. By default, the tag is called <NewTag1> or something similar, but that won't help you remember what text the tag inserts, although the Auto-Text column next to the tag name does display a preview.
- In the Settings For area, use the controls for the type of tag you selected to set the text that the Auto-Text tag inserts.
When you create a new tag, you can choose from the following tag types:
- File Name: Inserts the current file name.
- Page Name: Uses page names that appear in the Pages panel. (See Managing and Navigating Pages for details about the Pages panel.)
- Page Number: Uses the current page number, which is managed in the Pages panel.
- Page Count: Shows the total number of pages, or pages within a custom range.
- Custom Text: This text tag can display any text you choose. The text updates in your LayOut document if you change the Auto-Text definition in the Document Setup dialog box.
- Current Date: Displays today's date. This tag updates on a daily basis.
- Date Created: Inserts the date file was first created. This value only changes if you select File > Save As and save the file under a new name.
- Date Modified: Inserts the last date saved. This tag updates whenever you save your document.
- Date Published: Inserts the last date your LayOut document was exported or printed. If the document hasn't been exported or printed, this tag displays Unpublished in your presentation.
- Sequence: An Auto-Text tag that automatically changes in set increments when copied. You can select the style (i.e. numbers or letters), what the sequence starts with, the increment, and the format for your sequence. You can also renumber an existing sequence in the Document Setup dialog or in the context menu associated with a sequence tag.