When you edit a component with the Solid tools, the steps are little different than the steps for editing components with the other drawing tools.
Tip: To start, if you want to use the Solid tools to edit a subcomponent within a component, you need to explode the main component. For example, to edit the Picket component with the Subtract tool, which is one of the Solid tools, you need to explode the Fence Panel component so that you can click the Picket component immediately after selecting the cutting object. After you're done editing the Picket component, you can re-create the Fence Panel component.
The following steps explain how to edit a component with the Solid tools, using the fence model as an example:
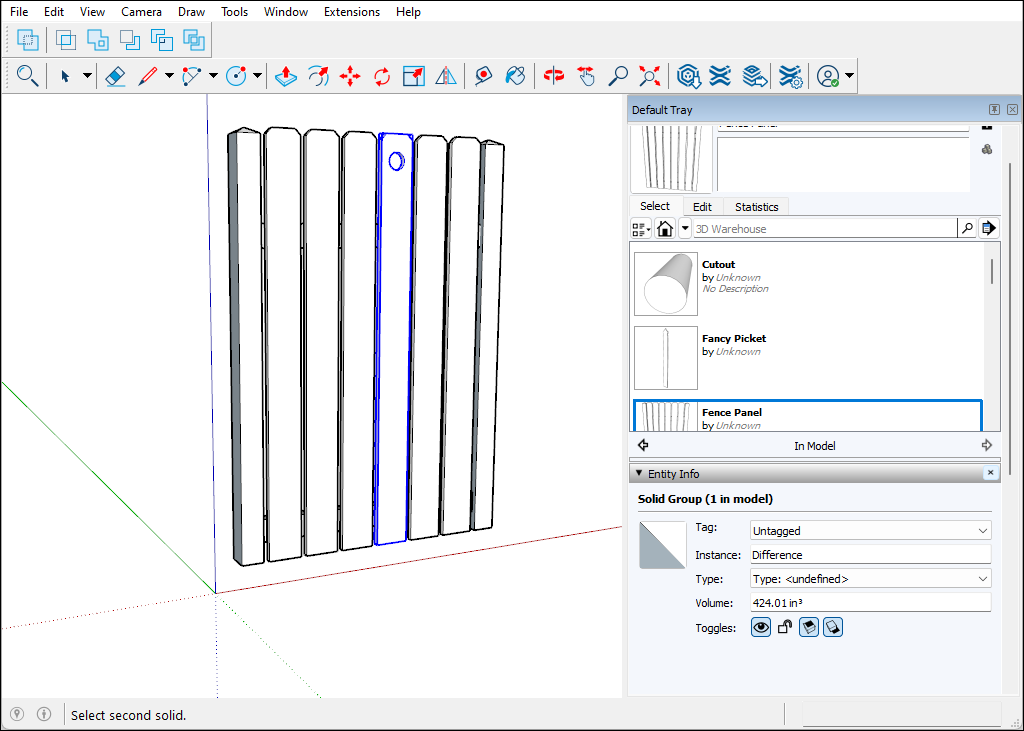
Edit the component with a Solid tool In this example, the Subtract tool cuts a hole in the Picket component. In the Entity Info panel, notice that the name of the component instance changes from Picket to Difference.
- To update the component definition so that all pickets reflect your changes, context-click the modified picket and select Make Component.
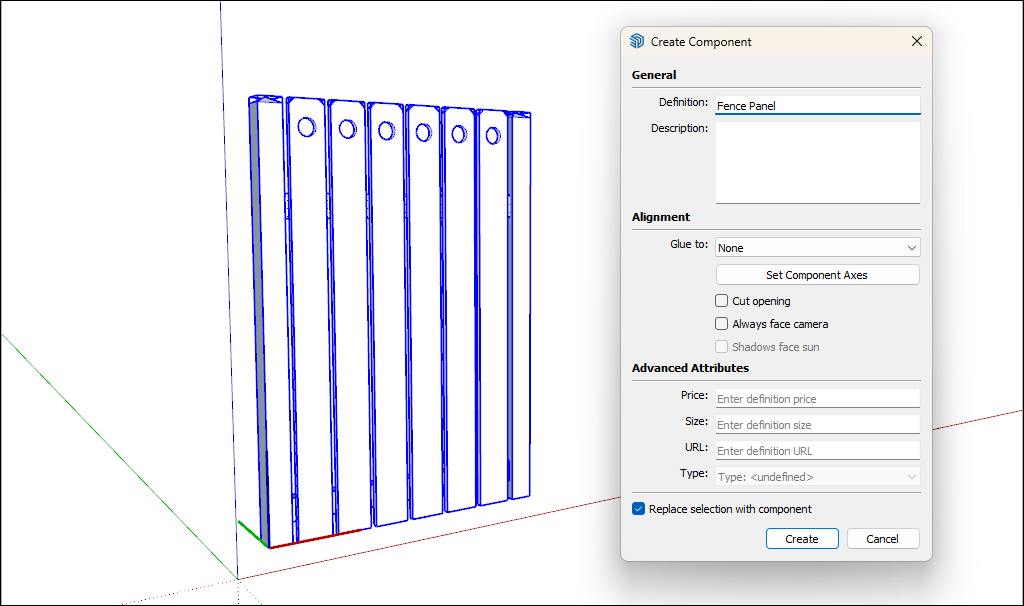
- In the Create Component dialog box, make sure the component Definition matches the original component name. In this example, that name is Picket.
Click the Create button. A dialog box asks whether you want to replace the component definition.

- Click Yes. All instances of your component reflect the change you made with the Solid tool or tools.
- (Optional) If you exploded a component to access subcomponents, you can re-create the component. For example, select all the entities in the updated fence and re-create the Fence Panel component.