You can import and use 2D images in a SketchUp model in a variety of ways:
- Import an image as its own image entity. An image entity is similar to a face and can be rotated or resized.
- Import an image as a texture. Importing as a texture allows you to apply that image to a face in your model and also creates a material for that image.
- Import the image as a matched photo. Importing an image as a matched photo enables Matched Photo mode. For more information, see Photo Matching.
Image Entities
To import an image as an image entity:
- Select File > Import.
- In the import dialog, locate the image file on your device and select it.
- Select Use As Image.
- Click Import. The image entity will appear in your model.
- Click where you want to place the first corner of the image in your model.
- As you move your cursor the image will grow or shrink. Clicking again places the opposite corner and determines the size of the image.
- Use the Move, Rotate, and Scale tools to adjust the image as needed.
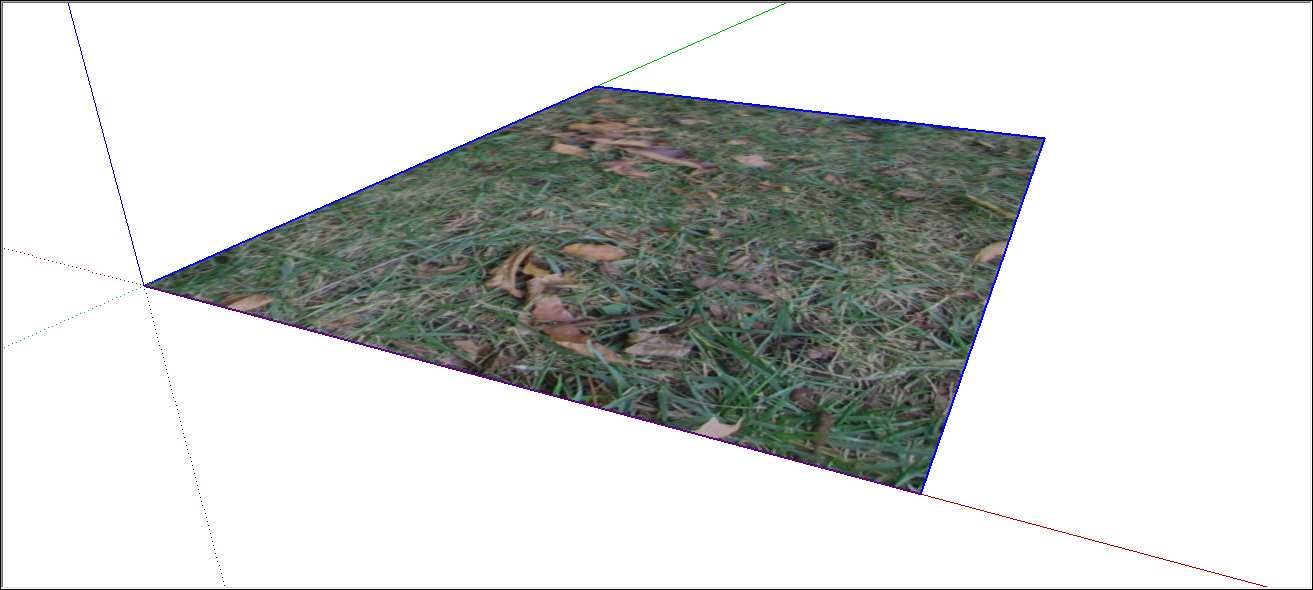
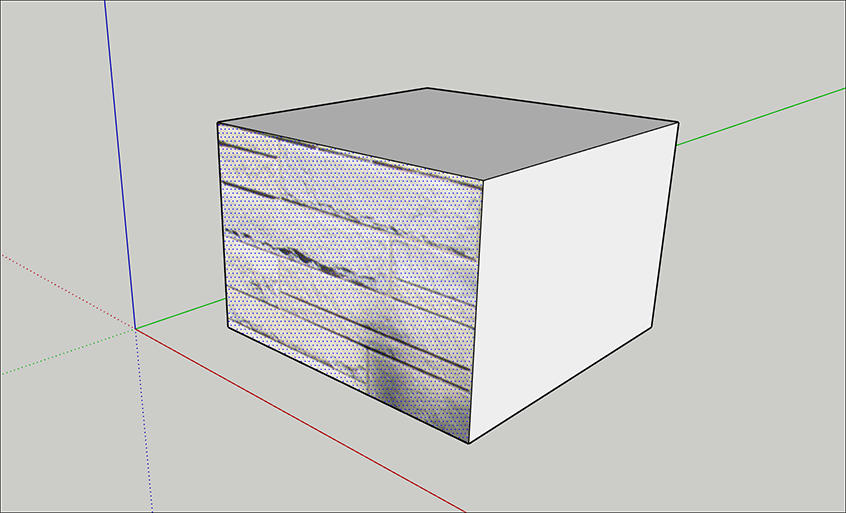
Image Textures
- Select File > Import.
- In the import dialog, locate the image file on your device and select it.
- Select Use As Texture.
- In your model, select the location on the face where you want to apply the image as a texture.
- As you move your cursor the image will grow or shrink. Clicking again places the opposite corner and determines the size of the image.
Click again to apply the image as a texture. If you only covered a portion of the face, the image will tile to fill out the rest of it.
- To further edit how the texture appears on the face, see Applying Materials and Editing Materials.
Tracing an Image
Tracing an imported image is an easy way to create a floorplan in SketchUp you can turn into a 3D model, or a good way to trace a 2D design that you want to place somewhere. To start tracing an image:
- Import your image into SketchUp.
- Click where you want to place the top-left corner of the image, and click again to place the lower-right corner, which scales the image.
- (Optional) Select Camera > Standard Views > Top to get a top view of your image. You may want to enable Parallel Projection.
- Select a drawing tool to start tracing the image.