SketchUp can import digital elevation models (DEM), which contain point data relating to terrain elevations. DEM files don’t come in a standardized format, but SketchUp supports the import of two file types:
- USGS DEM format uses the
.demfile extension. If your DEM file is missing its file extension, you need to add it before the file will import into SketchUp. - Spatial Data Transfer Standard format (SDTS) uses the
.ddffile extension. SDTS models usually consist of 20 or more files, all with the.ddfextension, stored in a single directory. You can select any of the.ddffiles in a SDTS directory to import the entire set of files.
To import a DEM file into SketchUp, follow these steps:
Windows
- Select File > Import. The Import dialog box appears.
- From the Files of Type drop-down list, select DEM (*.dem, *.ddf).
- Navigate to the location where your DEM file is saved and select it.
- Click the Options button. The DEM Import Options dialog box appears.
- (Optional) In the Points and Faces boxes, you see how many points (and subsequent faces) are created when you import the DEM file. If you like, you can adjust the number of points by entering a new number. When you lower the number of points, you can improve the terrain’s performance in SketchUp, but the terrain will lose detail.
- (Optional) Select the Generate Gradient Texture checkbox if you’d like a gradient that’s darker in the low areas and lighter in the high areas to appear over your imported terrain.
- Click OK in the DEM Import Options dialog box to return to the Open dialog box.
- Click Import, and SketchUp imports your file.
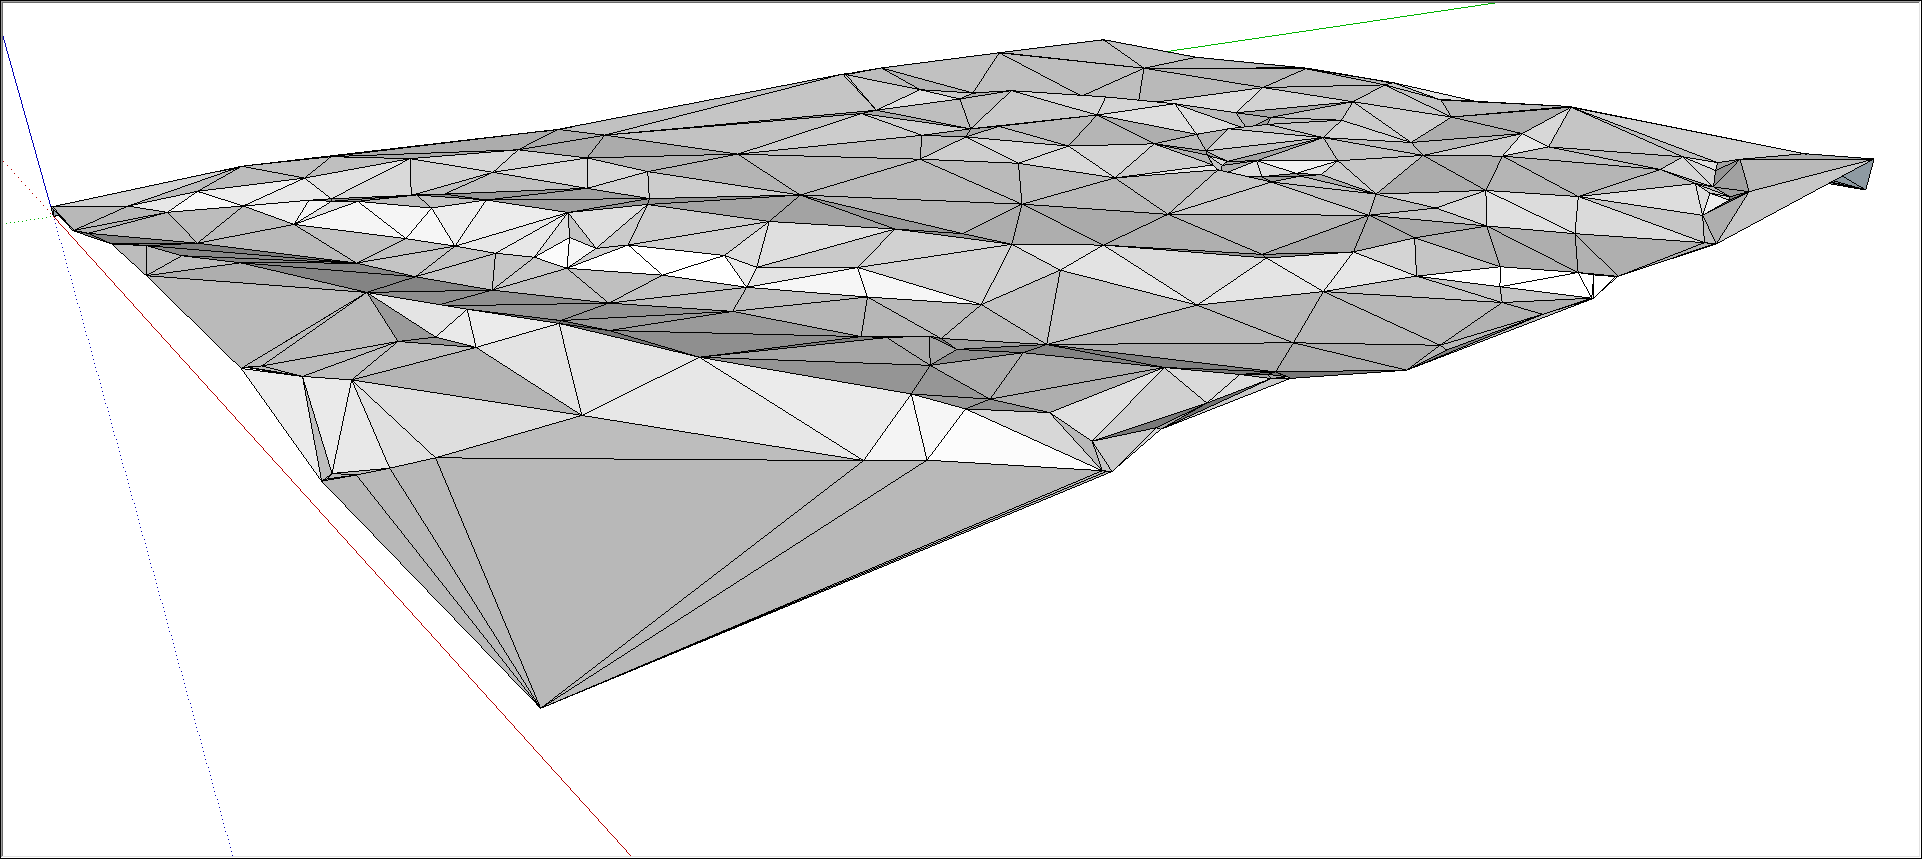
- Click Close in the Import Results dialog box, and your terrain appears at the origin point. If you don’t see the terrain, click the Zoom Extents tool (
 ).
).
Tip: You can also drag and drop importable files into the drawing area. After you drop the file, any relevant import dialog box opens so you can select your desired options.
MacOS
- Select File > Import. An import dialog box appears.
- From the Format drop-down list, select DEM (*.dem, *.ddf).
- Navigate to the location where your DEM file is saved and select it.
- Click the Options button. The DEM Import Options dialog box appears.
- (Optional) In the Points and Faces boxes, you see how many points (and subsequent faces) are created when you import the DEM file. If you like, you can adjust the number of points by entering a new number. When you lower the number of points, you can improve the terrain’s performance in SketchUp, but the terrain will lose detail.
- (Optional) Select the Generate Gradient Texture checkbox if you’d like a gradient that’s darker in the low areas and lighter in the high areas to appear over your imported terrain.
- Click OK in the DEM Import Options dialog box to return to the Open dialog box.
- Click Import, and SketchUp imports your file.
- Click Close in the Import Results dialog box, and your terrain appears at the origin point, as shown in the following figure. If you don’t see the terrain, click the Zoom Extents tool ().
Tip: You can also drag and drop importable files into the drawing area. After you drop the file, any relevant Import dialog box opens so you can select your desired options.