When you want to print a view of your model, SketchUp uses the current active view of your mode, the view you see on your screen. If your view is zoomed out, your print will appear zoomed out. If the camera is set to a Top or Iso view, your print will show that view. If you need to adjust the view before printing, see Viewing a Model. For more specialized views see Slicing a Model to Peer Inside, Creating Scenes, or Walking Through a Model.
Tip: LayOut is designed to help create 2D representations of your 3D SketchUp models. See SketchUp Models in LayOut for more details.
Printing in Microsoft Windows
- Save your model.
Select File > Print. A window with printer options will appear.
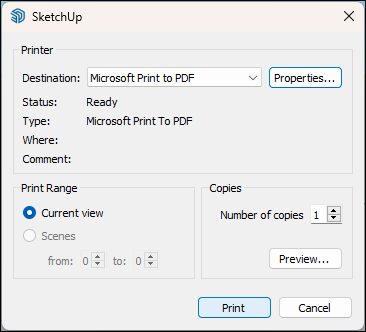
- Use the drop-menu to select your printer. If you do not need to adjust paper size, image quality, or page orientation, skip to step 7.
- Click Properties.
Use the options provided to set paper size, image quality, and orientation.
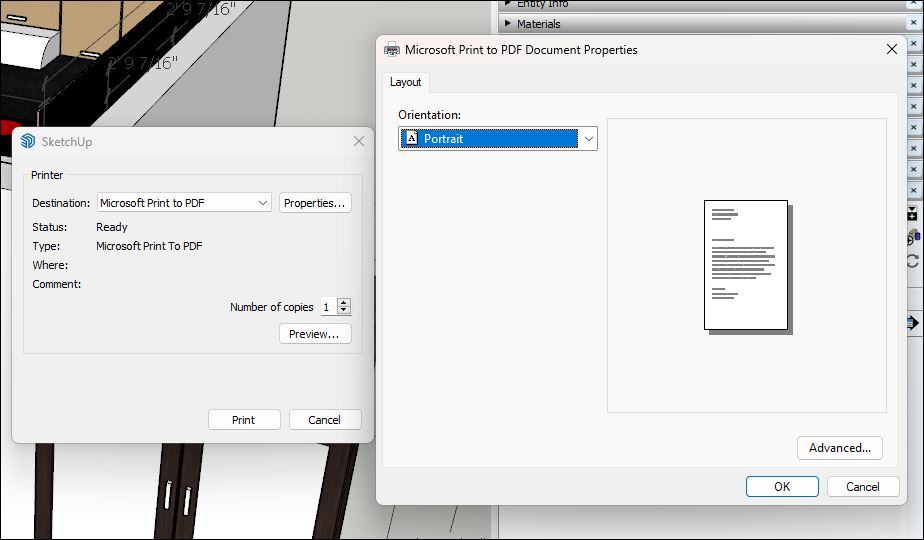
- Click OK to continue.
- Choose Current View to print the current model view. Choose Scenes and select a range to print a series of scenes, if available.
- Designate the number of copies.
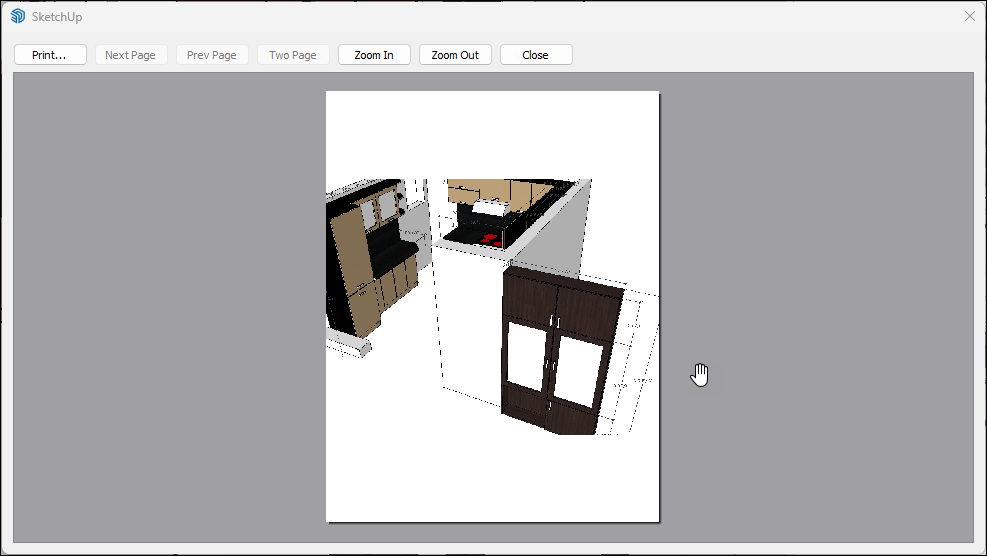
Click Preview to preview your document.
- Click Print to print your document.
Printing in MacOS
- If you need to adjust your page settings, select File > Page Setup. Page Setup tells your printer the basic settings required when printing SketchUp documents. Adjust the format, paper size, orientation, and scaling as needed.
- If you need to adjust your document settings, select File > Document Setup. Document Settings helps you configure how your document will be printed and can allow you to print a single model across multiple pages through size and scale options. Adjust the print size and print scale as needed.
When you are ready to print, select File > Print.The Print options window will appear.
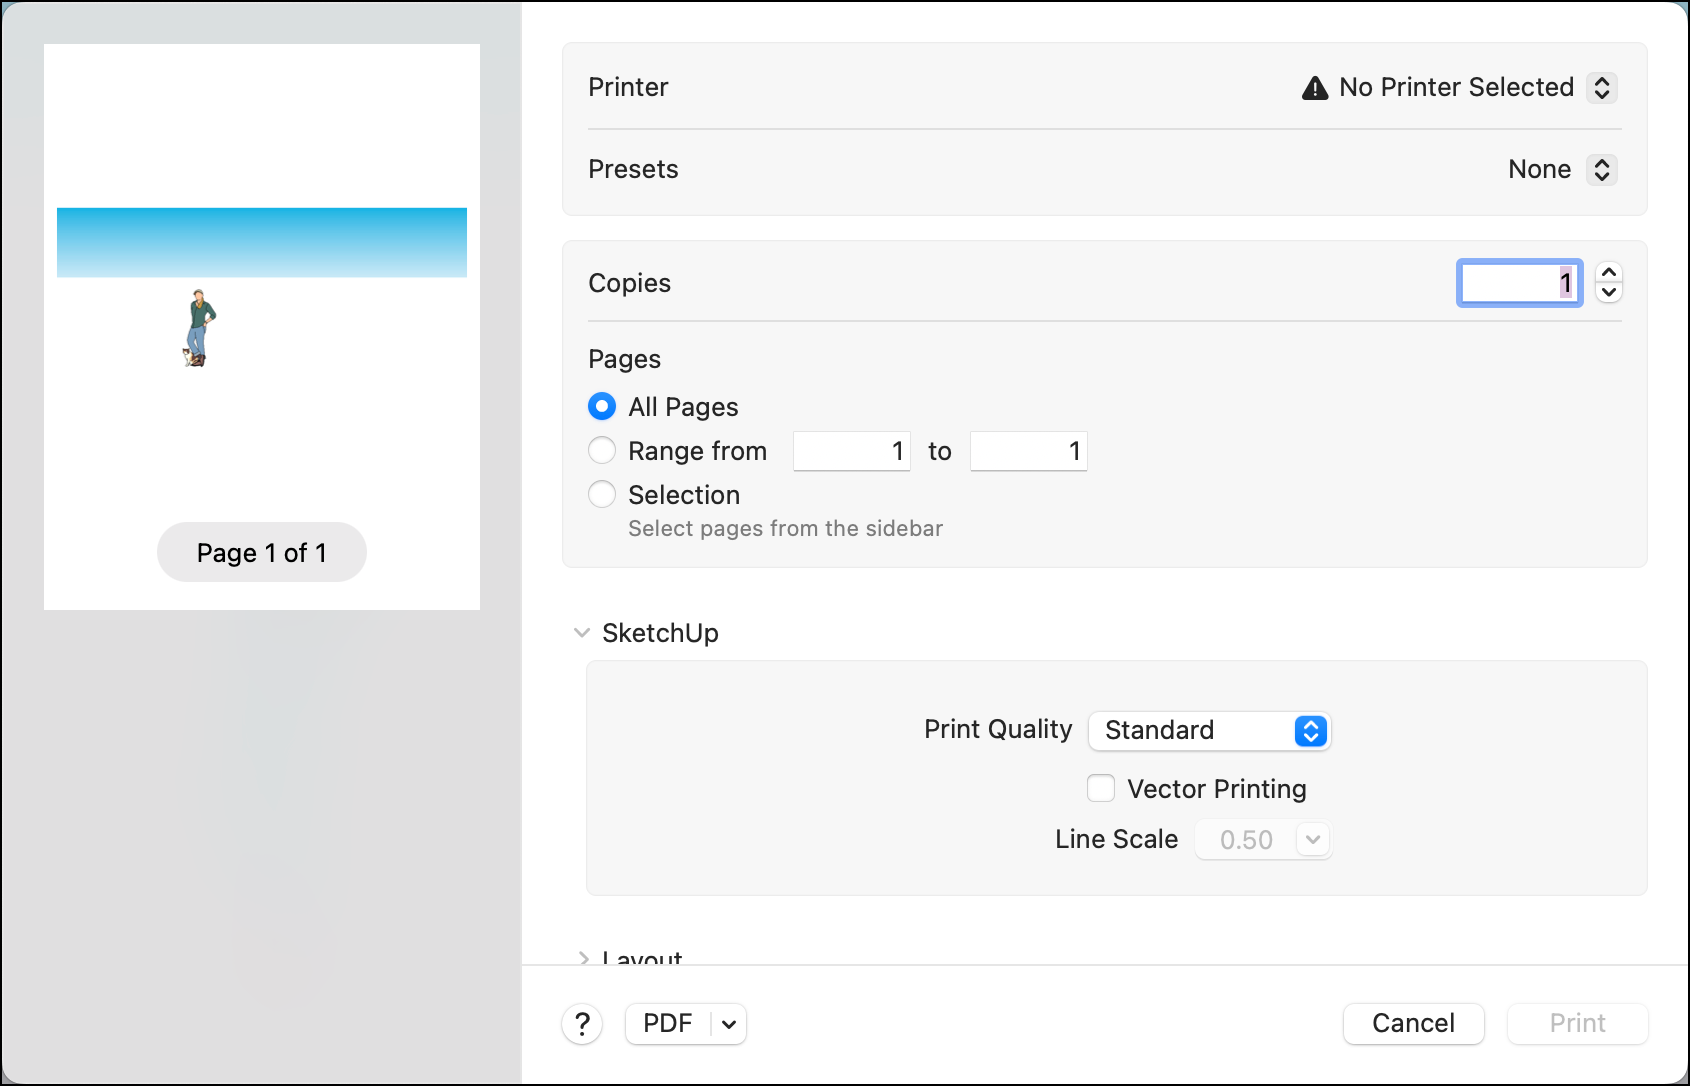
- Select your printer, if needed.
- Select a Preset. If you've created presets in iOS you can choose one of them to use. Otherwise, skip this step.
- Under Copies, designate the number of copies you want to print.
- In Pages, choose what pages to print. If your document will only be one page skip this step.
- Select a Print Quality that reflects how you will use your document. Draft is the lowest quality while Extra High is the best quality.
- Toggle Vector Printing if you want to send your model information as vector data to the printer. If you activate Vector Printing you can adjust the Line Scale to make lines thinner or thicker.
- For preview options, or to save your print document in a certain format, use the drop-down box in the lower left corner.
- After selecting all options, click Print.