Sculpting and Fine-Tuning Terrain

Whether you import terrain into SketchUp or create your terrain completely from scratch, you likely need to sculpt your terrain or make minor adjustments.

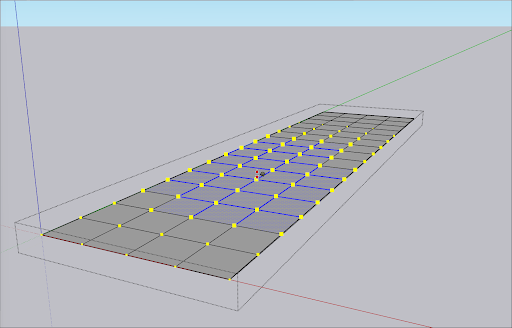
With specialized Sandbox tools, you can create berms, ponds, terraced landscapes, and so on. The Smoove tool enables you to model hills and valleys on a TIN (triangulated irregular network). With the Add Detail tool, you can split a selection within a TIN into smaller triangles so that you can model detail where its needed.

If you imported contours or terrain from Google Earth, a few edges are likely creating unwanted flat spots on your terrain. This problem is so common, SketchUp includes a tool dedicated to fixing it: the Flip Edge tool.


Tip: Remember that terrain imported from Google Earth or created with the Sandbox From Contours or Sandbox From Scratch tool is automatically organized into a group. If your group is locked (it’s highlighted red when you click it), context-click the group and select Unlock. To edit the group, double-click to open the group’s context. Organizing a Model explains the details of working with groups.


In the following sections, you find steps and examples that walk you through the process of sculpting or fine-tuning your TIN. When you’re done shaping your TIN, you can set other things, like buildings or pathways, on top of the terrain, as explained in Placing Objects on Terrain.


Warning: Before you start, remember to model only functional terrain, which is terrain that doesn’t bend back upon itself creating overhangs, underhangs, or caves. If you draw a vertical line through your TIN at any point and the line touches the terrain at only one point, your terrain is functional. This concept is important because you can use a tool such as Smoove to move TIN geometry horizontally, but the result is nonfunctional terrain, or terrain that can’t be manipulated in a known way.


Smooving hills and valleys

The Smoove tool’s capabilities are as cool as its name, which is a portmanteau of smooth and move. To sculpt your terrain with the Smoove tool, follow these steps:

  1. (Optional) With the Select tool (), select the area of your TIN that you want to smoove.
  2. Select the Smoove tool () from the Sandbox toolbar or select Tools > Sandbox > Smoove from the menu bar. You see the Smoove cursor, shown in the following figure. The red circle represents the circular area that the Smoove tool will bulge or sink.

  3. (Optional) Type a radius for the Smoove tool operation and press Enter (Microsoft Windows) or Return (Mac OS X). In the preceding figure, the radius is 45 feet.
  4. With the Smoove tool cursor, click to set a center point for smooving. The vertices that the Smoove tool selects light up in yellow anticipation of their elevation changes, as shown in the following figure.

  5. (Optional) Type a value to specify how far you want to offset the selection. Type a positive value, like 10‘, to make a hill. Or use a negative value like –10’ to create a valley, as shown in the figure.

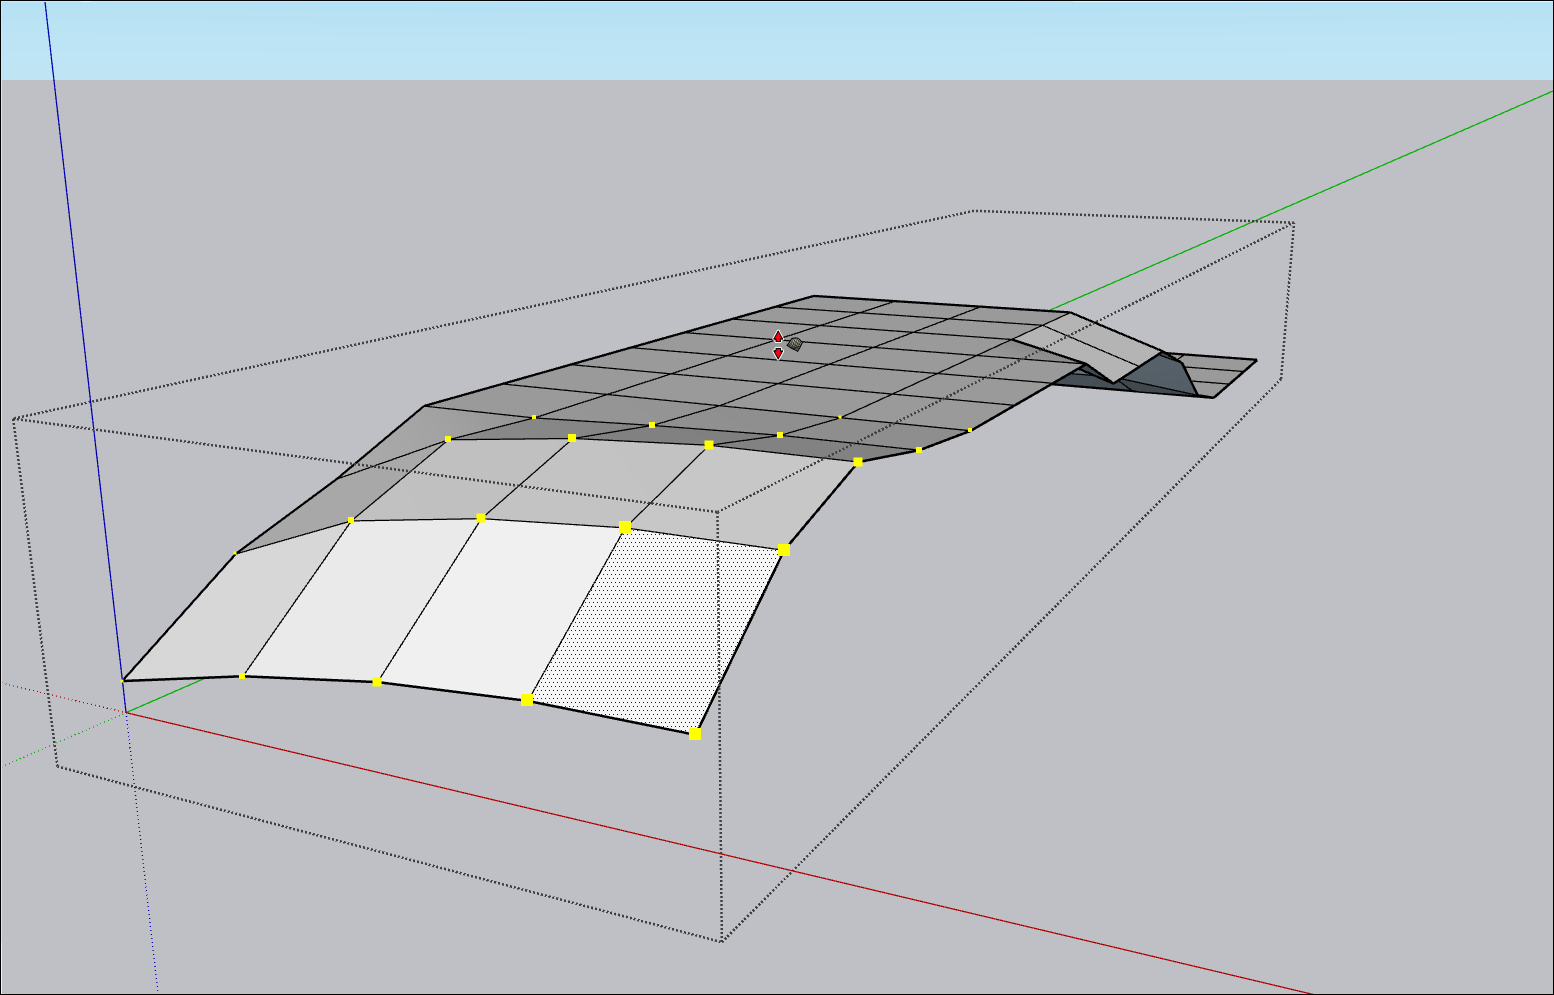
You can repeat this process as much as you like to sculpt your terrain. For example, the following terrain has been smooved to resemble a ski slope (or a large nose emerging from the earth, depending on how you look at it).


Note: As your model becomes larger and more complex, Smoove tool operations take longer to complete. Because you don’t see a progress bar while SketchUp processes the edits, your computer may seem hung while the operation is running. In cases like this, pressing the Esc key doesn’t cancel the operation. You just need to be patient and allow the operation to run its course.


Detailing terrain

Ideally, a TIN contains the fewest lines and faces necessary to create the shape of your terrain (or whatever you decide to model with the TIN). With that in mind, the Add Detail tool splits existing triangles into smaller ones — but only where you need them.

For example, say you wanted to add moguls to your terrain. Although the Add Detail tool isn’t so handy at forming powerful movie producers, it’s perfect for creating small bumps on the ski slope terrain shown in the preceding section. With the Add Detail tool, you can split a face into several triangles so that the geometry is detailed enough to create the moguls.


Tip: Before you use the Add Detail tool, it’s helpful to see all the lines in your TIN, some of which may be hidden. If you don’t see the triangles of your TIN, select View > Hidden Geometry, and the hidden edges appear as dashed lines.


To add detail to your TIN, follow these steps:

  1. Select the Add Detail tool () on the Sandbox toolbar or select Tools > Sandbox > Add Detail from the menu bar. You see the Add Detail cursor, and inferences appear where you can divide an edge or face.
  2. Click an edge or face where you want to create a new vertex, as shown in the following figure.

  3. When the cursor changes to up and down arrows, move the cursor up or down to adjust the height of the vertex and the surrounding triangles, as shown in the following figure. Or use the Measurements box to type a precise offset distance.


    Note: You can hold down the Shift key to move the geometry horizontally, but the result is nonfunctional terrain, as explained at the beginning of this article.


  4. Click to set the vertex height.


Tip: To add detail to several edges and faces at once, select the edges and faces with the Select tool () and then click the Add Detail tool. All the faces are evenly divided into smaller triangles, as shown in the following figure. When you use this method, you can’t change the height of all the vertices.


After you add enough detail, you can create more detailed features with the Smoove tool. In the following figure, you see the ski slope after adding the moguls, applying a color material, smoothing and softening the geometry, and adding a 2D skier component for scale.

Flipping edges

If you see undesirable flat areas after you convert contours to a terrain, the Flip Edge tool helps you fix the problem.

First, make sure hidden geometry is visible by selecting View > Hidden Geometry. Edges that need to be flipped look something like the selected edge in the following figure, which is creating a peak where the surface should be smooth.

To fix the edge, select the Flip Edge tool () and click the edge with its cursor. After doing so, you can see how the triangles form a more regular pattern in the following figure. In this example, you may need to flip a few more edges before area is completely smooth.

Was this article helpful?