Editing a Component
When you edit a SketchUp component, you can edit the component definition or the instance. When you edit the definition, you change every component instance. When you edit the instance, the component becomes an unique component and no longer reflects changes to its fellow components.
For example, say you're modeling a picket fence. In your fence model, shown in the following figure, the Fence Panel component contains subcomponents: Post, Rail, and Picket.
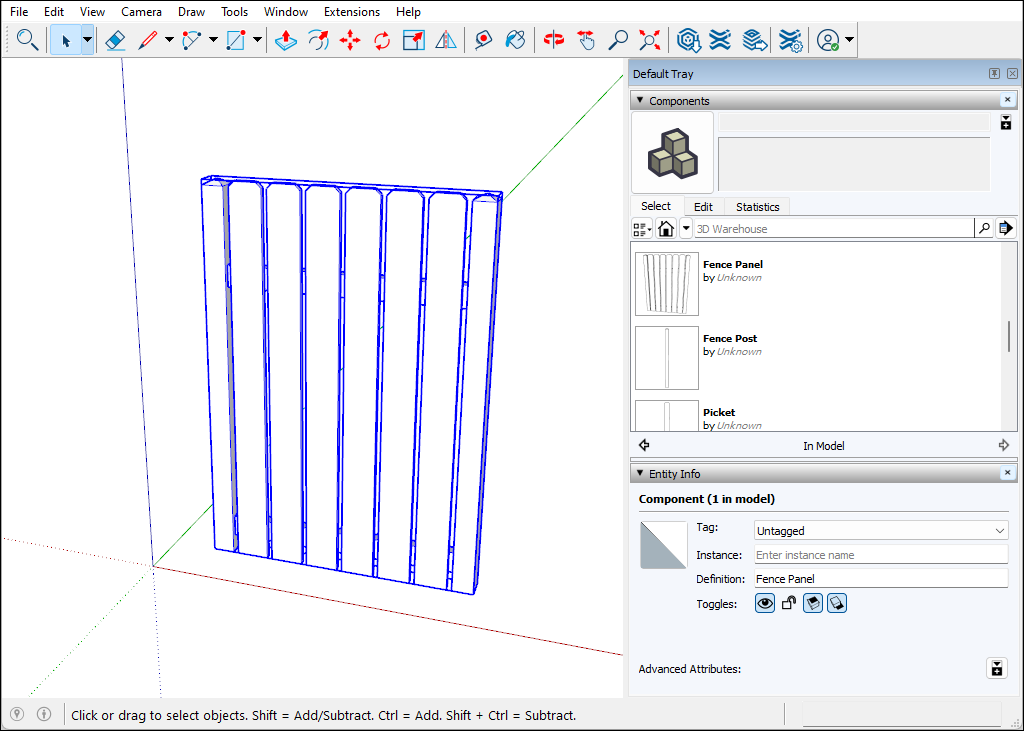
The following sections explain a few different ways you can edit components, using the Fence Panel component as an example.
Table of Contents
Editing all instances of a component
To edit all instances of a component, follow these steps:
- Open the context for the component you want to edit. In this example, that's the Picket component. To open the context, you can double-click the component. Or select it, context-click the selection, and choose Edit Component, or simply hit Enter.
Use the SketchUp drawing tools to edit your component. In this example, we used the Line, Tape Measure, 2 Point Arc, and Push/Pull tool to change the top of the Picket component. All component instances change as you draw.
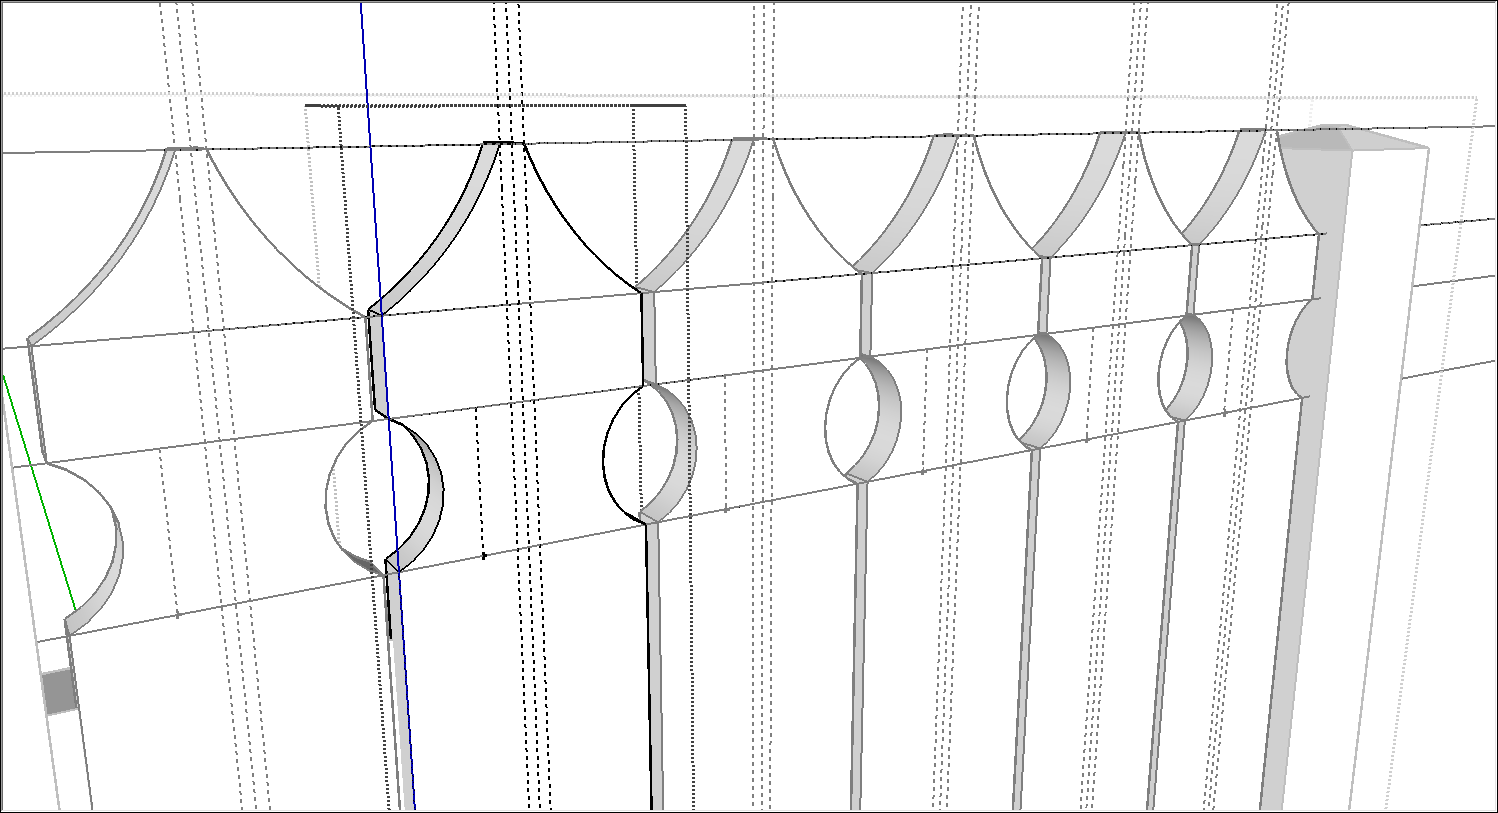
- Click outside the component's context and save your work. SketchUp automatically updates the component definition to reflect your edits.
Changing a single component instance
Say you want to edit only one instance of a component. For example, perhaps you want to model two or more picket styles so that you can experiment with the options. Follow these steps to edit one instance but leave the other component instances as they are:
- Select the component instance that you want to edit.
Context-click the selected instance and choose Make Unique, as shown in the figure. If you have the Entity Info panel open, you see that SketchUp changes the Definition by adding #1, or something similar. By making the instance unique, you're basically creating a new component based on your original.

- Open the context for the unique component. To open the context, you can double-click the component. Or select it, context-click the selection, and choose Edit Component.
Use the SketchUp drawing tools to make changes to the component. In this case, we made a slight change by selecting the edges on each side of the picket and moving them inward 5/16 inch. This made the picket width slightly narrower.
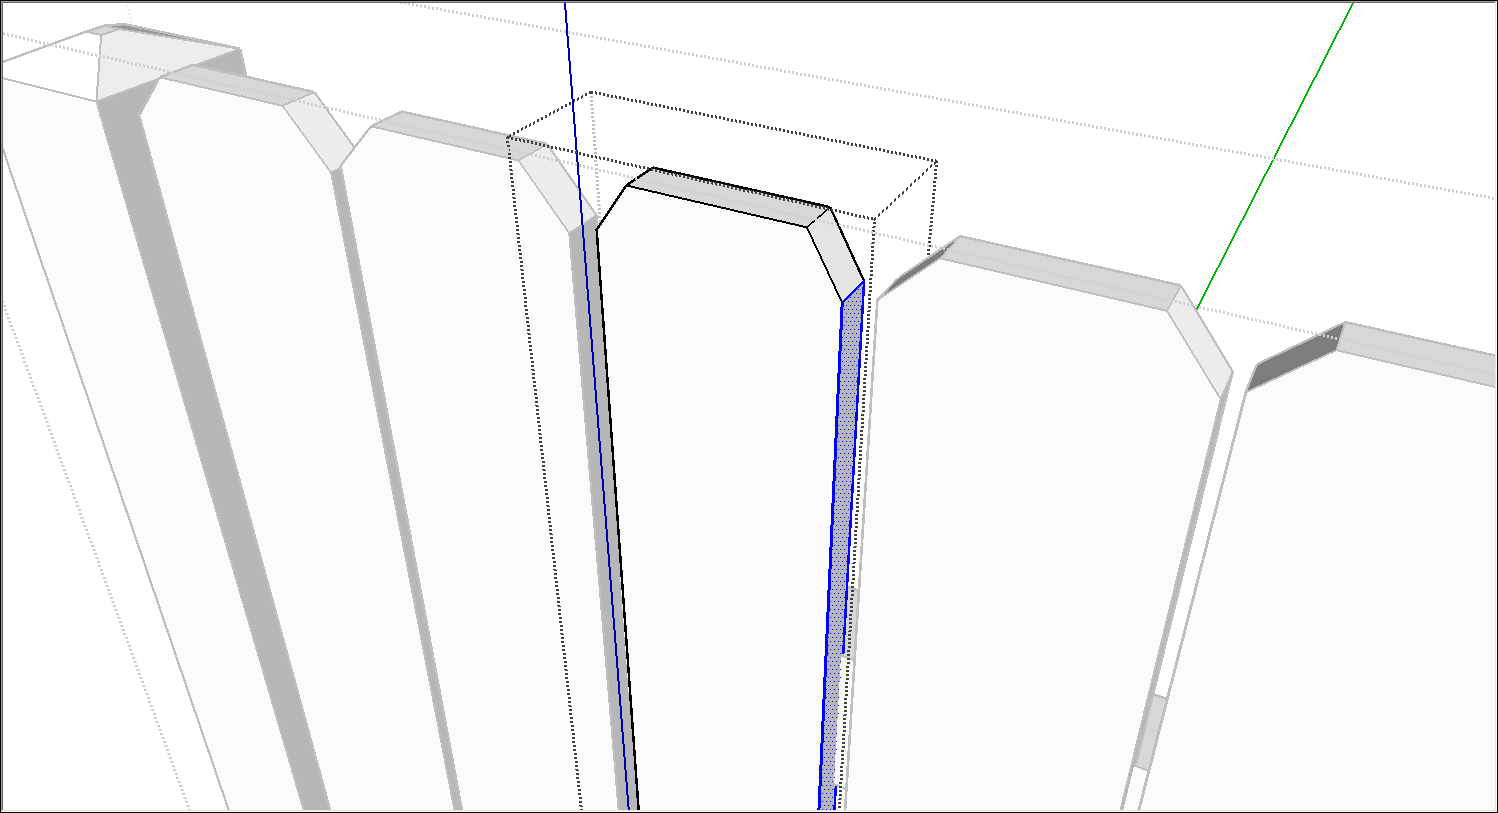
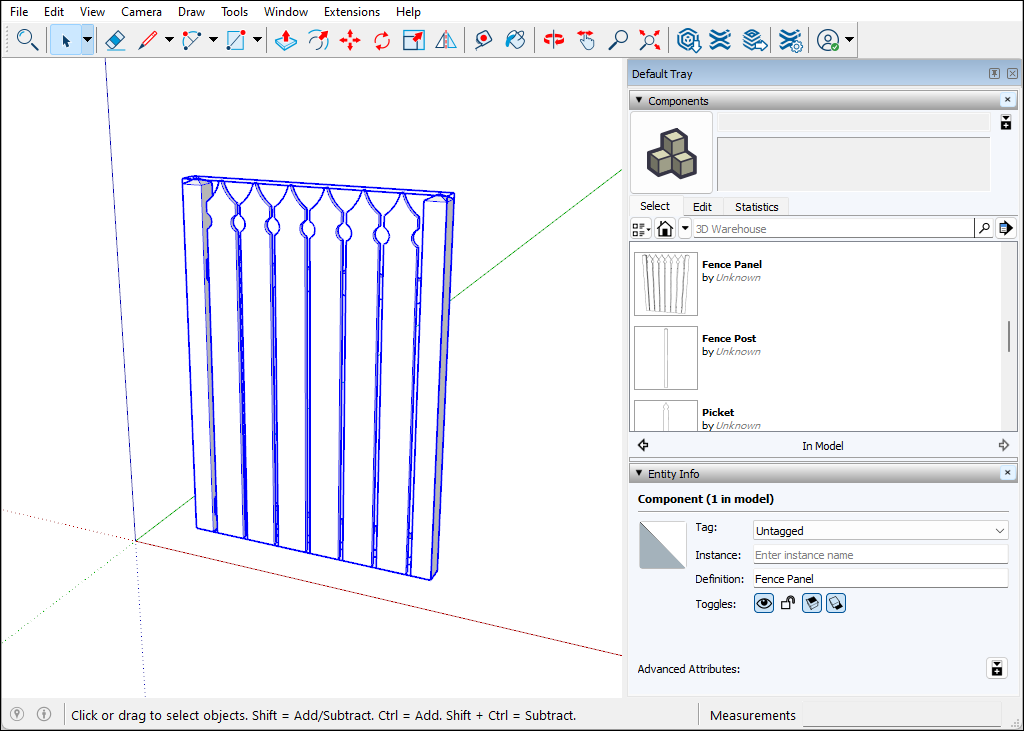
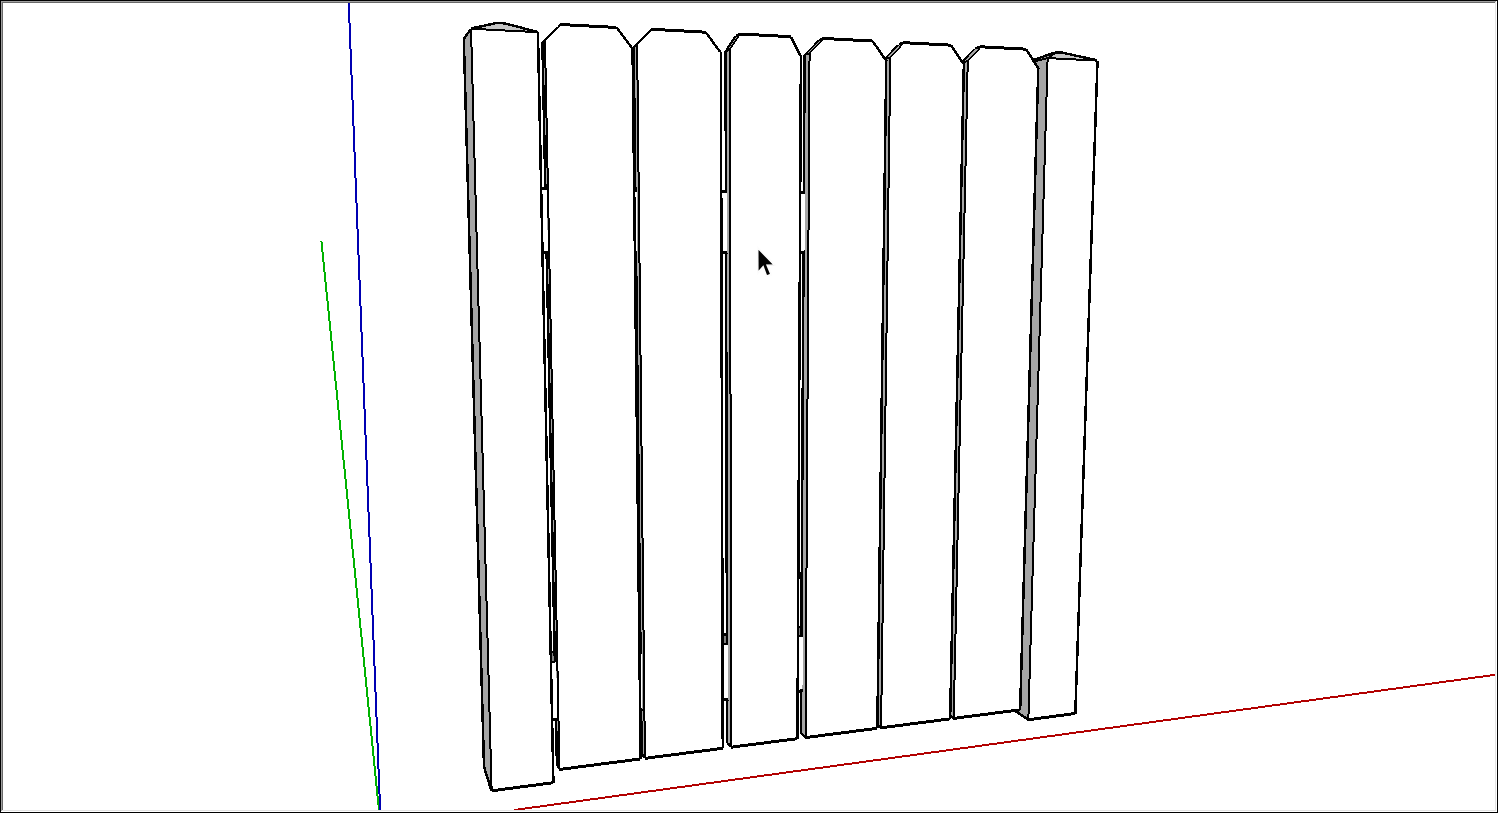
- Click outside the component context when you're done editing. In the figure, you can see that one picket is slightly narrower than the others.
Replacing all component instances with another component
When you use instances of the same component throughout a model, you can easily replace all instances of a component with a completely different component. To replace one component with another, follow these steps:
- In the Components panel, click the In Model icon.
- In the area that lists all the components in your model, context-click the component you want to replace and choose Select Instances.
- Still in the Components panel, navigate to the component you want to use instead.
- Context-click the new component and select Replace Selected from the menu that appears.
Editing a component with the Solid tools
When you edit a component with the Solid tools, the steps are little different than the steps for editing components with the other drawing tools.
The following steps explain how to edit a component with the Solid tools, using the fence model as an example:
Edit the component with a Solid tool In this example, the Subtract tool cuts a hole in the Picket component. In the Entity Info panel, notice that the name of the component instance changes from Picket to Difference.
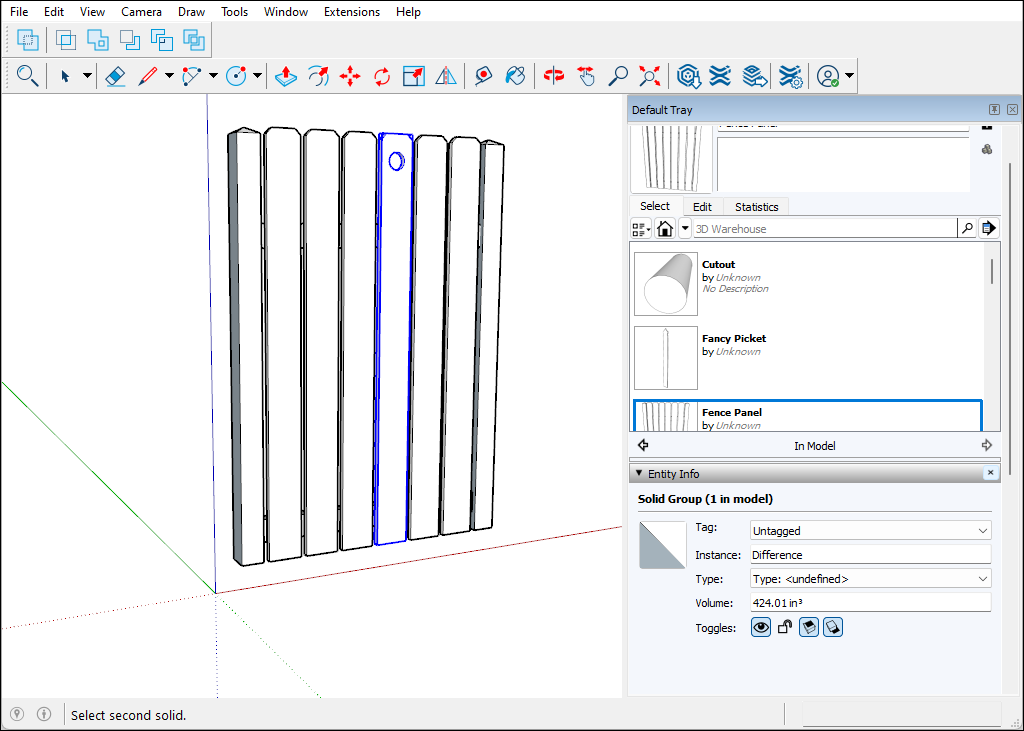
- To update the component definition so that all pickets reflect your changes, context-click the modified picket and select Make Component.
- In the Create Component dialog box, make sure the component Definition matches the original component name. In this example, that name is Picket.
Click the Create button. A dialog box asks whether you want to replace the component definition.

- Click Yes. All instances of your component reflect the change you made with the Solid tool or tools.
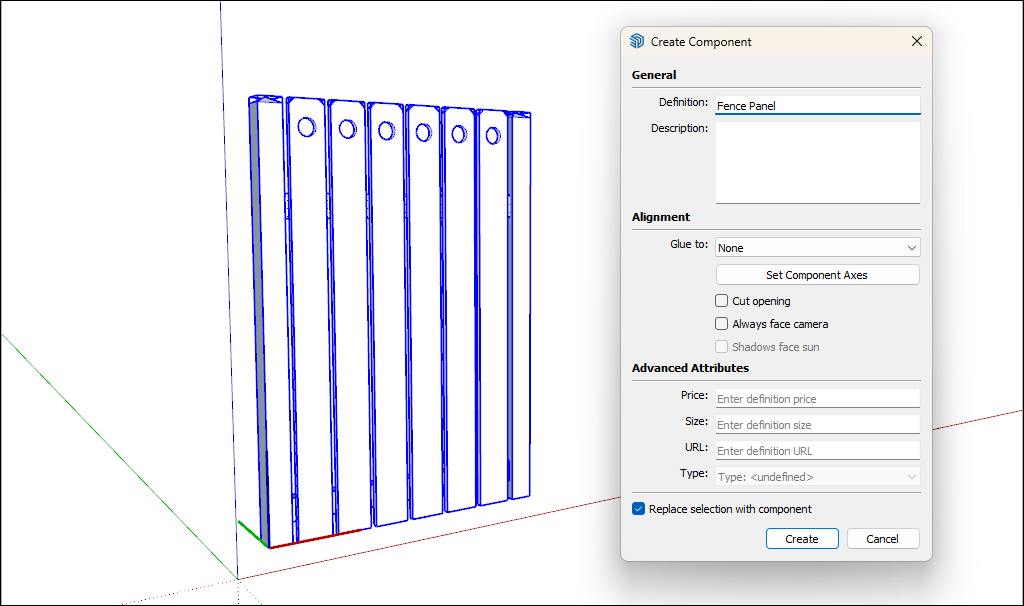
- (Optional) If you exploded a component to access subcomponents, you can re-create the component. For example, select all the entities in the updated fence and re-create the Fence Panel component.
