Note: Style Builder is no longer included when downloading SketchUp and will no longer be supported. For more information see End of Support — Style Builder.
Style Builder includes a library of sample strokes, but the whole idea behind creating your own sketchy edge style is that you can use strokes that you’ve drawn yourself.
To use your hand-drawn strokes in Style Builder, you can import strokes from a folder of stroke images, from an existing .style file, or from a strokes template.
Tip: The most common source (and the easiest to create) is a strokes template.
Follow these steps to import strokes into Style Builder:
- From the Strokes menu, select one of the following options:
- Load From Folder: Select this option if your strokes are saved as individual
.pngor.jpegfiles, all saved in a folder. - Load From Style: Select this option to use a
.stylefile of strokes saved on your computer. - Load From Template: Select this option to import a template that you generated and filled with strokes in an image editor.
- Load From Folder: Select this option if your strokes are saved as individual
- In the dialog box that appears, navigate to the folder or file you need.
- Select the folder or file.
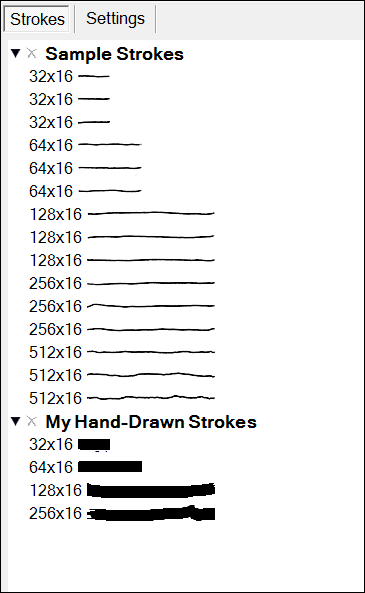
- Click OK or Open (the button you see depends on the option you selected in Step 1), and the strokes from the source you selected in Step 3 appear as a strokes library on the Strokes tab. In The following figure, you see how strokes in a template named
My Hand-Drawn Strokes.pngappear after the template is imported into Style Builder.
Tip: Say you want to use only (or mostly) the strokes from your template, so you don’t need to mix strokes from several stroke libraries. If that’s the case, Style Builder offers a quicker way to load your template: Select File > Load Template (Microsoft Windows) or File > Open Template (Mac OS X) from the menu bar. With this method, your template appears as a library on the Strokes tab — and all the strokes in your template are automatically loaded in the Sets pane.

The Strokes tab displays libraries of strokes that you can drag and drop into the Sets pane to create your sketchy edge style. If you ever want to remove a strokes library, the way you do so differs on Microsoft Windows versus Mac OS X:
- Microsoft Windows: Click the X next to the stroke library’s name on the Strokes tab.
- Mac OS X: On the Strokes tab, select the stroke library you want to remove. Then select Strokes > Remove Strokes from the menu bar.