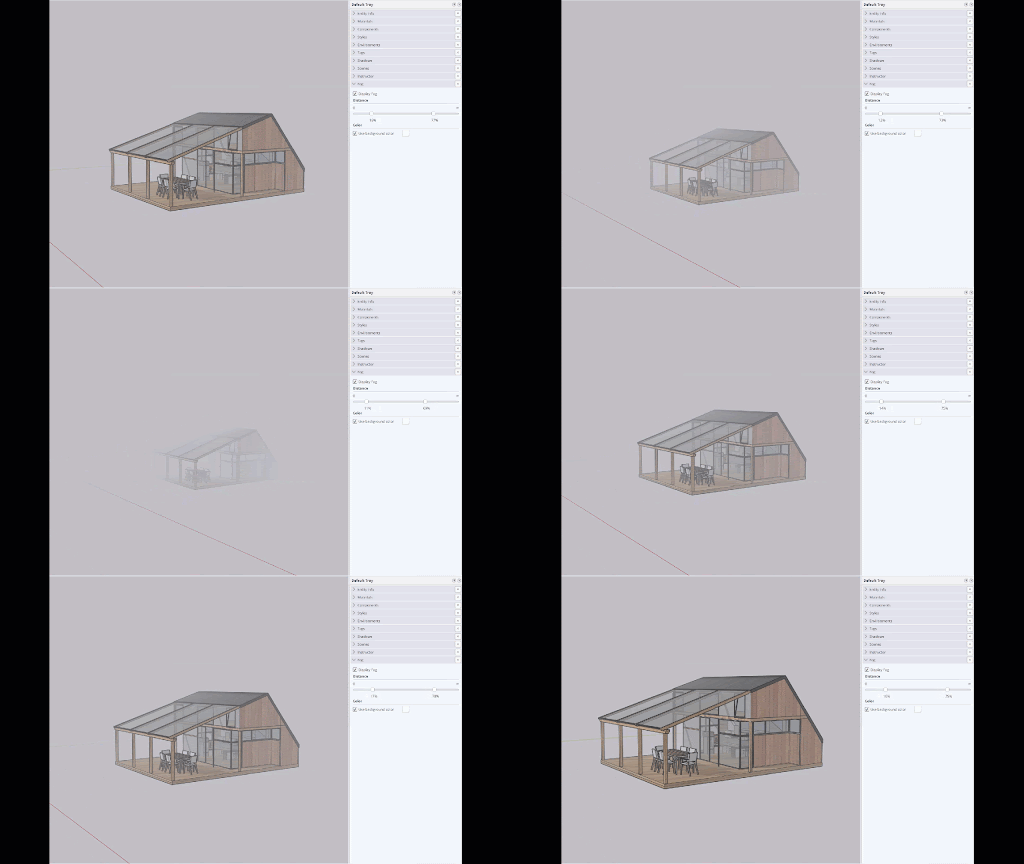
The Fog panel helps you add an effect that mimics real world fog in your model. With Fog enabled, your model becomes clearer as you zoom closer to it, and less clear as you move away.

To add fog-like effects to your model, follow these steps:
- Open the Fog panel.
- Select the Display Fog.
- Use the Distance sliders to adjust the fog relative to your current view:
- The left-most fog slider determines where the fog starts. At zero, fog begins right in front of the camera. Moving this slider to the right starts fog somewhere beyond the camera.
- The right-most slider determines where the fog is at 100% strength, or zero visibility. Moving the right-most slider to the left establishes fog at 100% strength when closer to the camera. Moving this slider all the way to the left will remove all visibility.
- Select Use Background Color and choose a color for your fog. Leave this blank to use a default gray.
Tip: Because fog appearance is based on your current view relative to the camera, the fog sliders move as you orbit and zoom.