Using the Photo Point Tool
Use the Photo Point tool to create a 3D model by plotting points to create camera guidelines from Matched Photos. It works by casting a guide from one camera through an image point that you can see in at least one other photo. You can then snap to that guide in another scene to locate the point in 3D. Note that it is necessary to set your model axes to model from the camera guideline.
Tip: If you do not have enough guide points from Trimble Business Center to complete the model, you can use the Photo Point tool to create additional guide points within SketchUp.
- Select Window > Match Photo.
- Select Window > Default Tray > Match Photo.
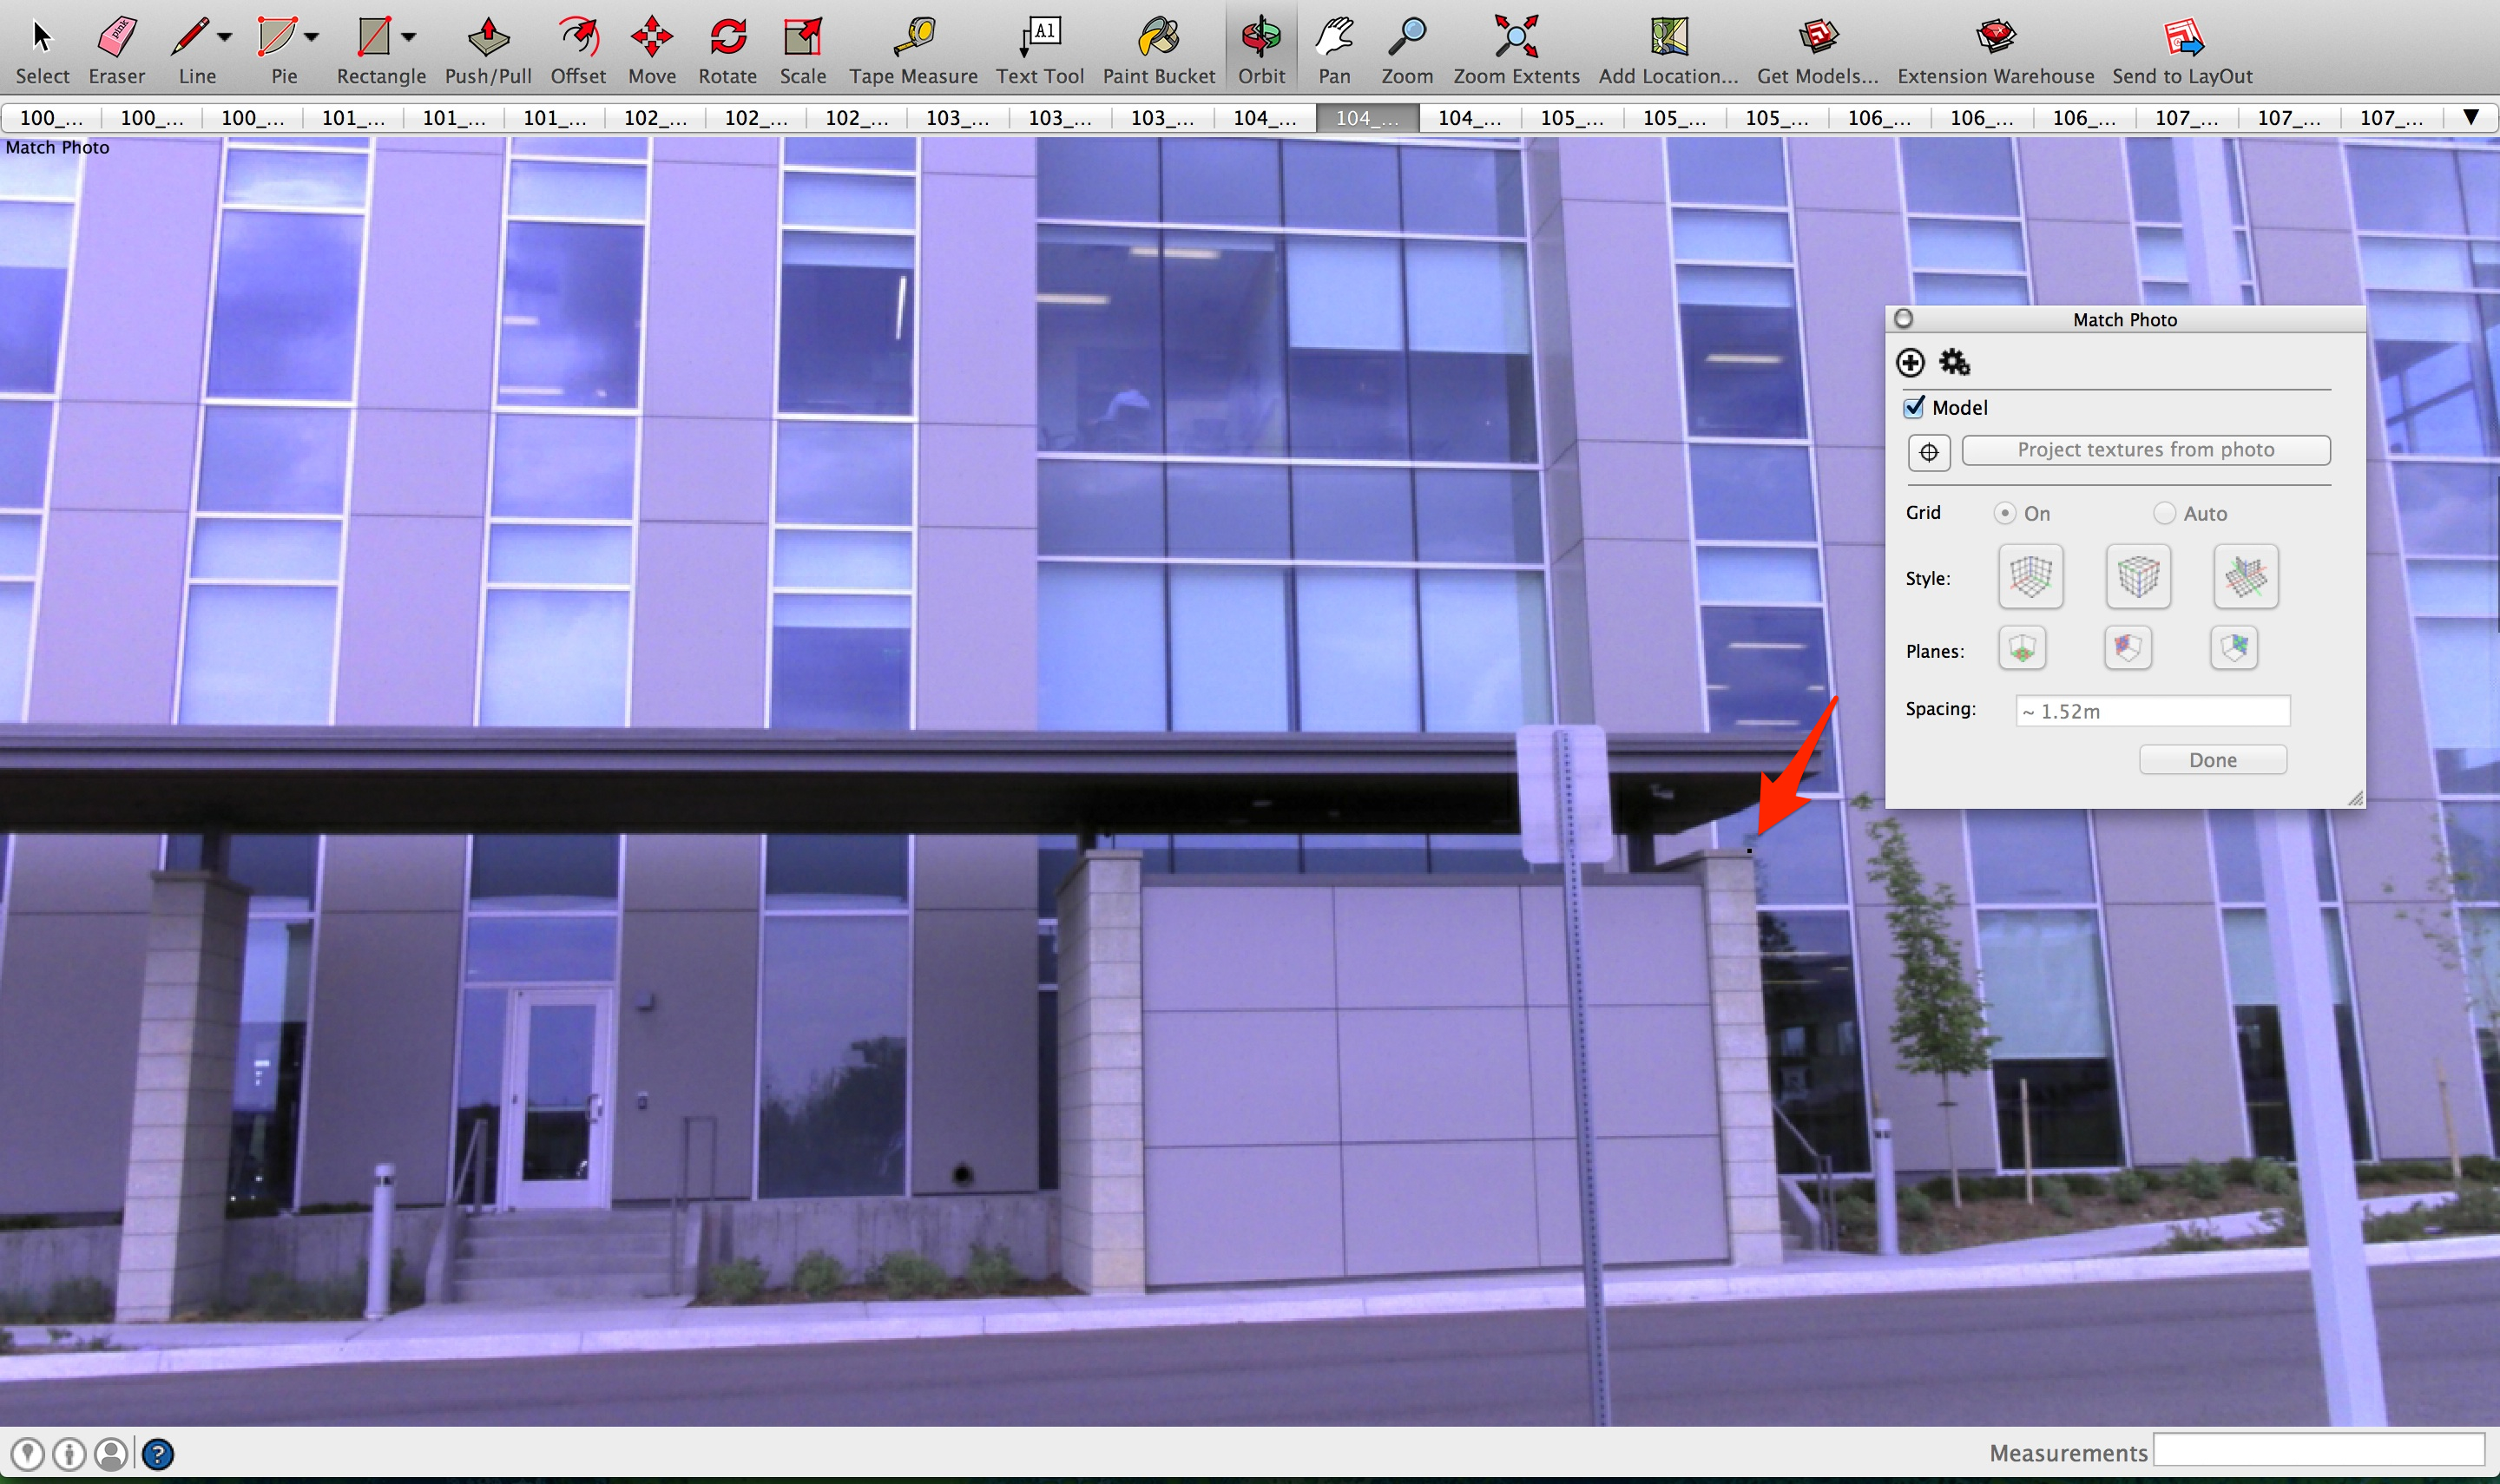
- Once enabled, a new window will appear:

- Navigate to a point of interest in your series of photos using the Image Igloo View and press enter to activate highlighted scene.
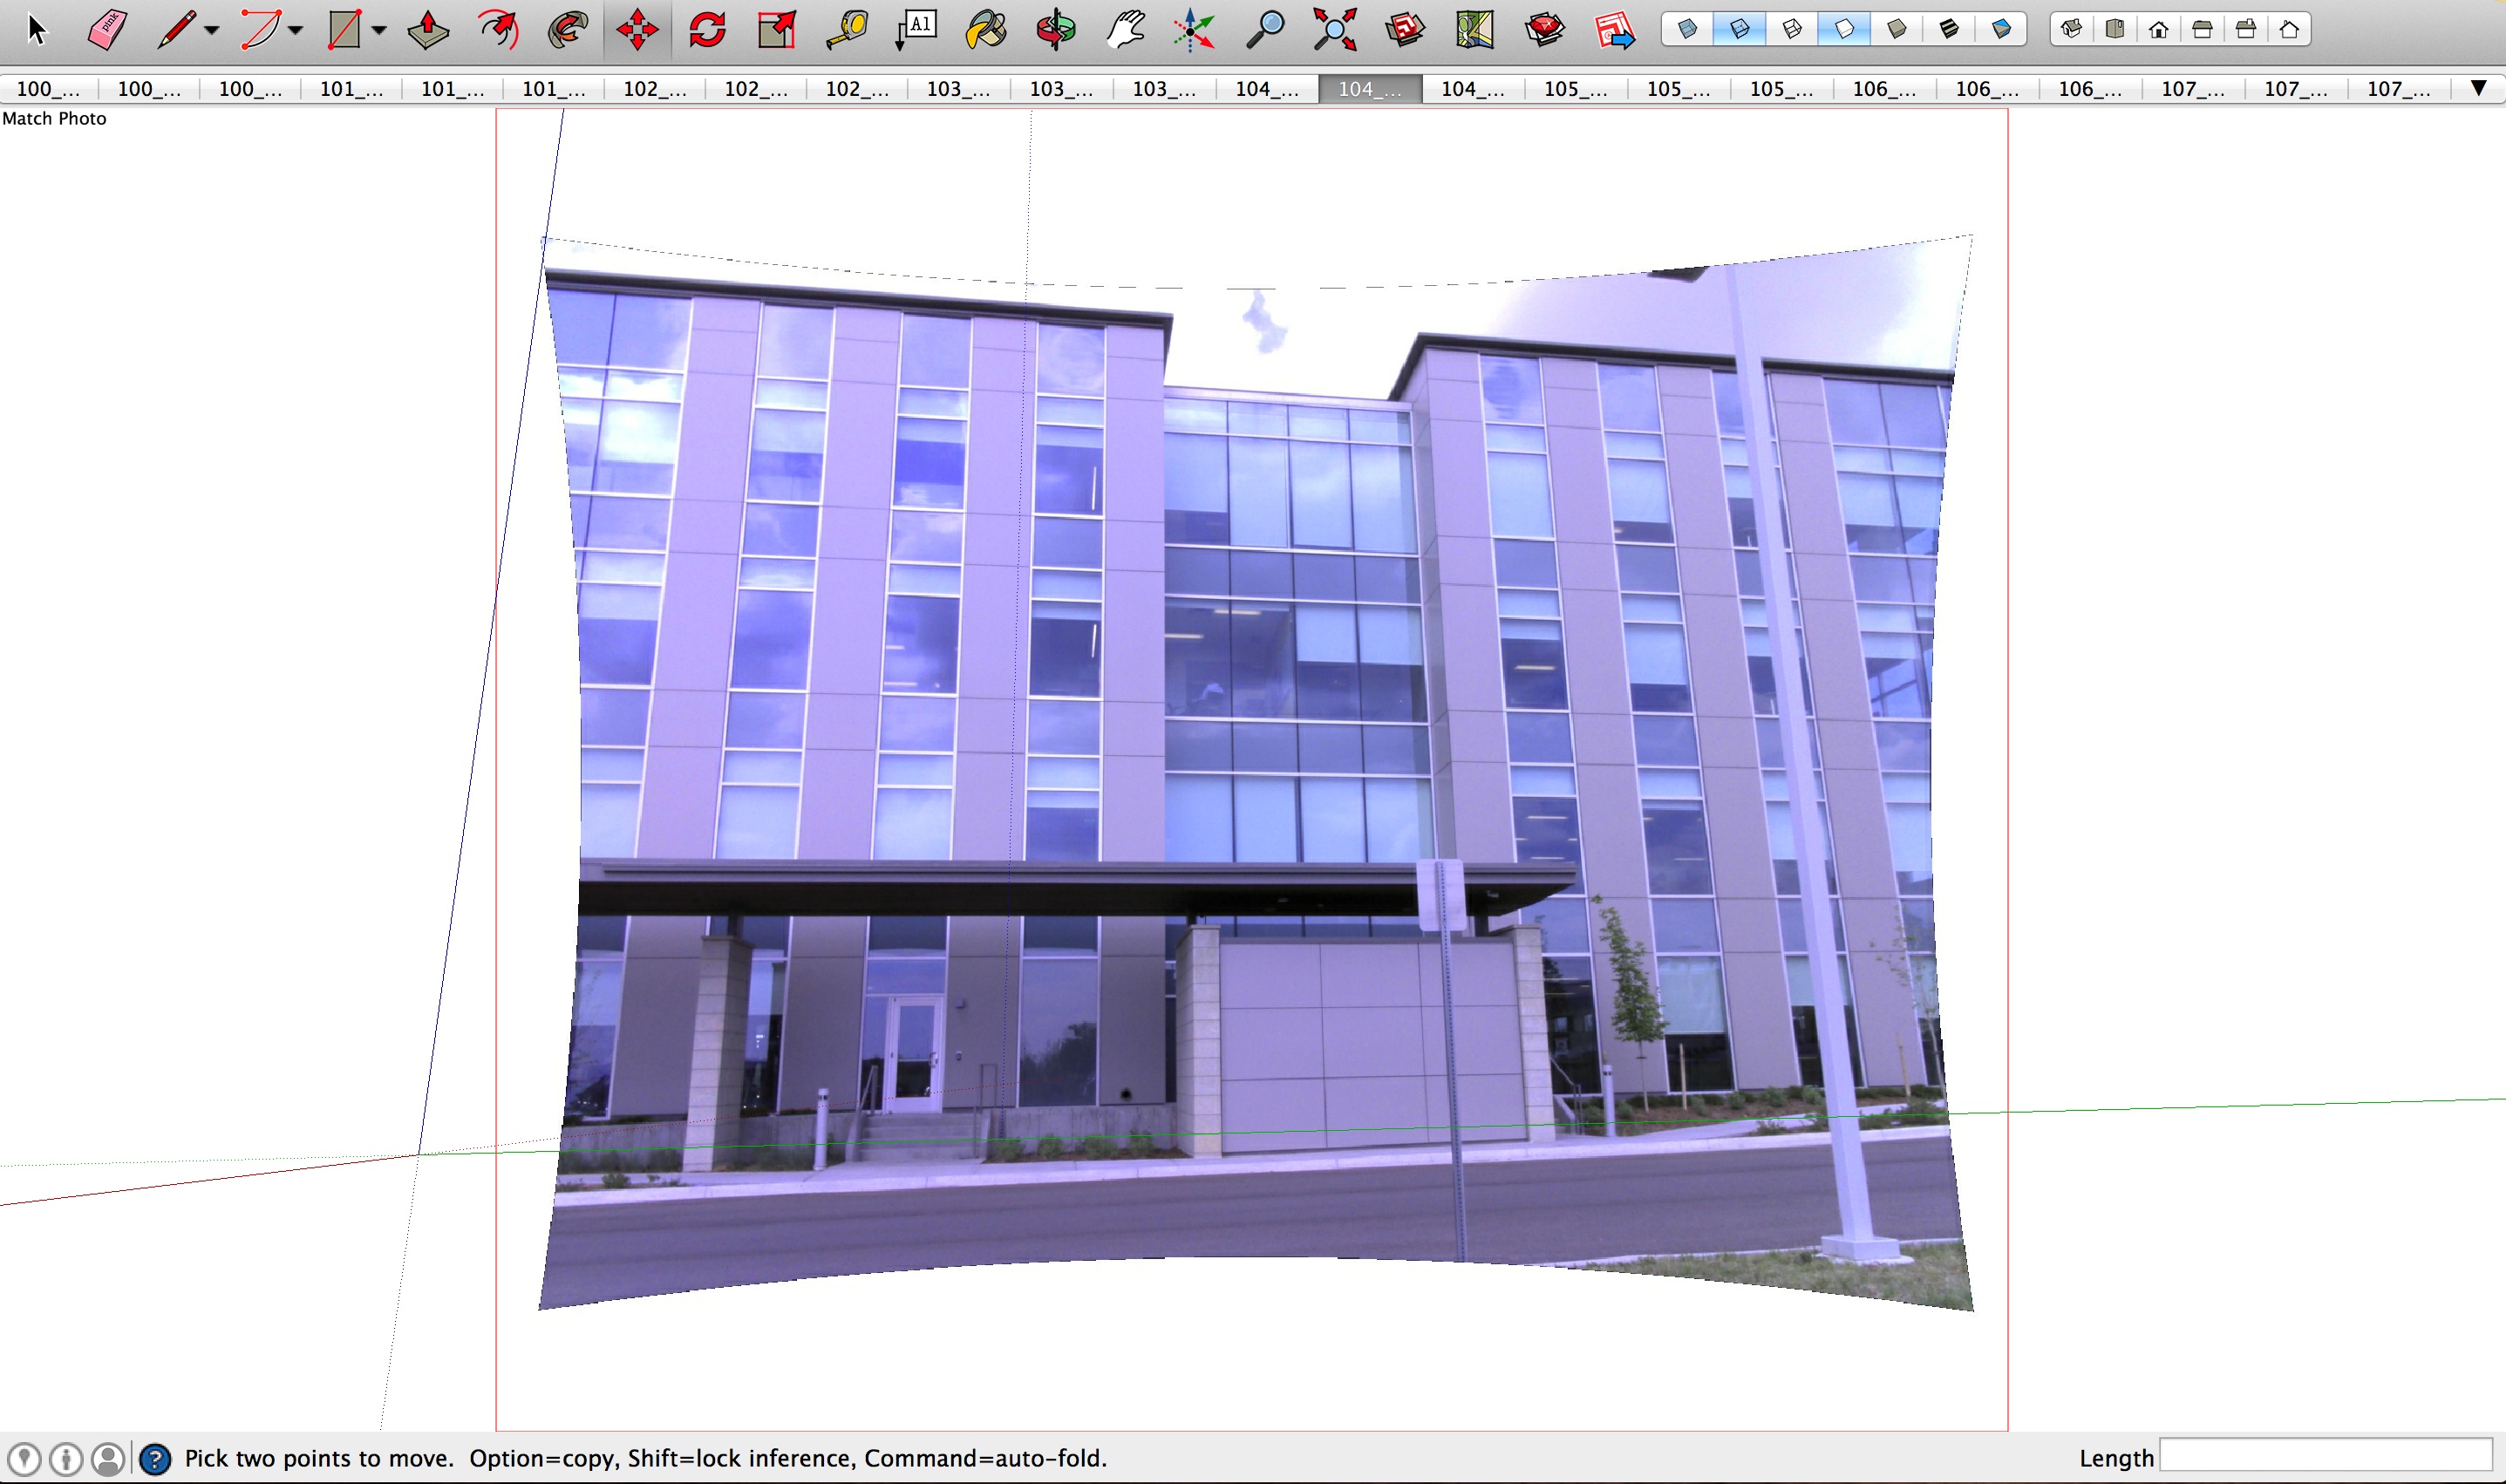
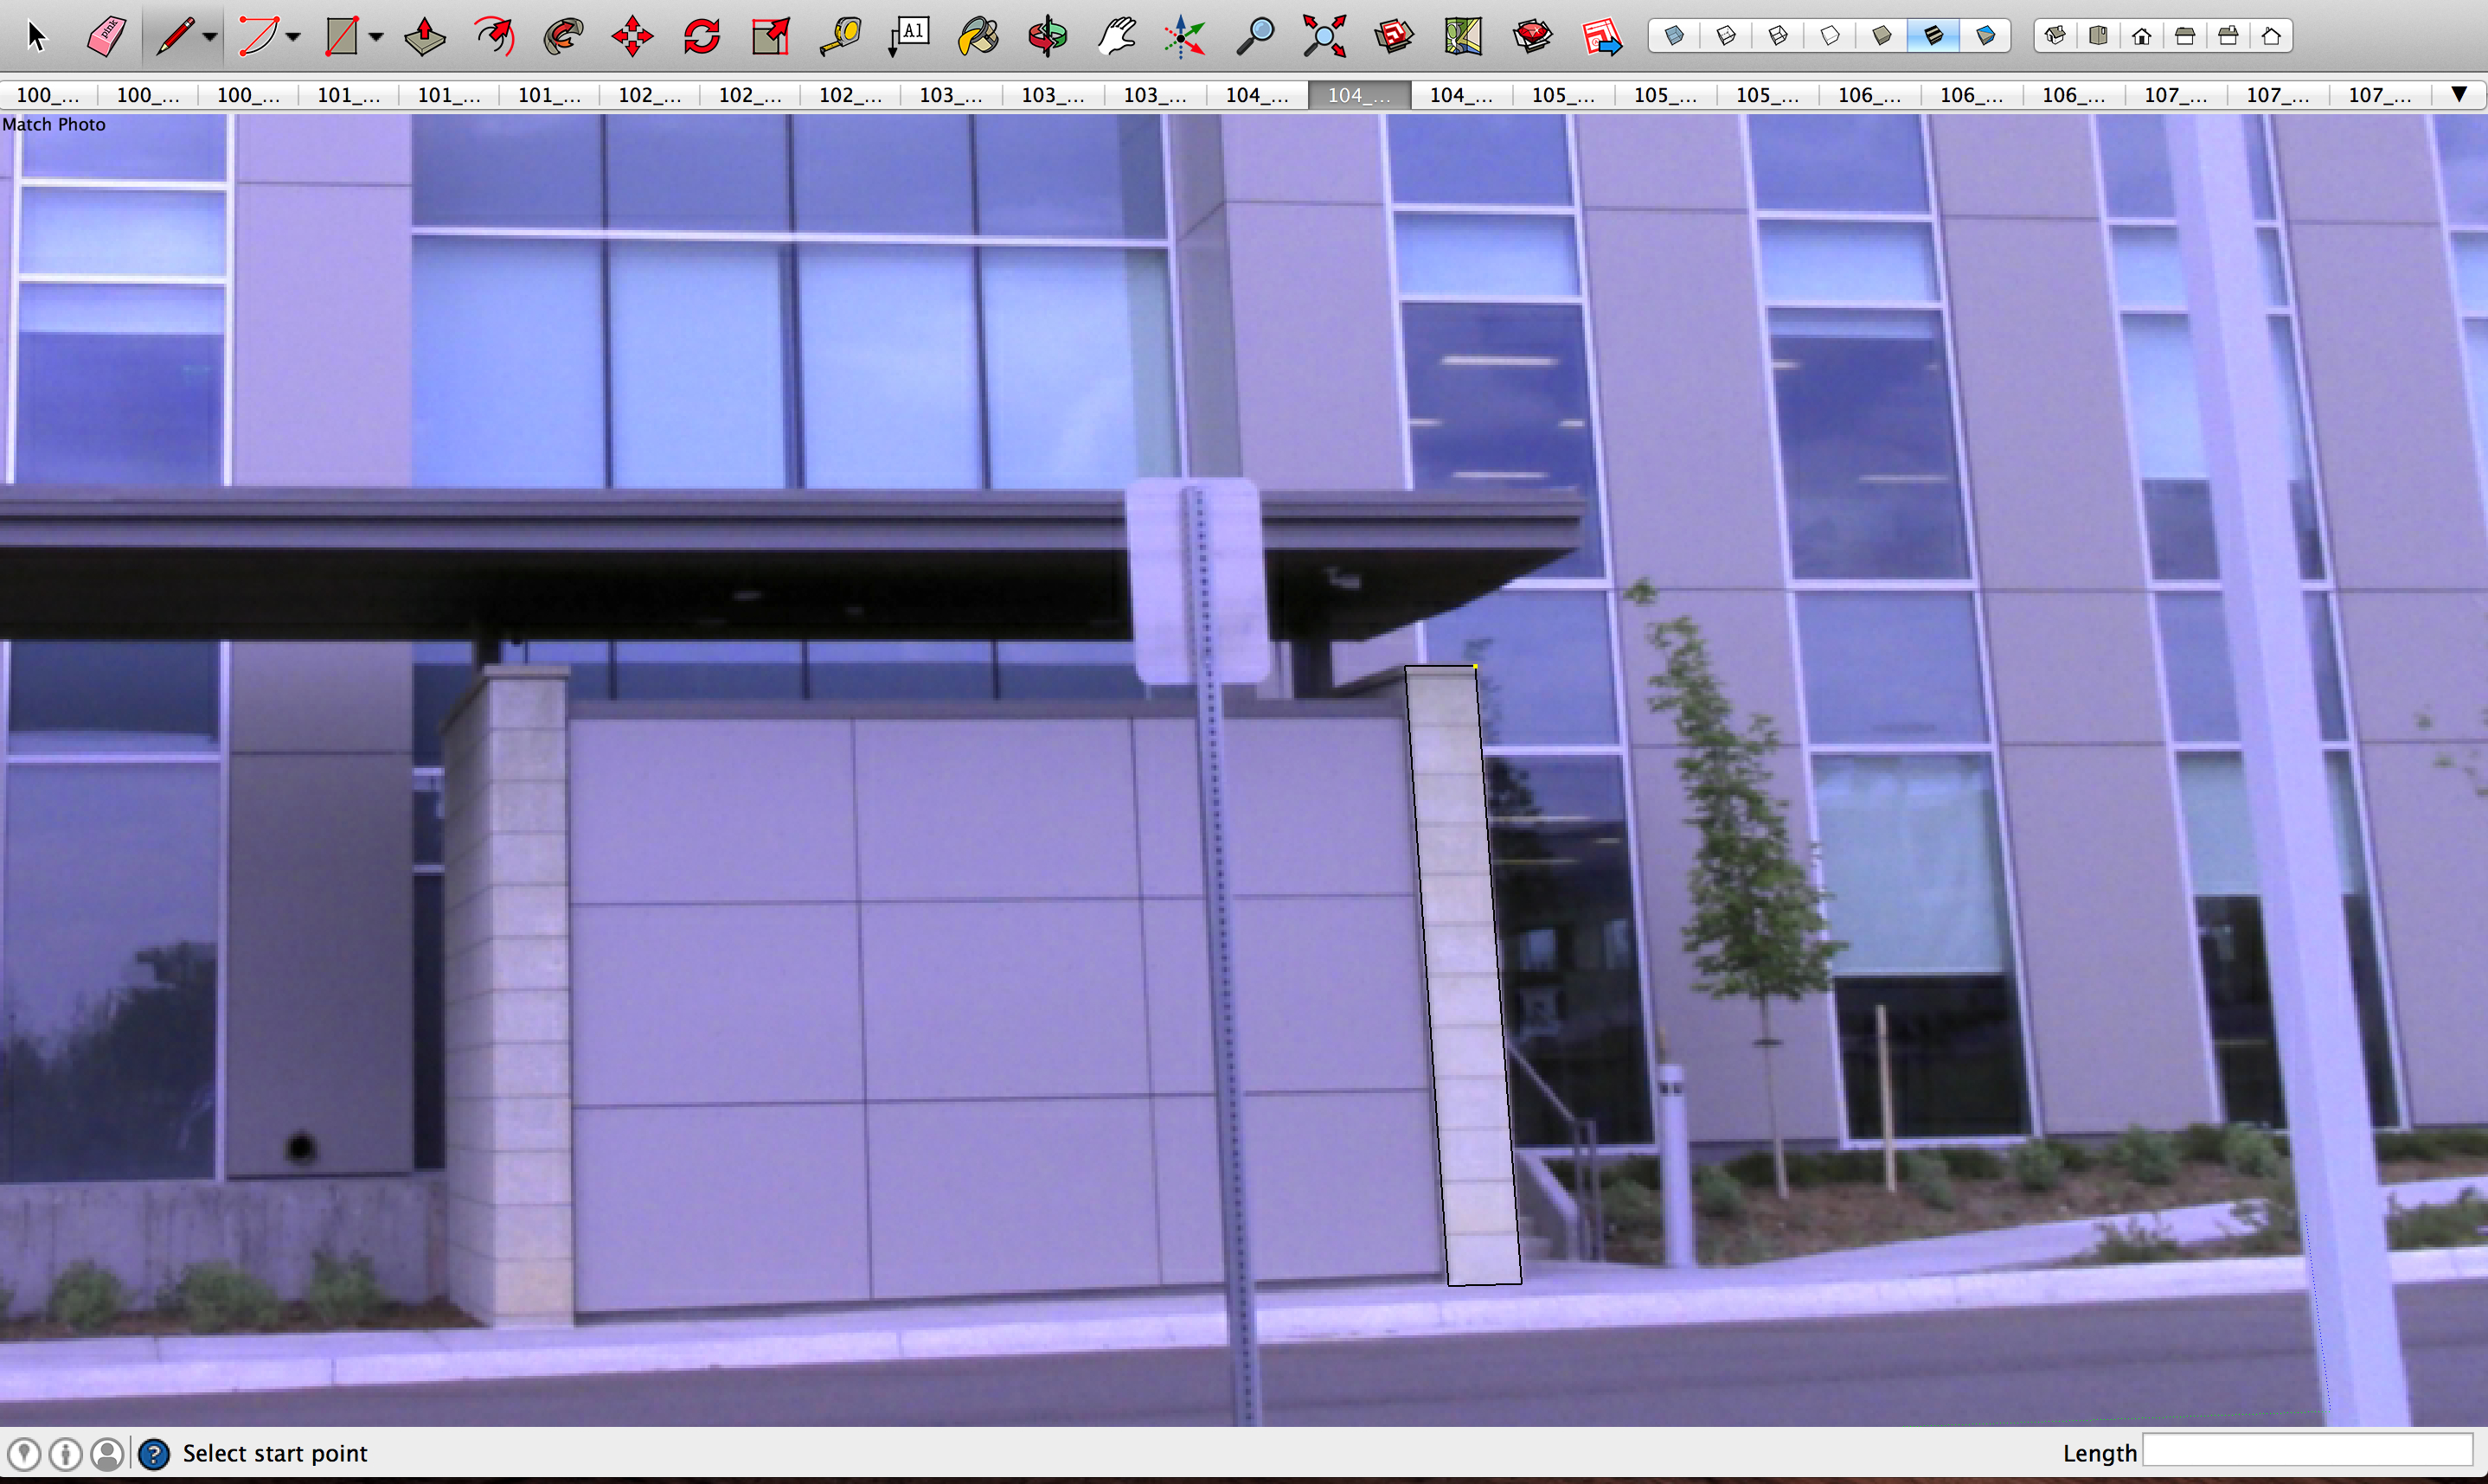
- In this example we will be modeling the structure shown below:

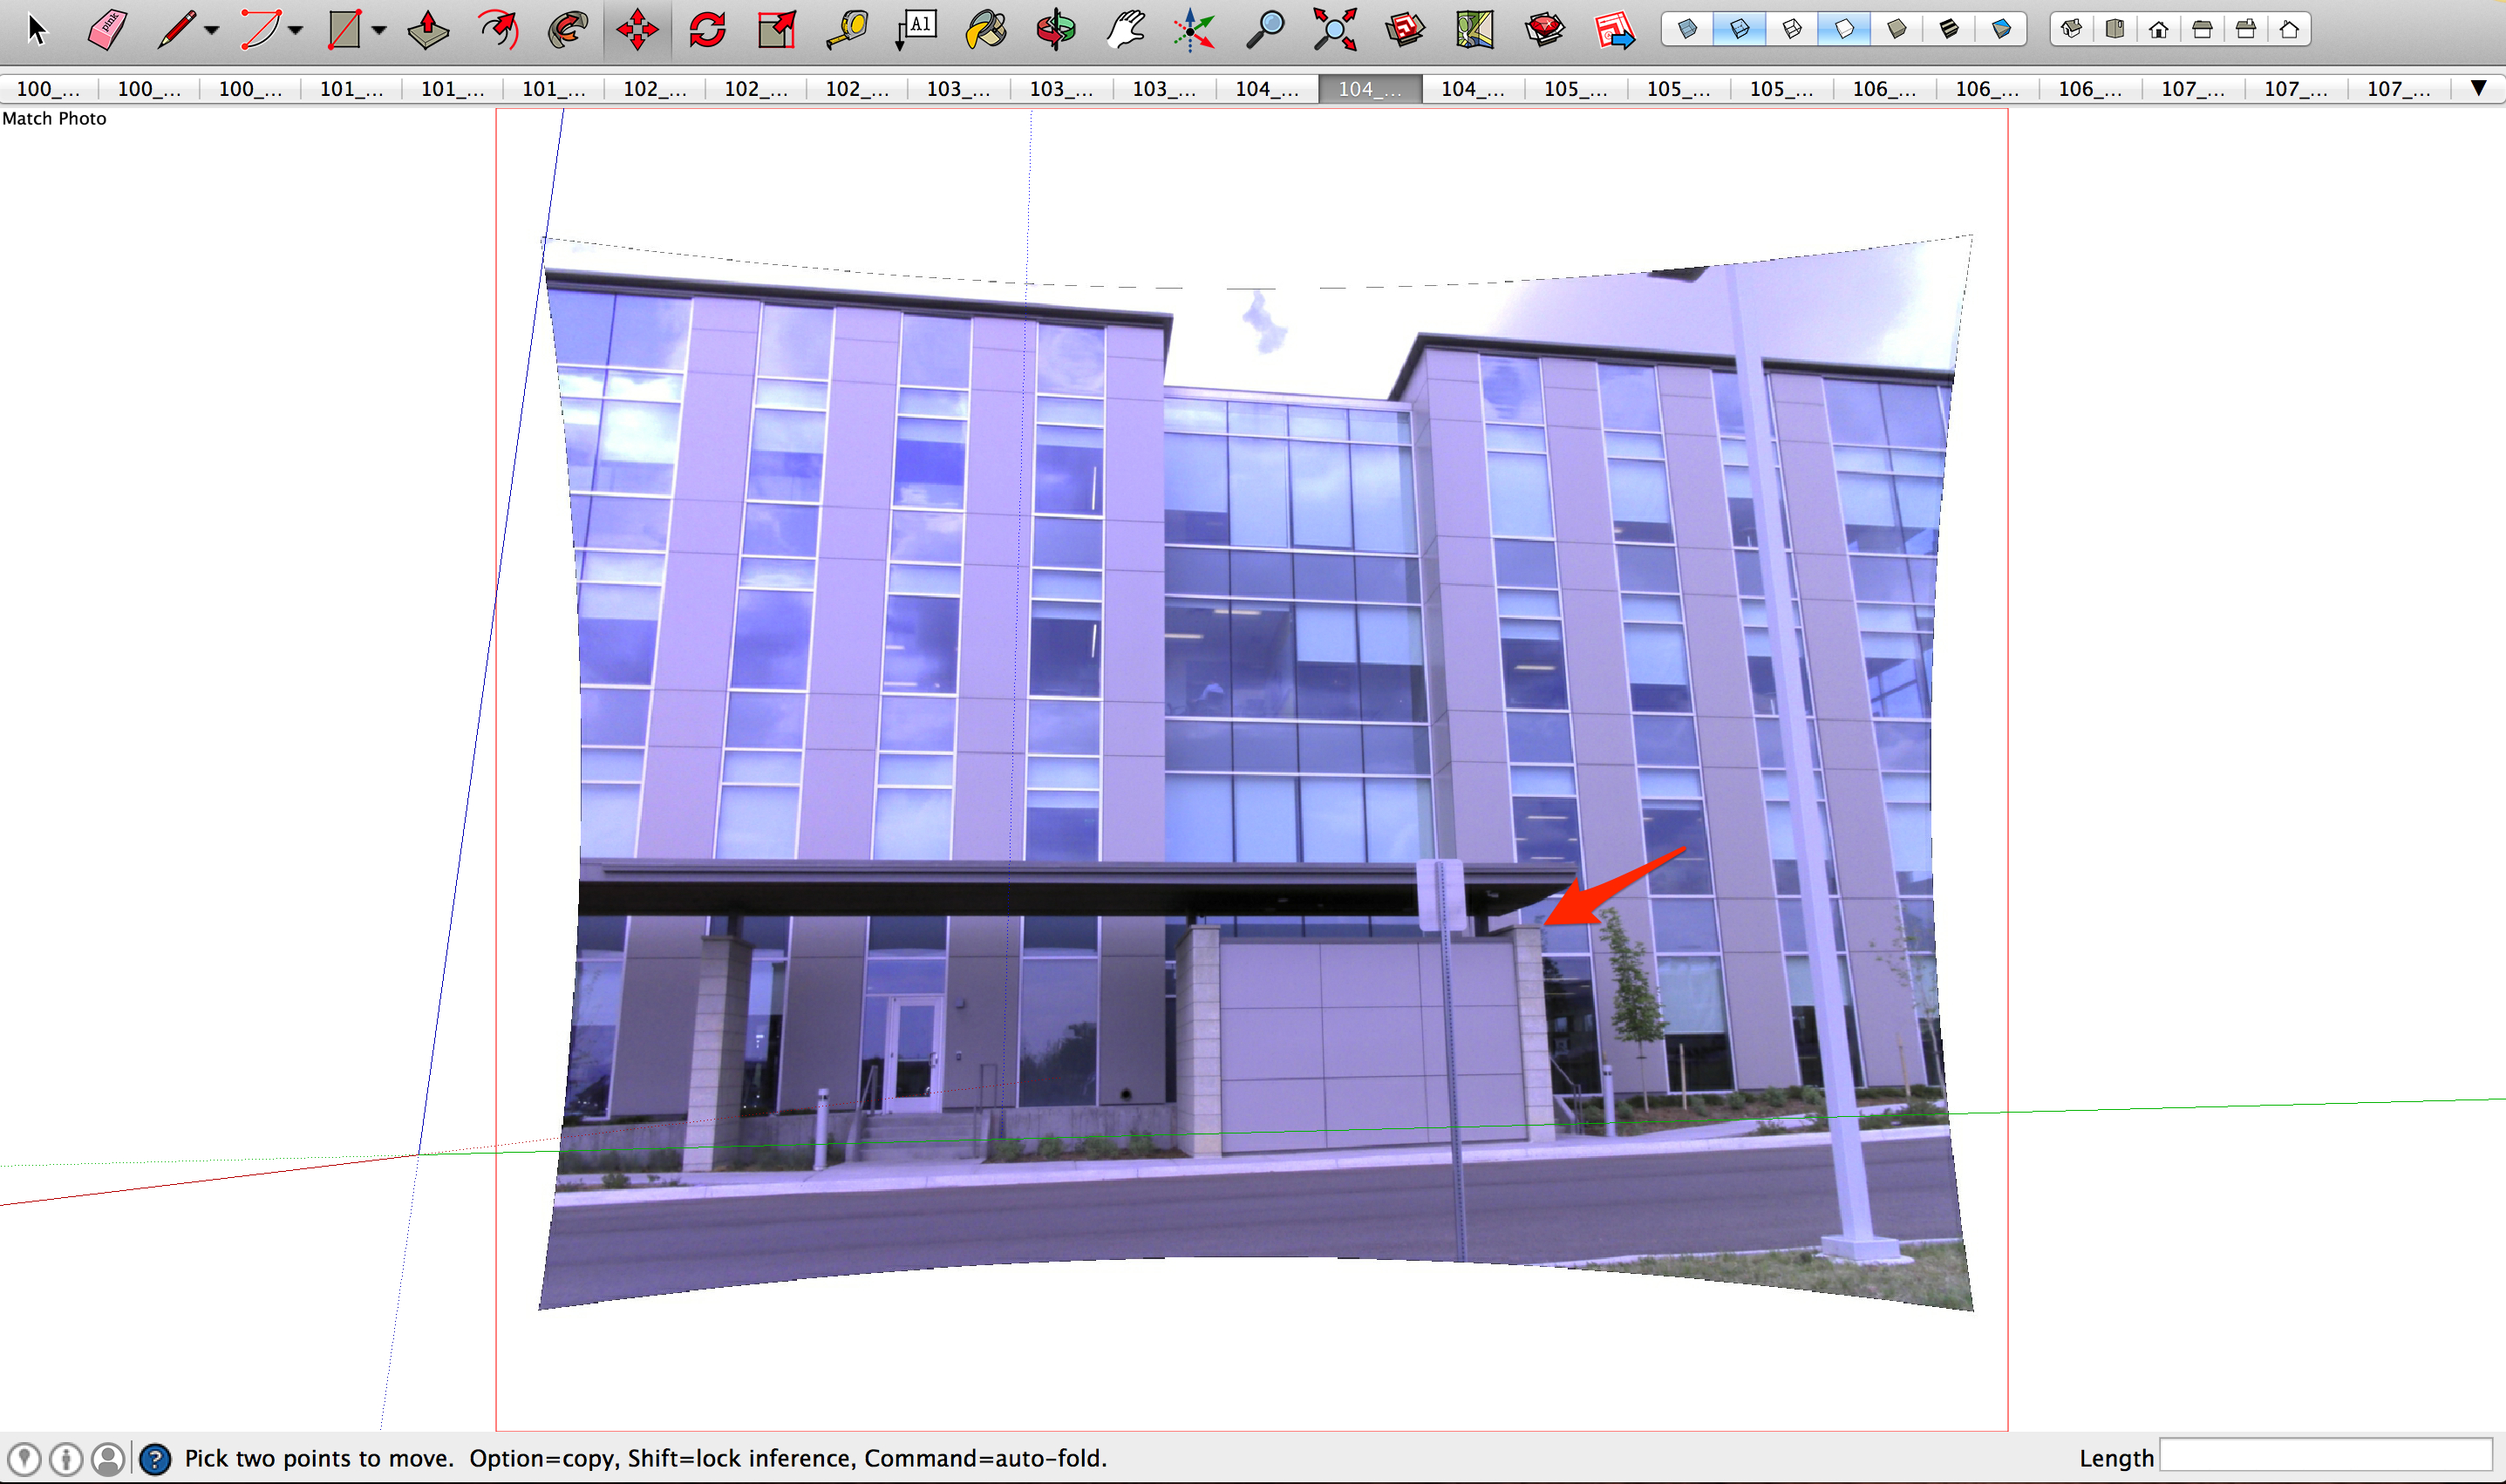
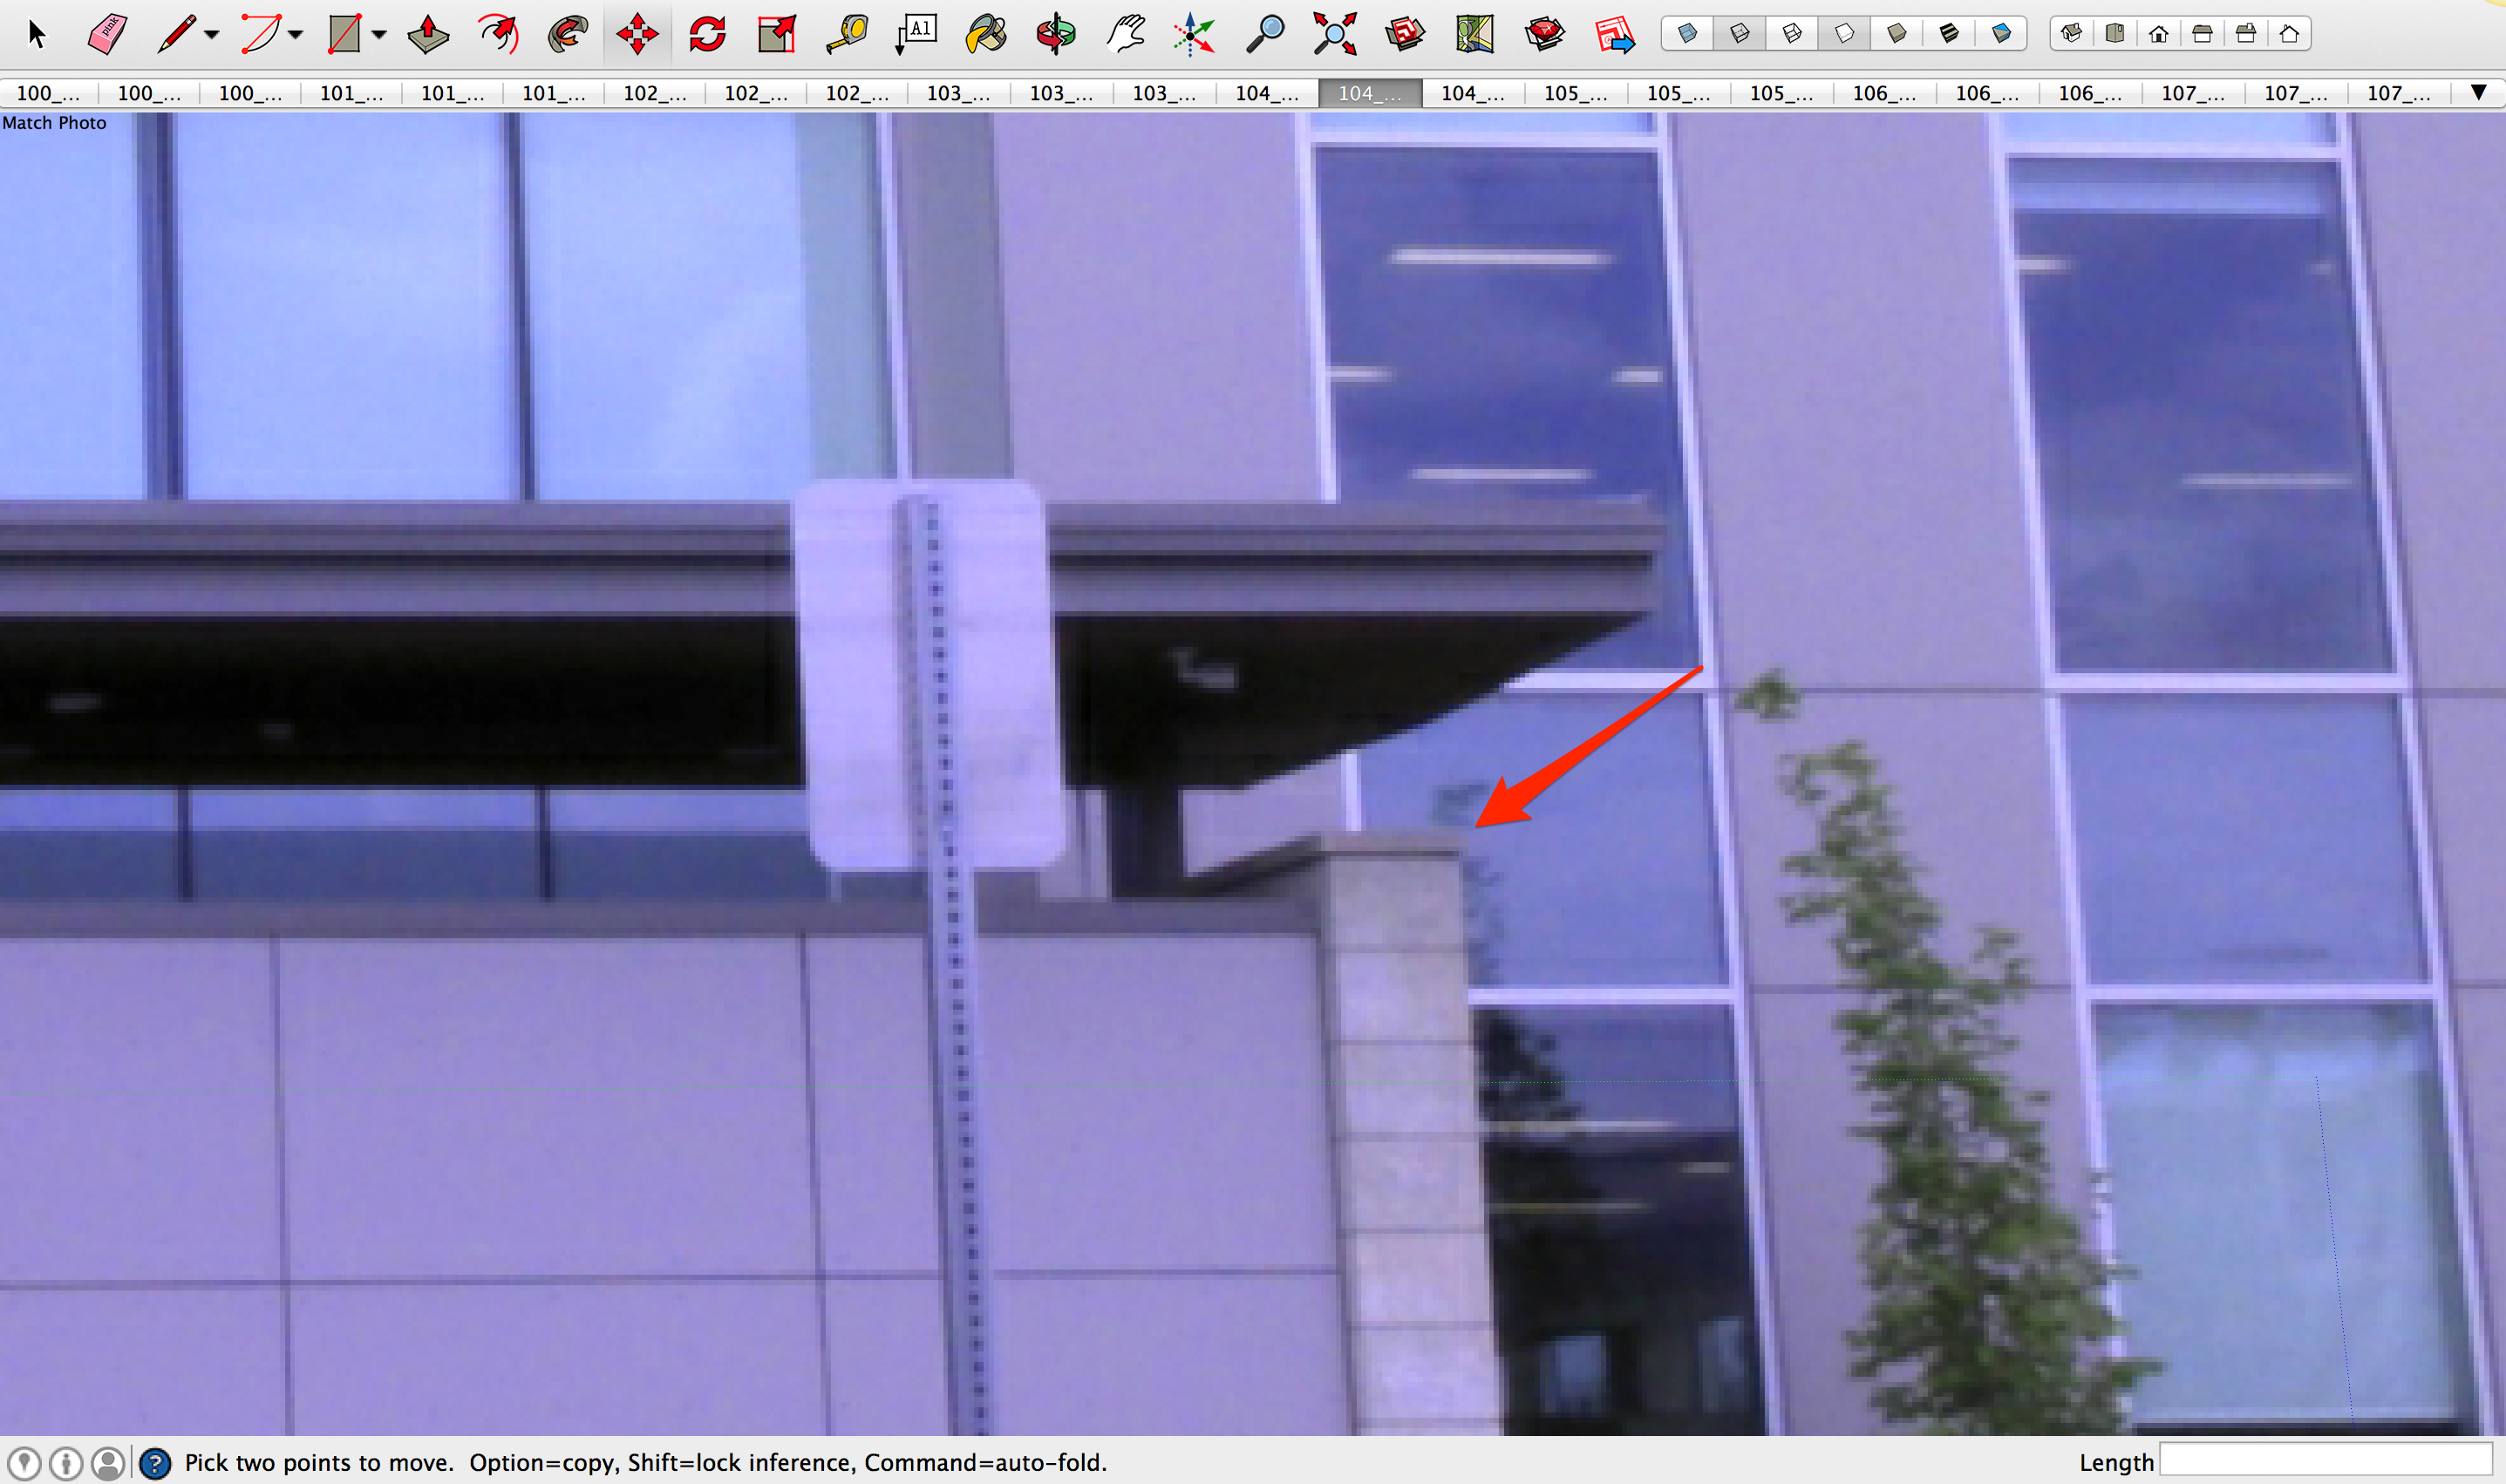
- Click (
 ) and zoom into the point of interest and click to create a guide. In this case, I will choose the corner of this structure as shown below:
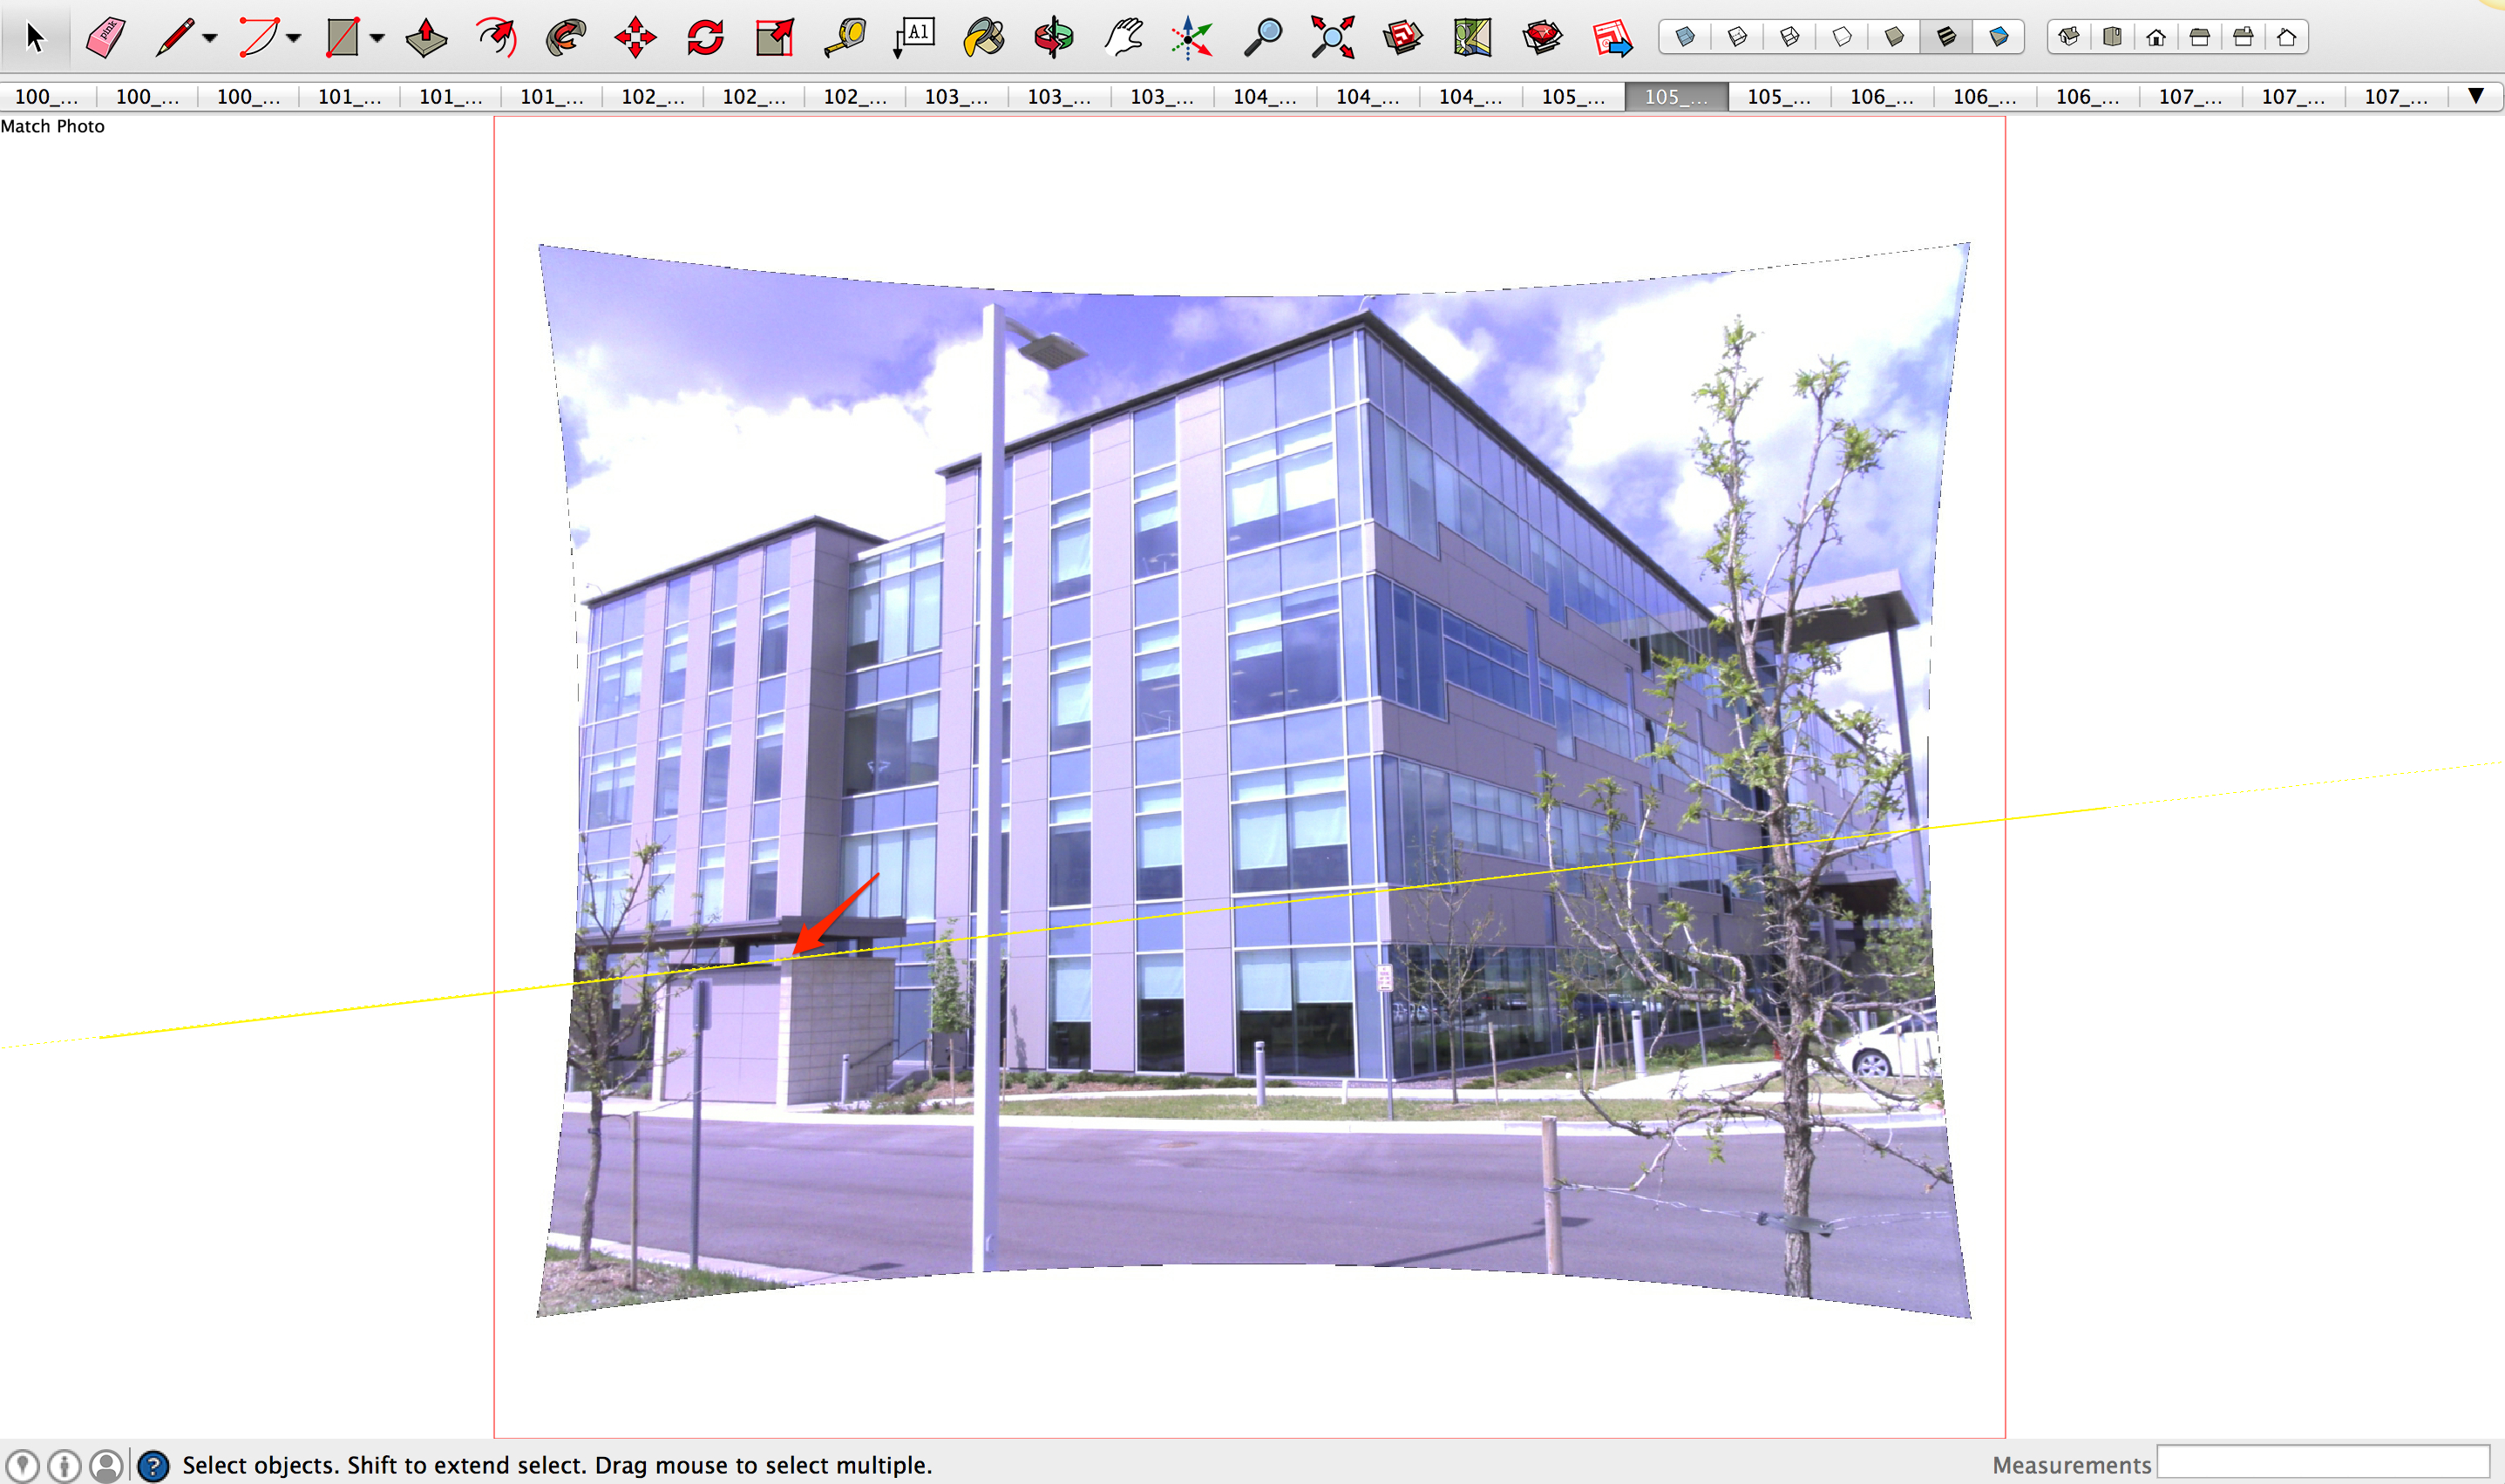
- Once the Photo Point is set, navigate to another image in your photo series where your point of interest is also present by using the arrow keys in Image Igloo View.
- Once you have another perspective of your point, you will see a projected camera guideline as seen below in yellow.
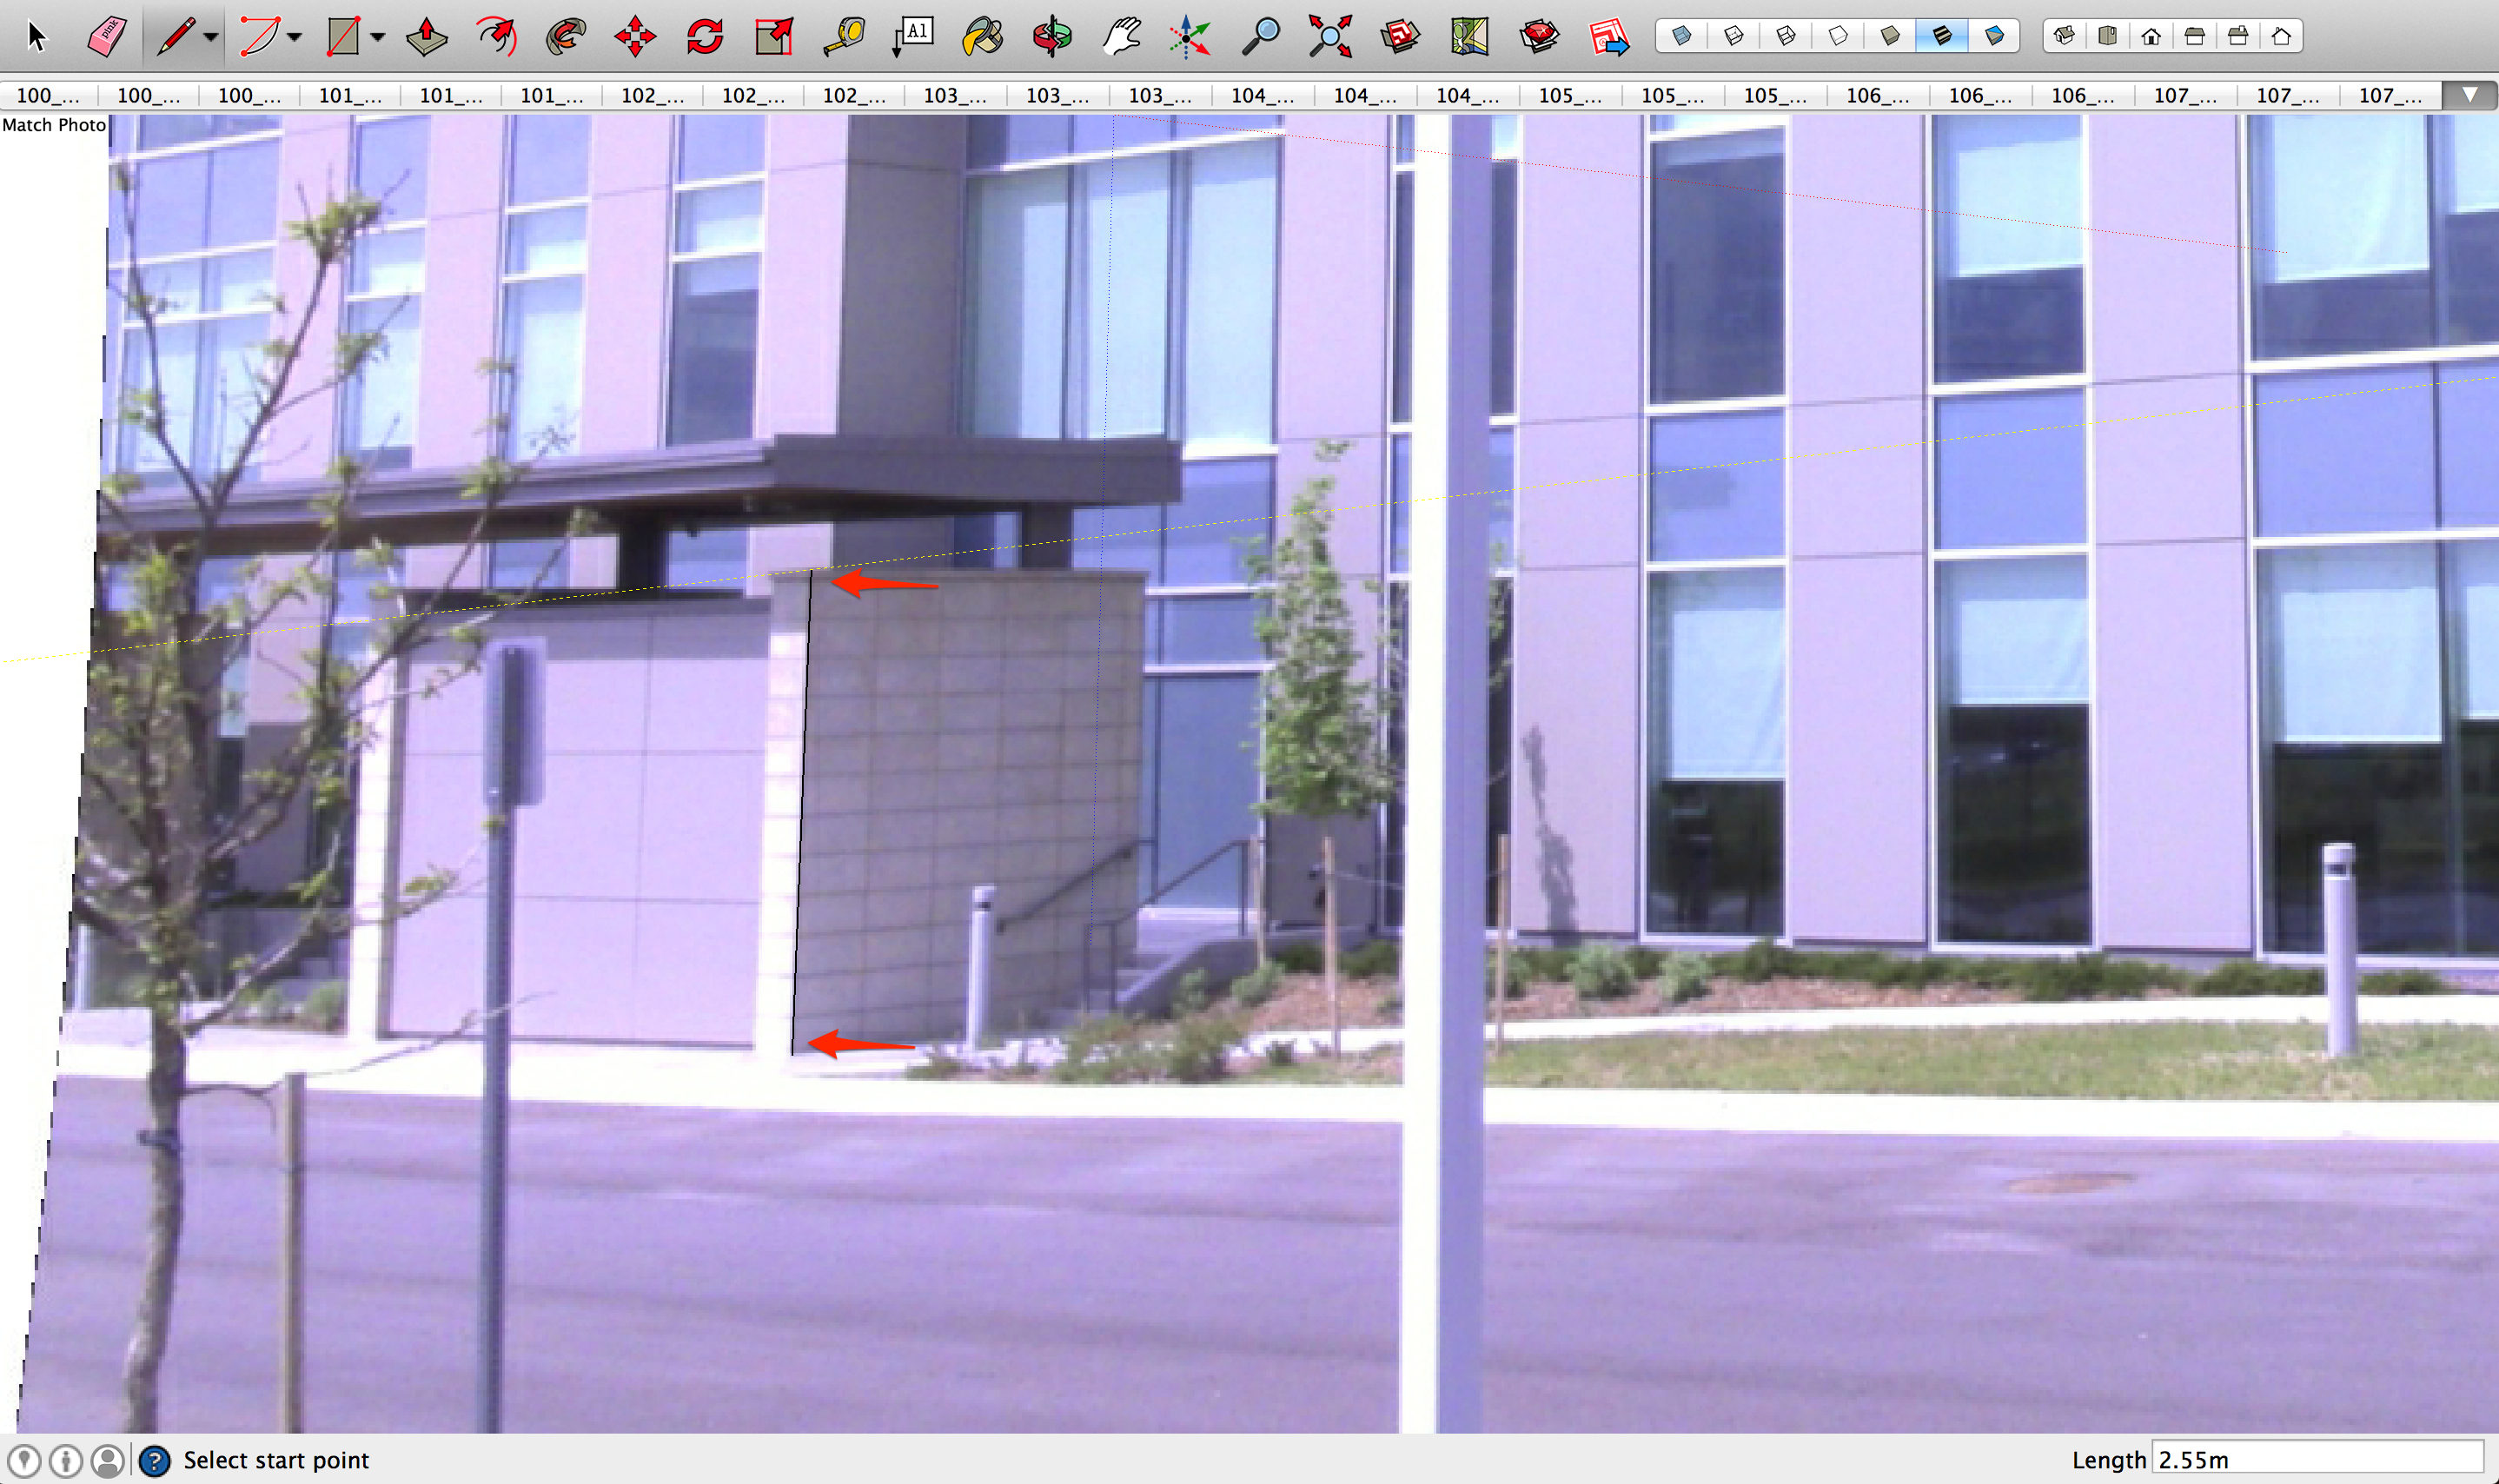
- Use the Photo Point camera guideline to direct the line tool to the point of interest in the image (corner of structure). Once found, use the line tool to draw a line from the camera guideline down to the ground by inferencing the z-axis as shown here:
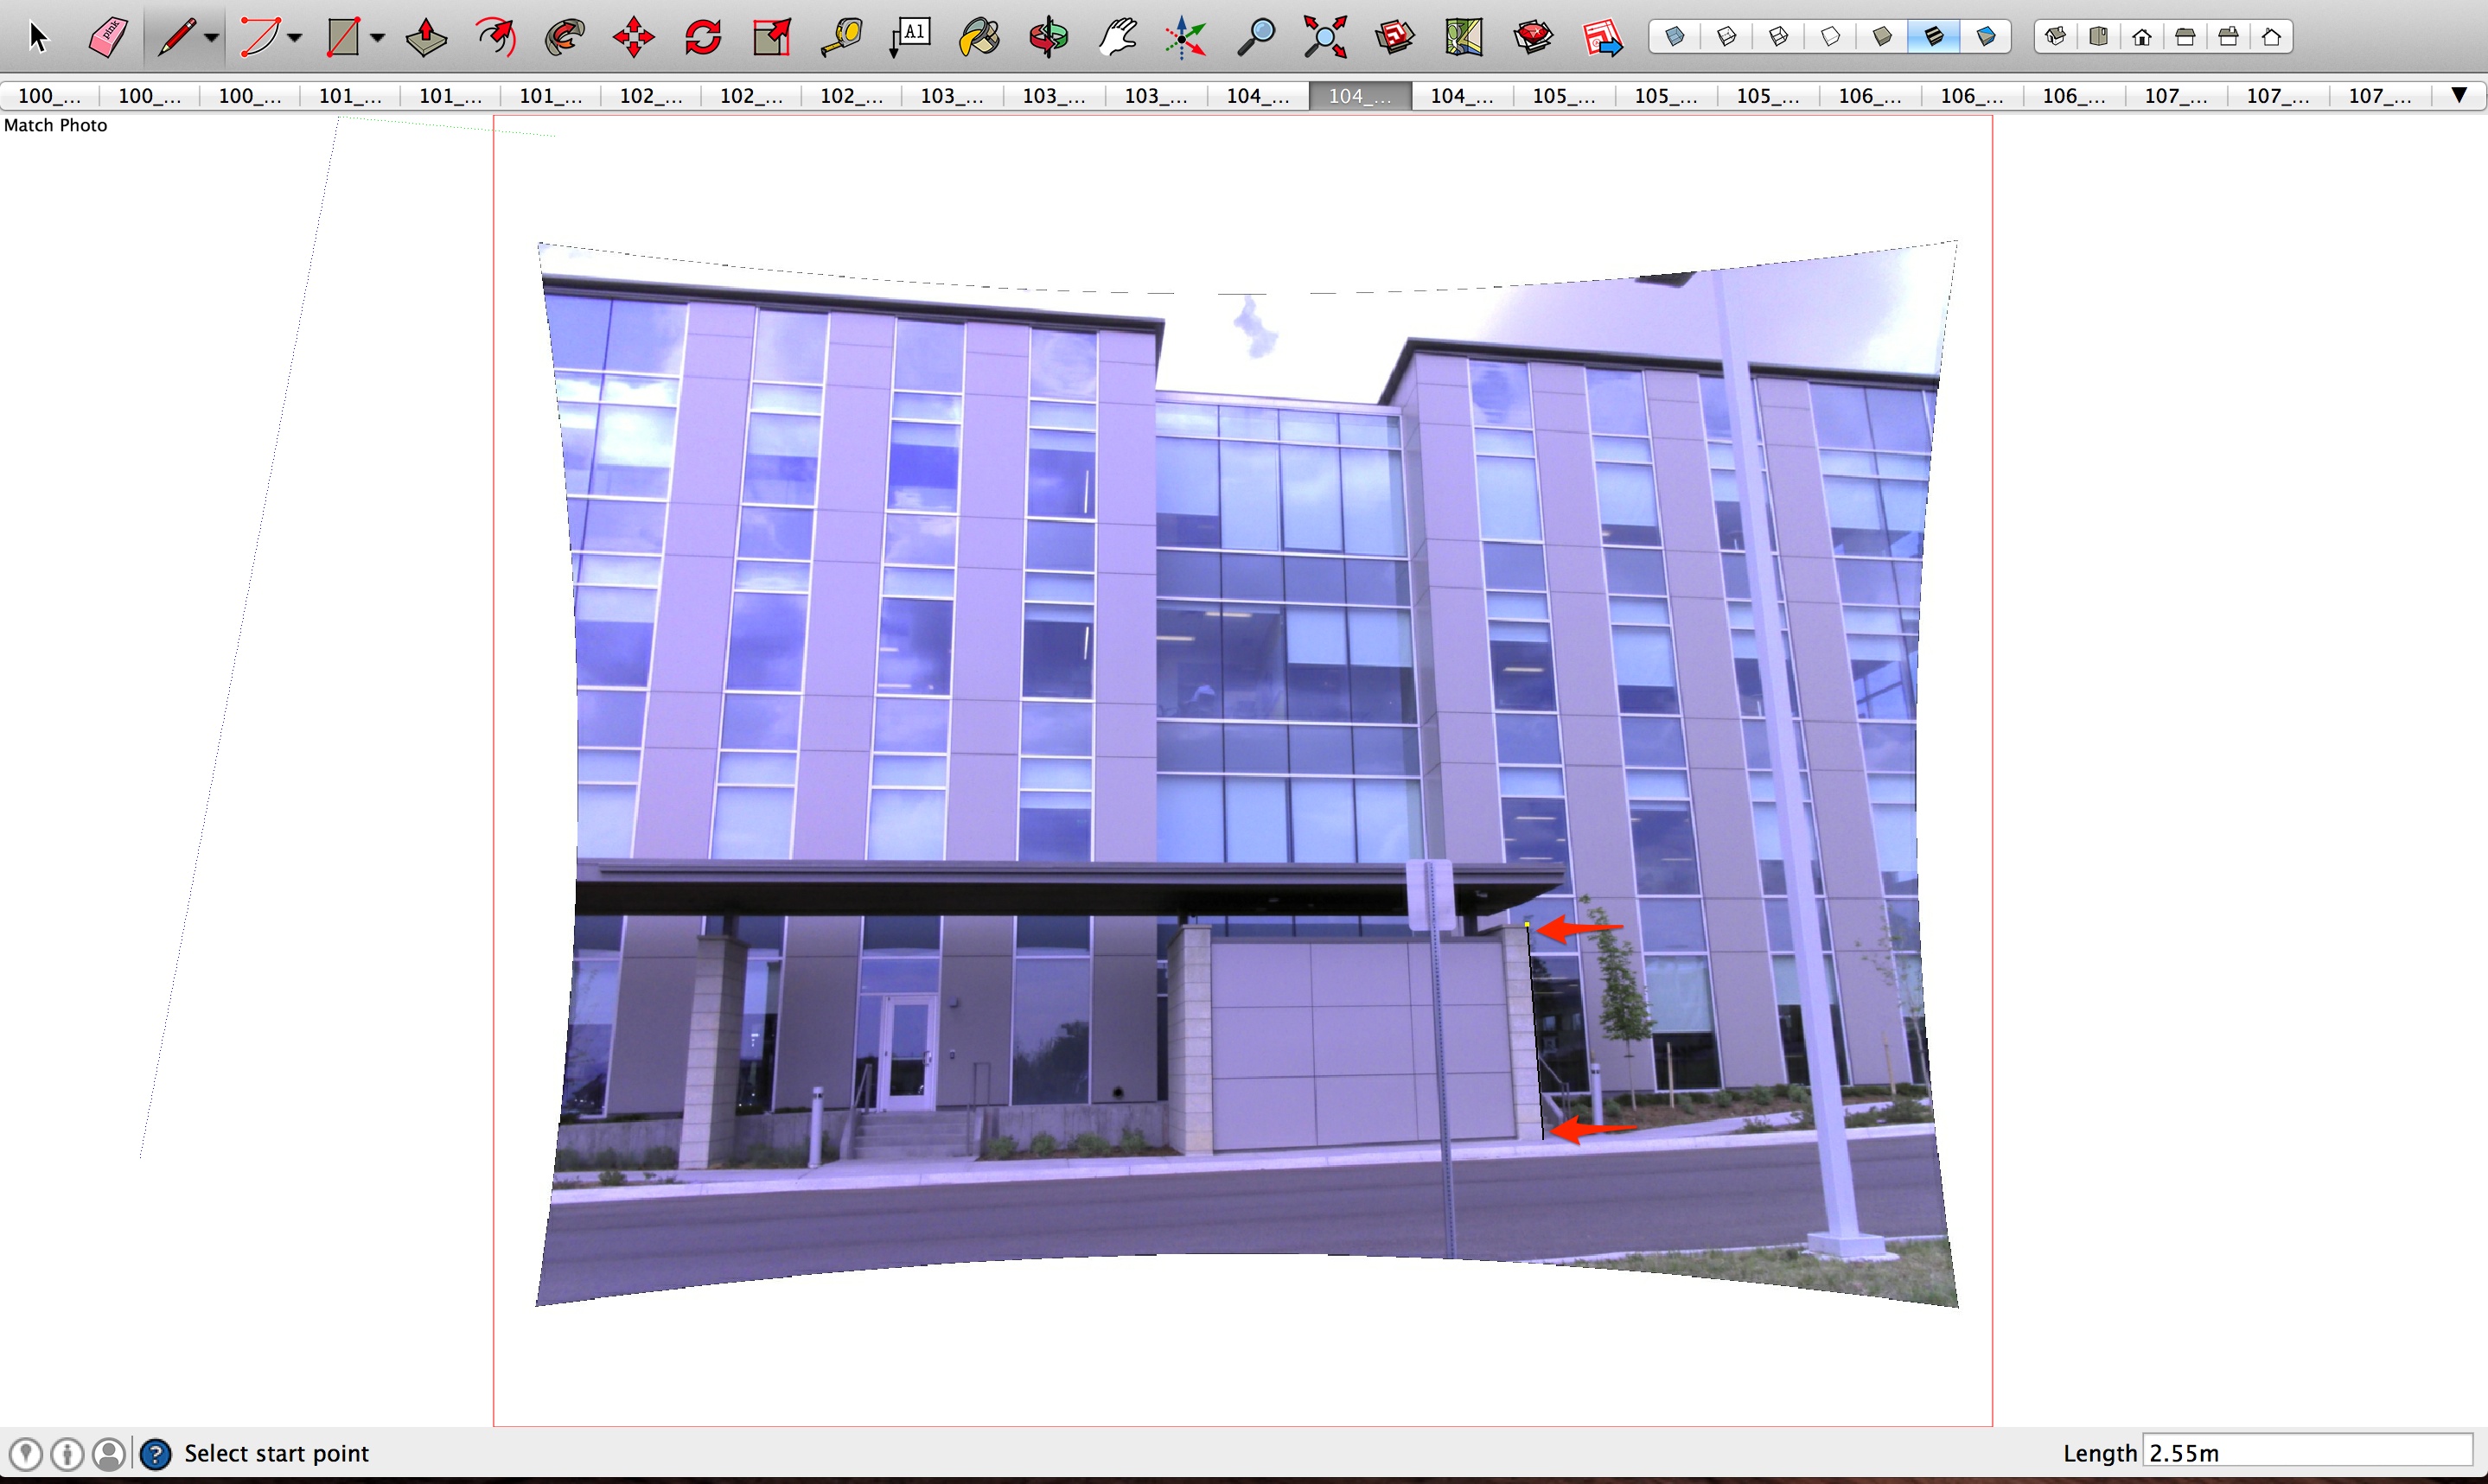
- If you navigate back to the original perspective using the Image Igloo View, you will see that the line is properly placed:
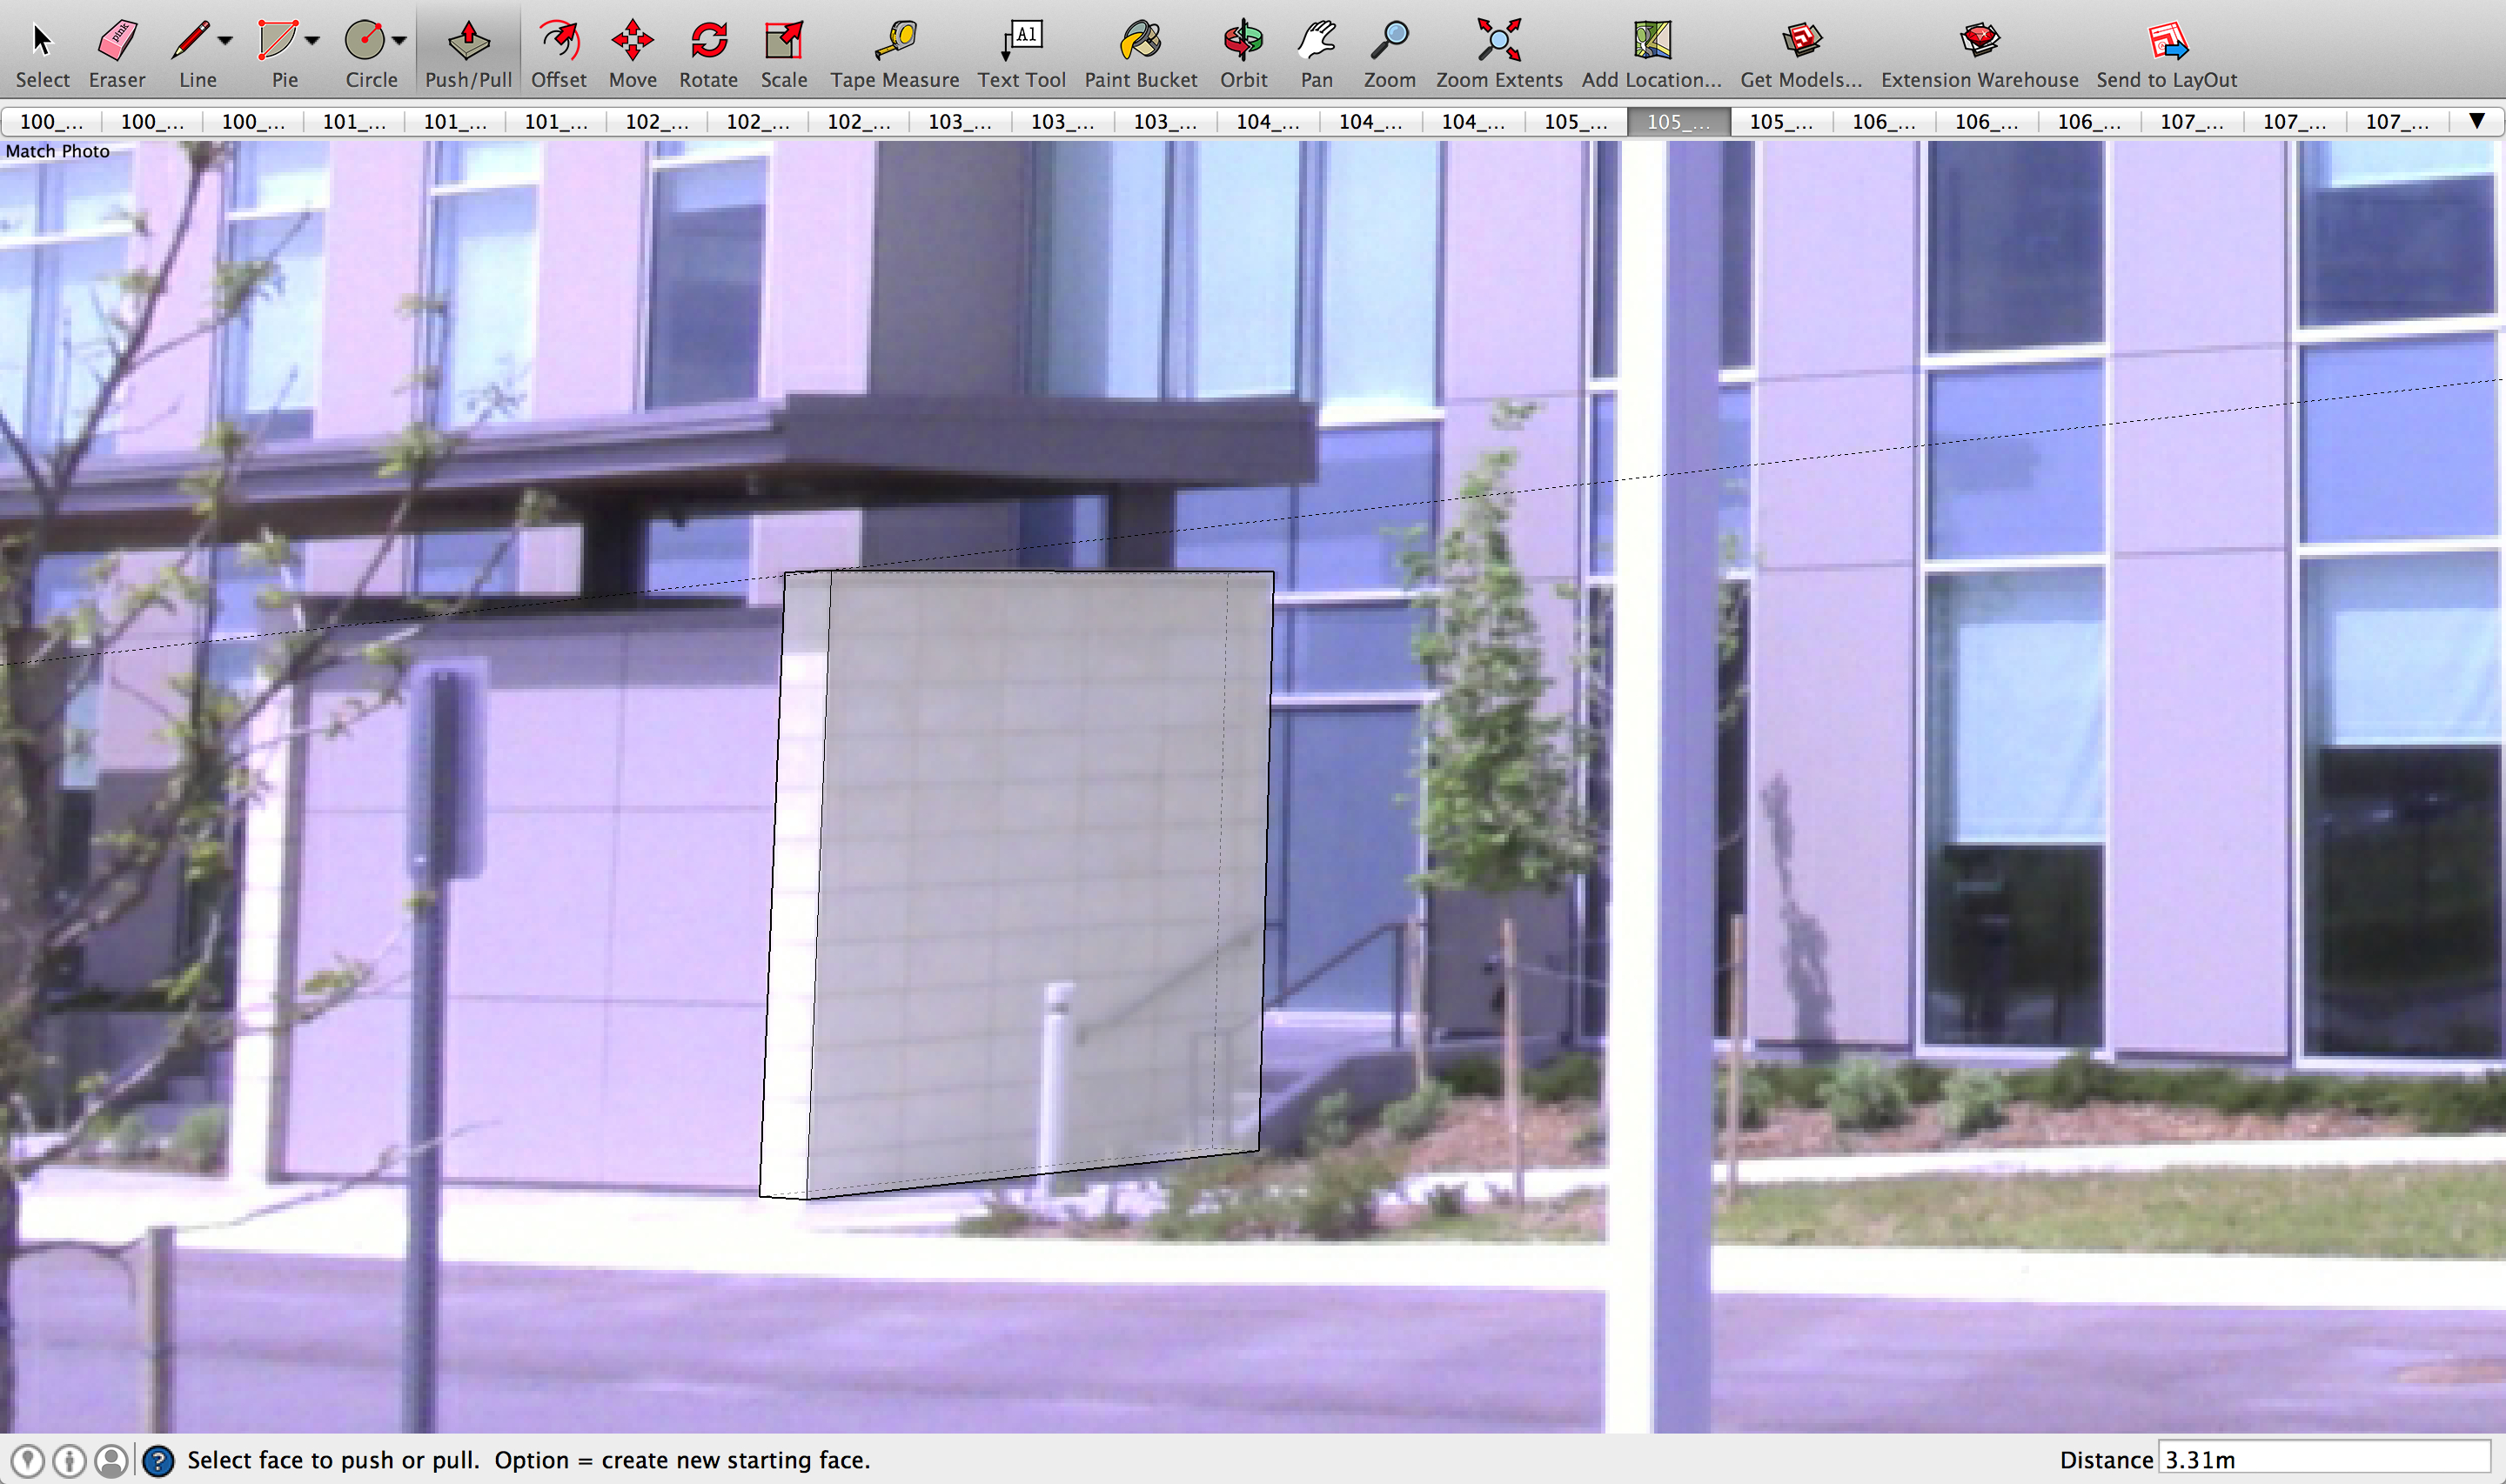
- You can now create the front face of the structure by inferencing the axes as shown here:
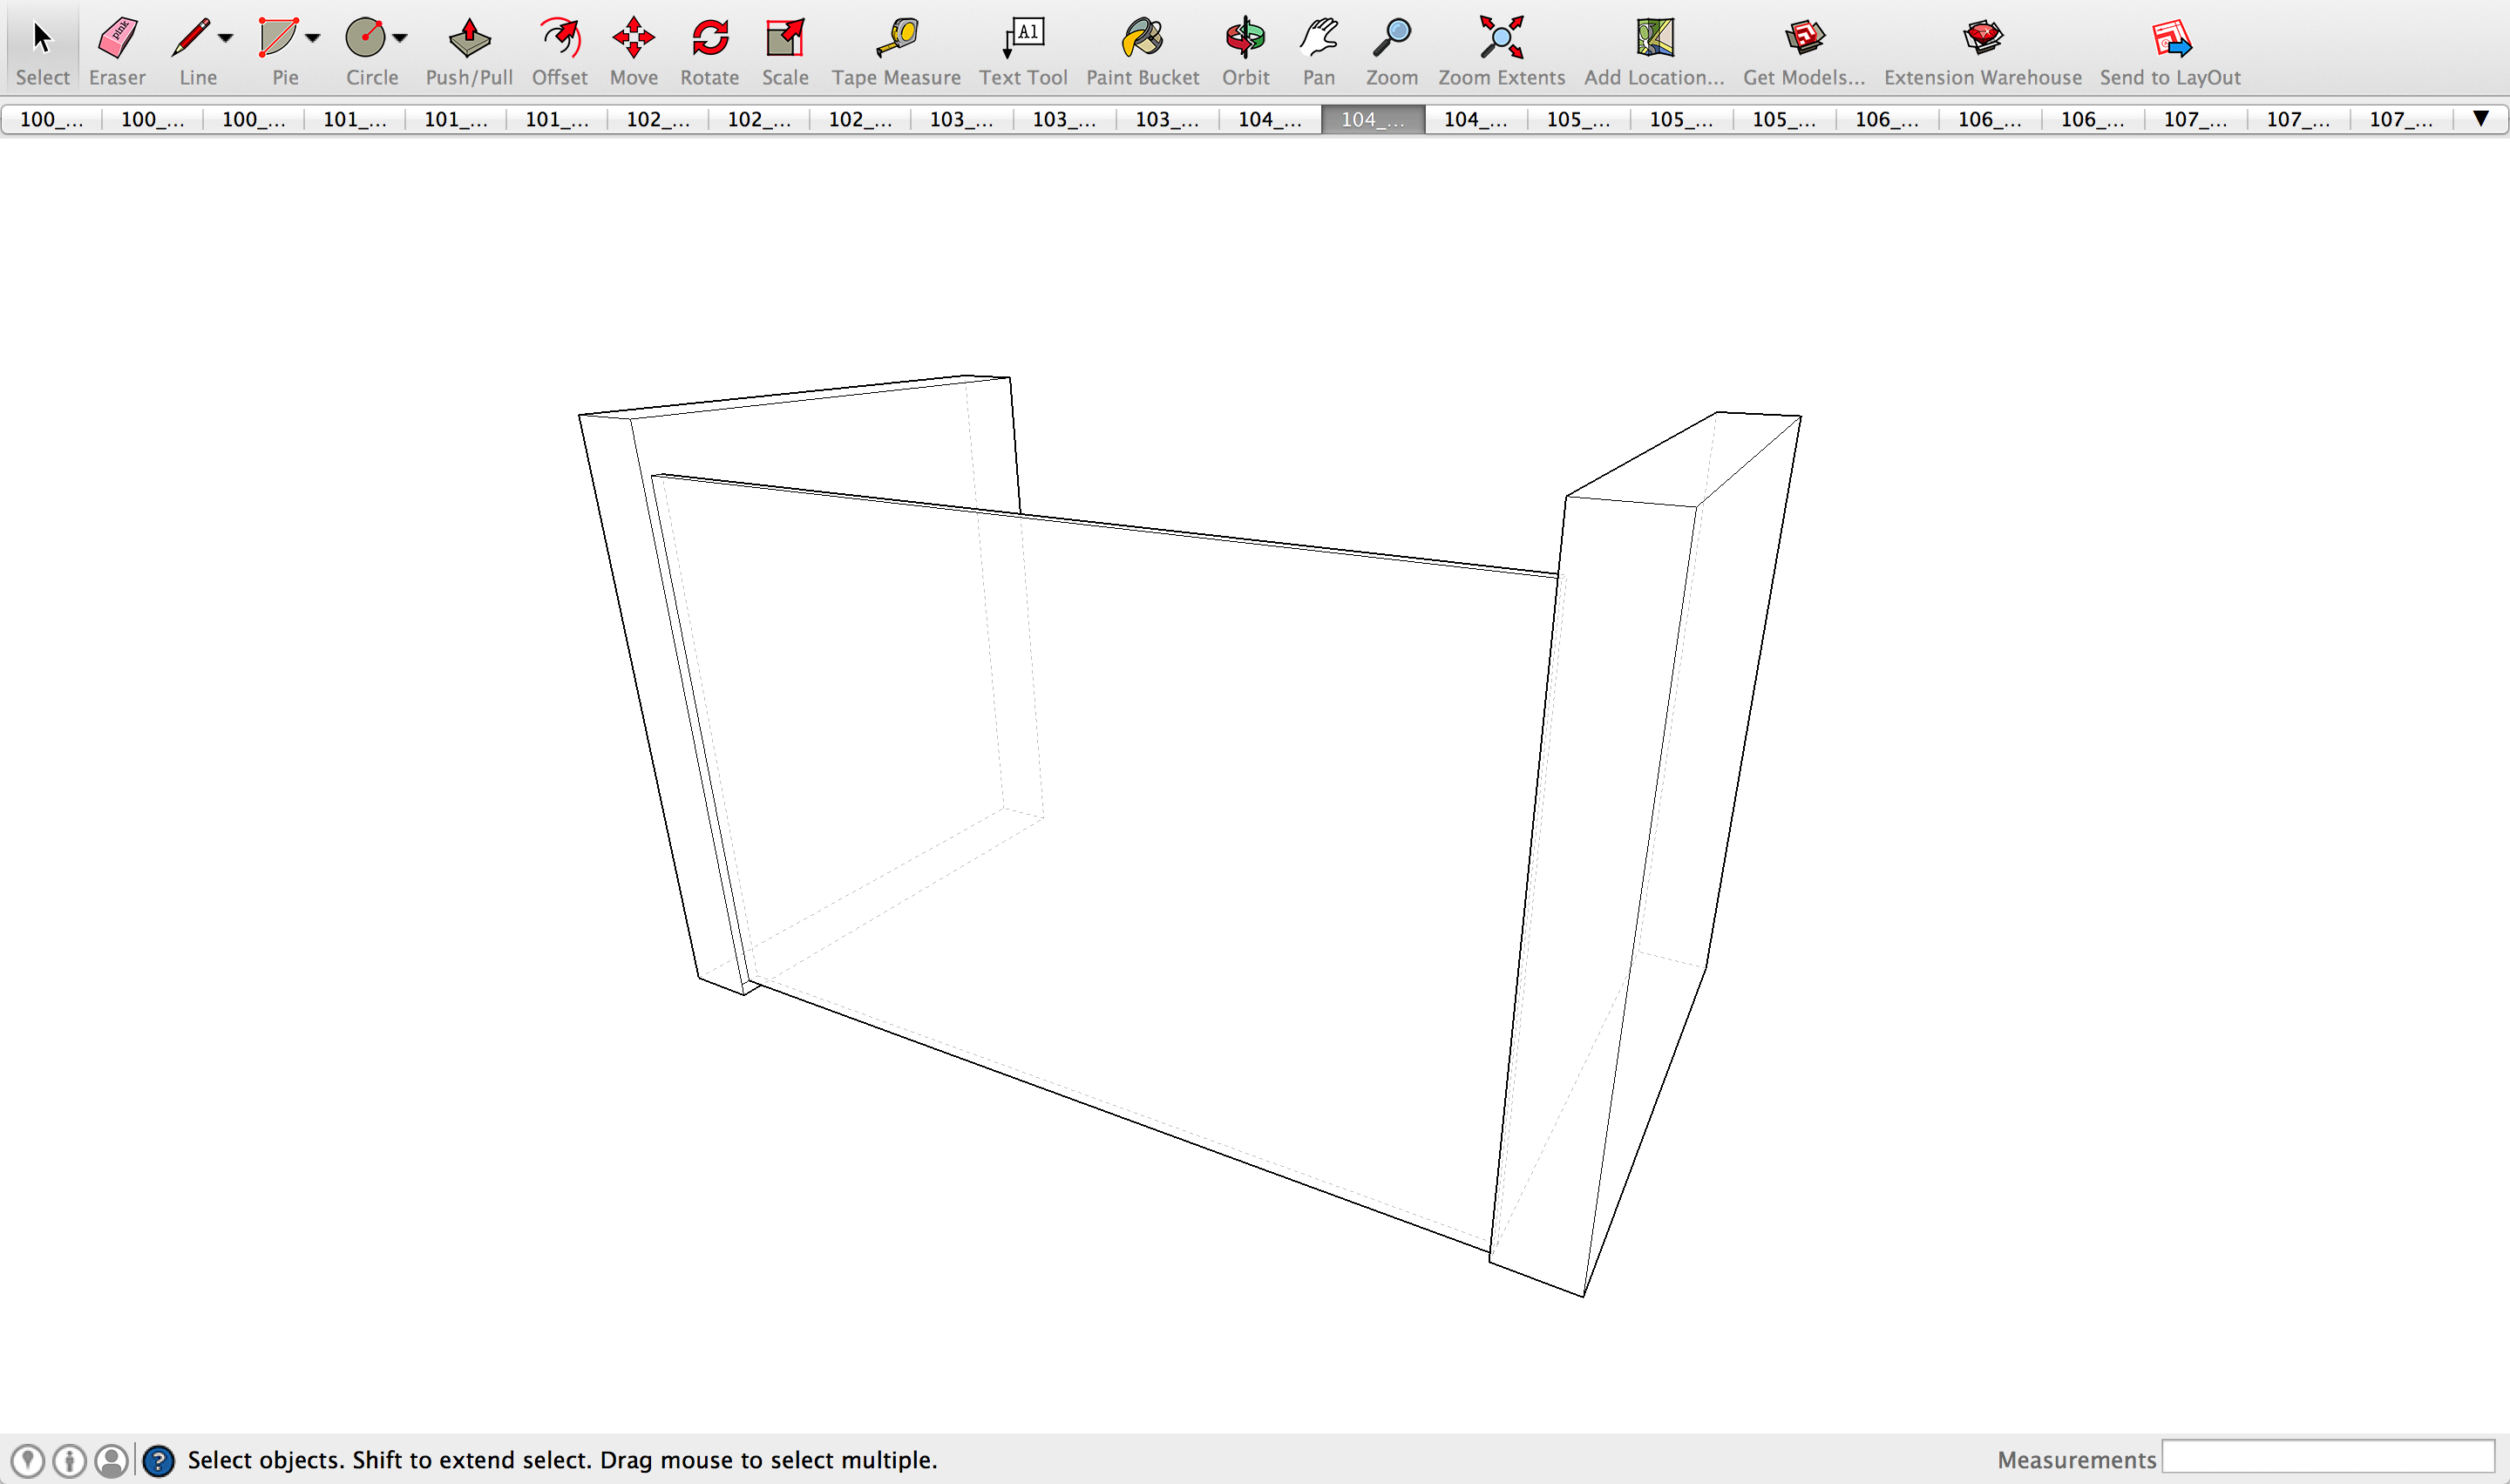
- Change perspectives using the Image Igloo View to model the rest of the structure.
- To replicate the structure on the left, simply inference the structure on the right.
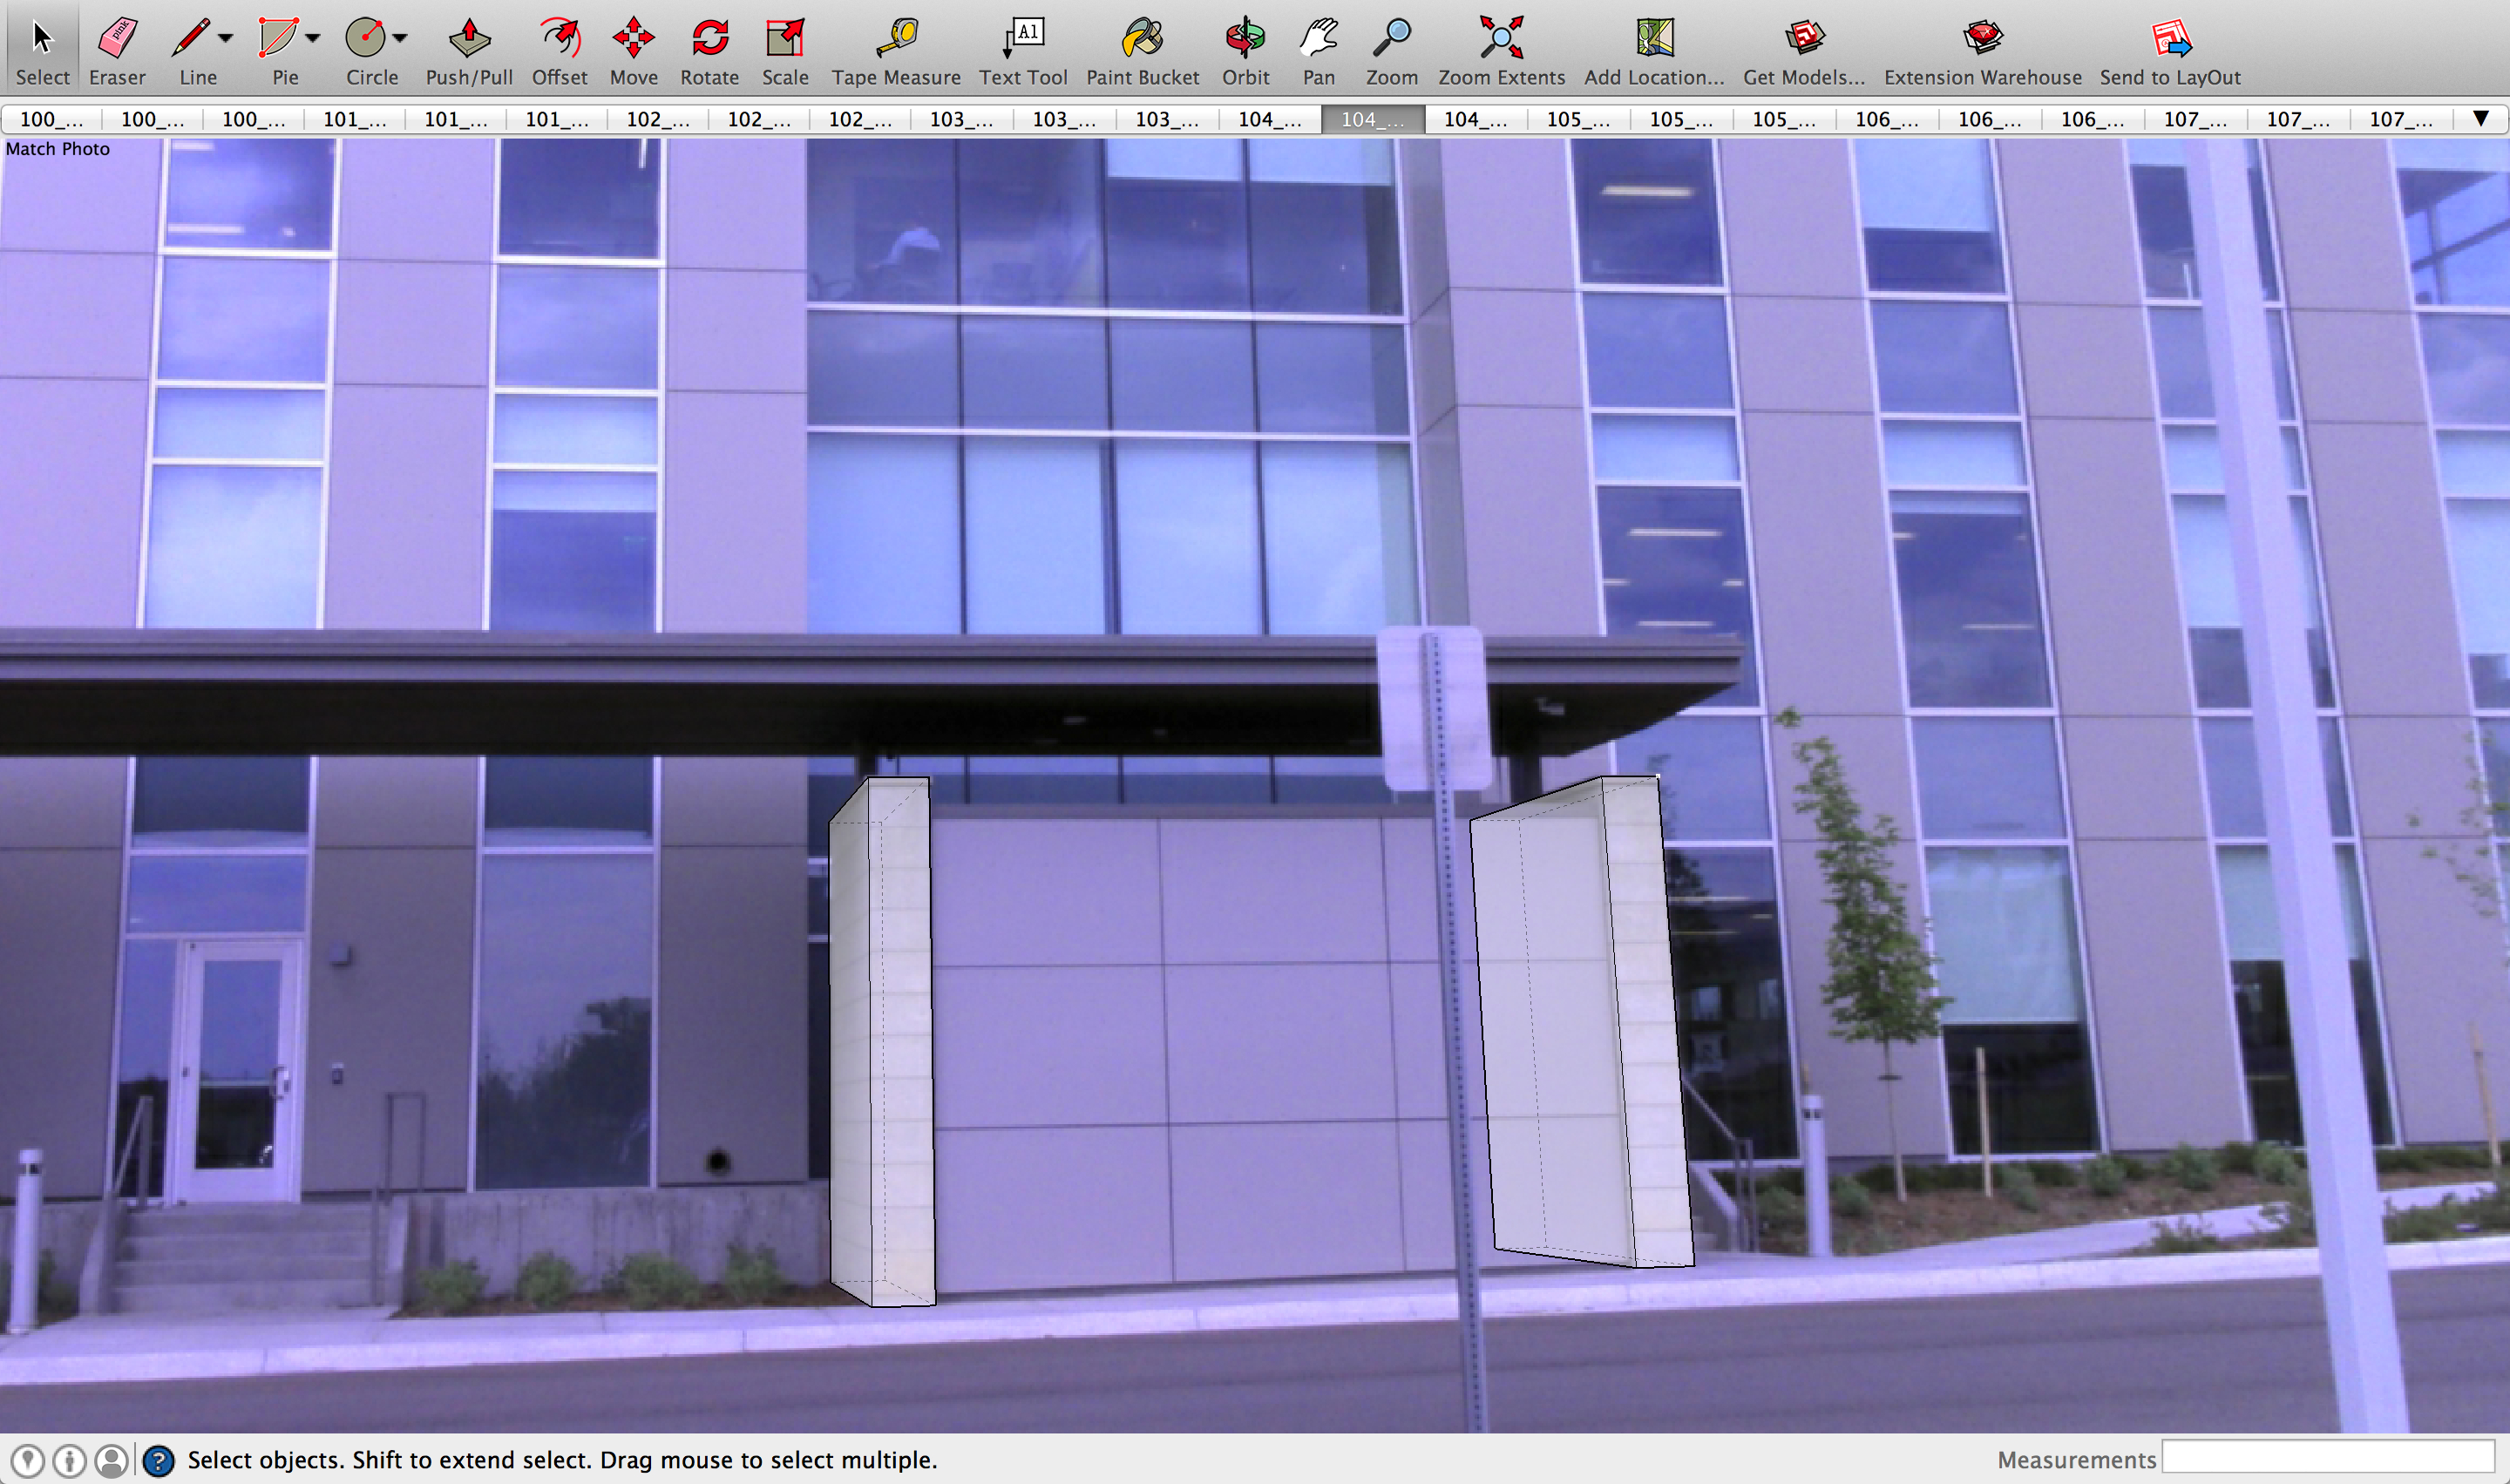
- Finish the structure by connecting each side as shown below: