How much glazing should I have on my building?
This article explains how use PreDesign to:
- Get an understanding of what a sensible amount of glazing looks like for each orientation
- Identify the benefit of going beyond typical design
- Test the relative merits of broad facade strategies, measured in terms of how much glazing you’d be able to apply to each orientation
Related articles:
- What facade strategies are comprised of in the glazing ratio feature
- How we determine a recommended glazing ratio
How to use this feature
The page is broken up into 4 broad sections. We’ll explain each section separately to help you understand how to use this feature.
Orientation selector
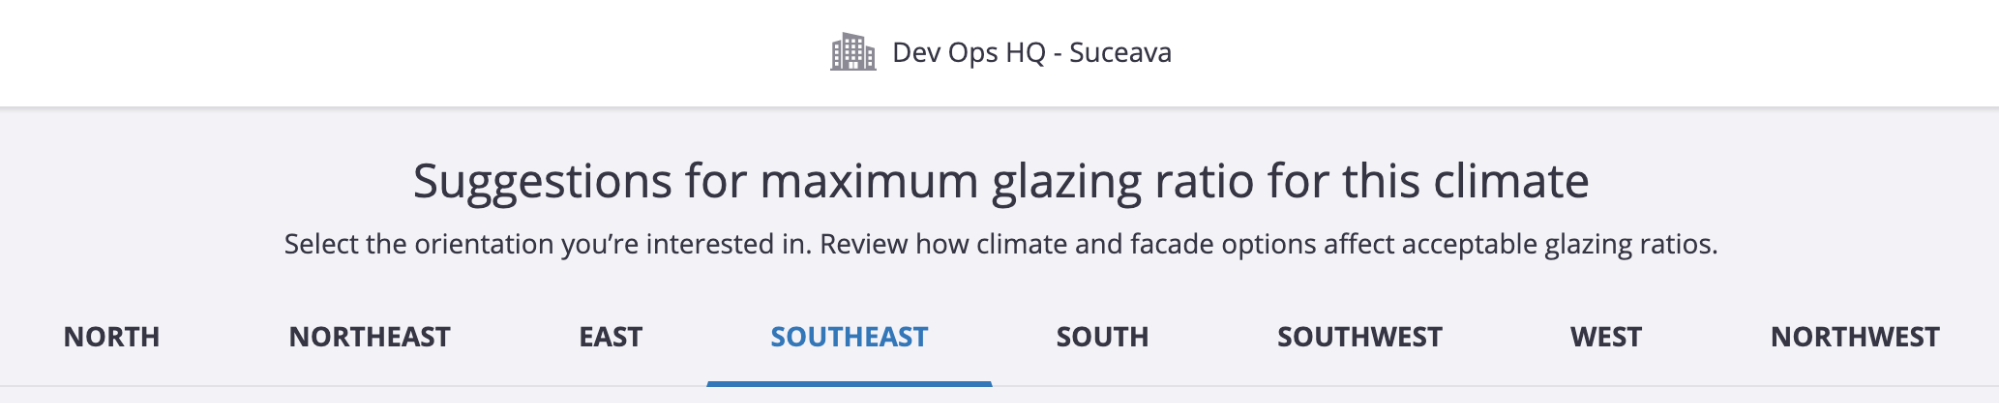
Use this menu to choose the orientation you want to study. Although we have only provided 8 orientations here, choosing the orientation that is closest to the one you are interested in will generally be good enough for the purposes of understanding trends.
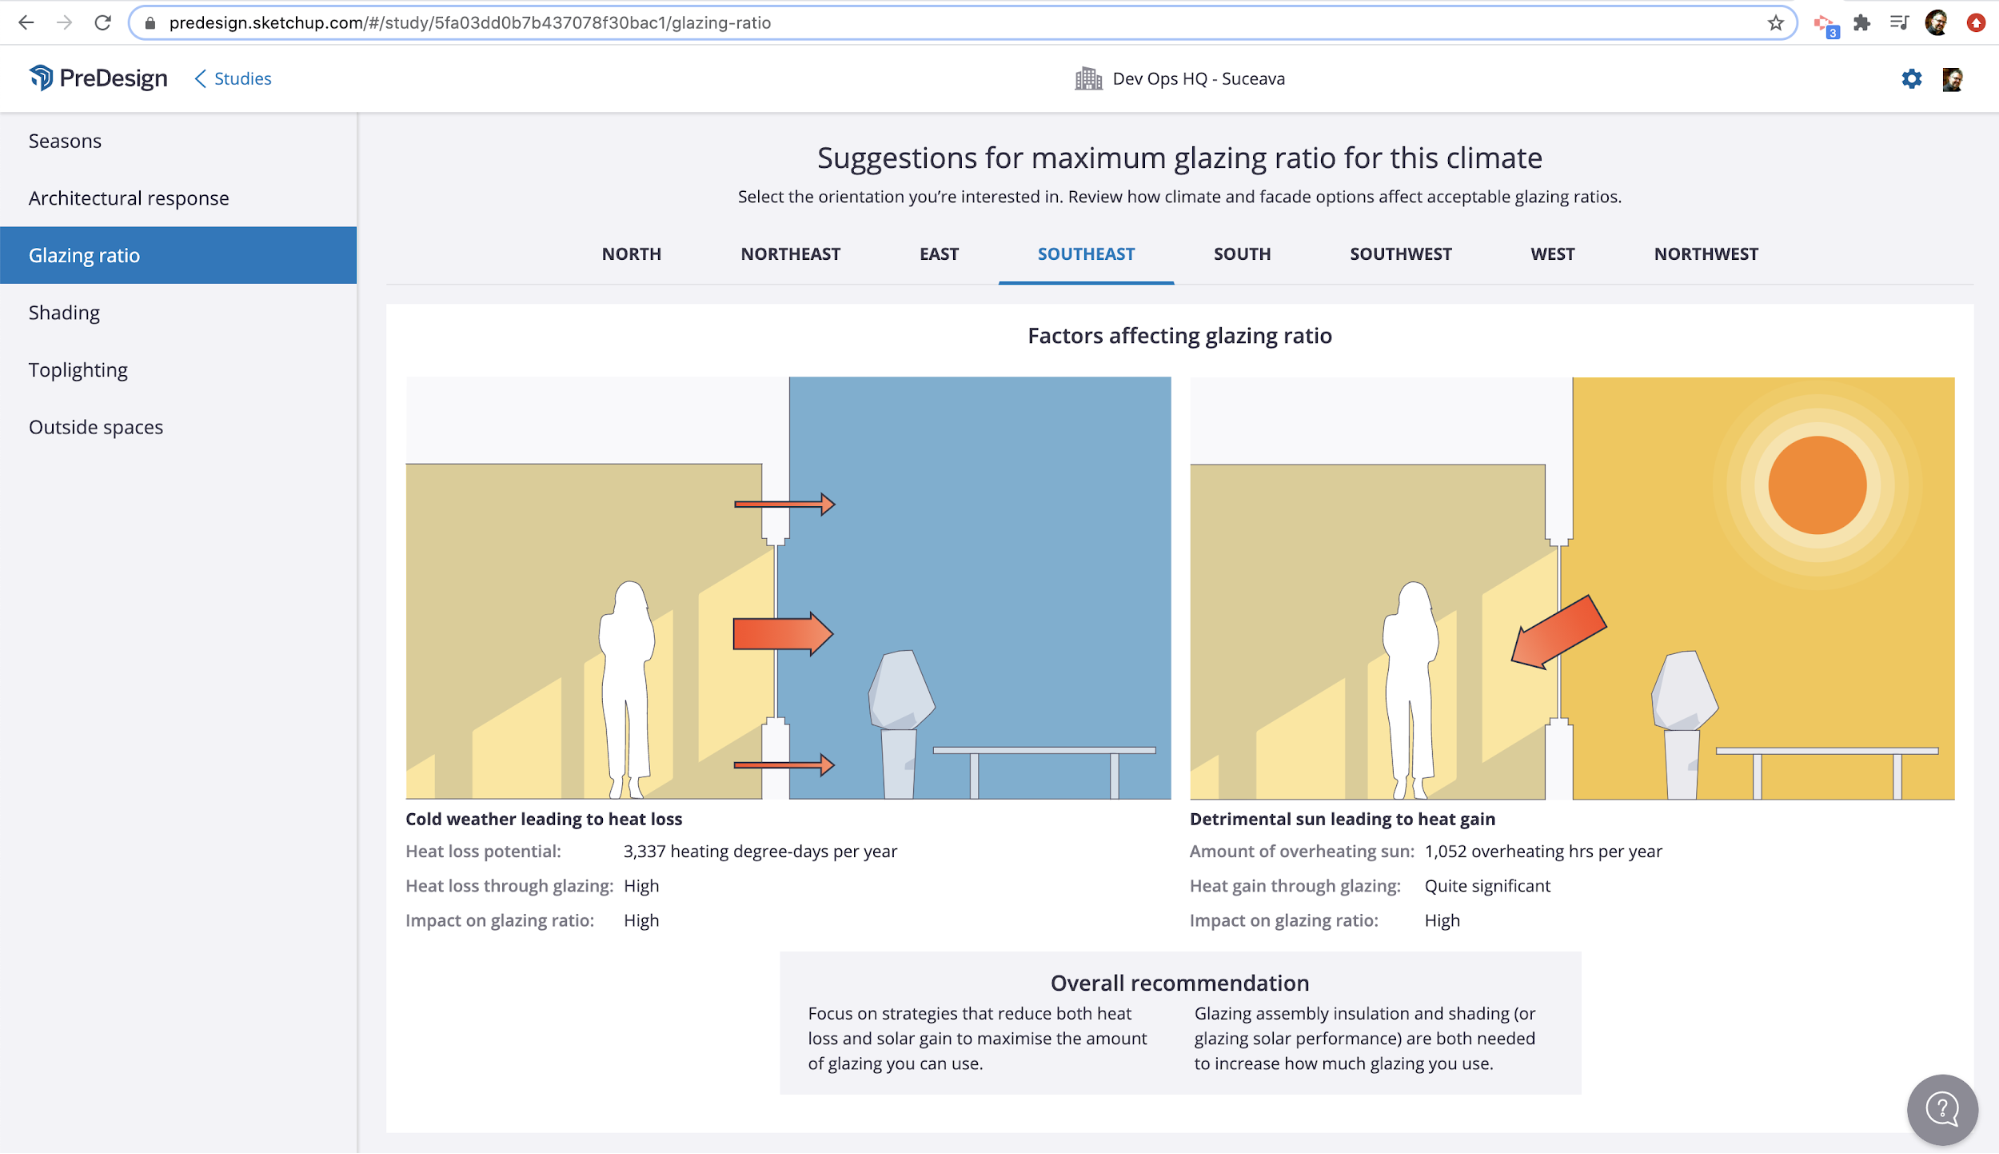
Factors affecting Glazing Ratio

This section examines the two primary drivers of glazing ratio for the orientation selected.
There are 3 components:
- Cold weather overview and how it affects glazing ratio
- Solar heat gain overview and how it affects glazing ratio
- Overall recommendation
Cold Weather Overview
In almost all cases, the glazing will be the part of the facade where a building loses the most heat.
We characterise the heat loss through glazing for your location on a scale of negligible to extremely high. If your location has a cold climate, then the problem of heat loss through the glazing will be higher. This will in turn impact how much glazing you can have.
This impact is also described in terms of low to very high. The higher the impact, the more likely the amount of glazing you can use will be constrained. A higher impact will also increase the benefit of using glazing systems that have higher insulation.
Detrimental Sun Overview
When the sun hits the glazed part of the facade, it adds heat to the building. If there is already more than enough heat inside (meaning cooling systems are operating, for example) then this sun is considered “detrimental” or “overheating” (we use both terms in PreDesign).
We characterise the detrimental sun in 2 ways in this section. First is how often the detrimental sun hits that facade. This is described in hours per year. Second is how intense the detrimental sun tends to be when it hits the facade described a scale of negligible to extremely high.
These factors determine the impact on how much glazing you should have. This impact is also described in terms of low to very high. The higher the impact, the more likely the amount of glazing you can use will be constrained. A higher impact will also increase the benefit of using external shading or glazing with better solar control.
Overall Recommendation
This piece aims to summarise all the information above for this orientation in this climate and provide overall guidance on what strategies (if any) you should consider for that facade.
Optimum vs Typical Strategies
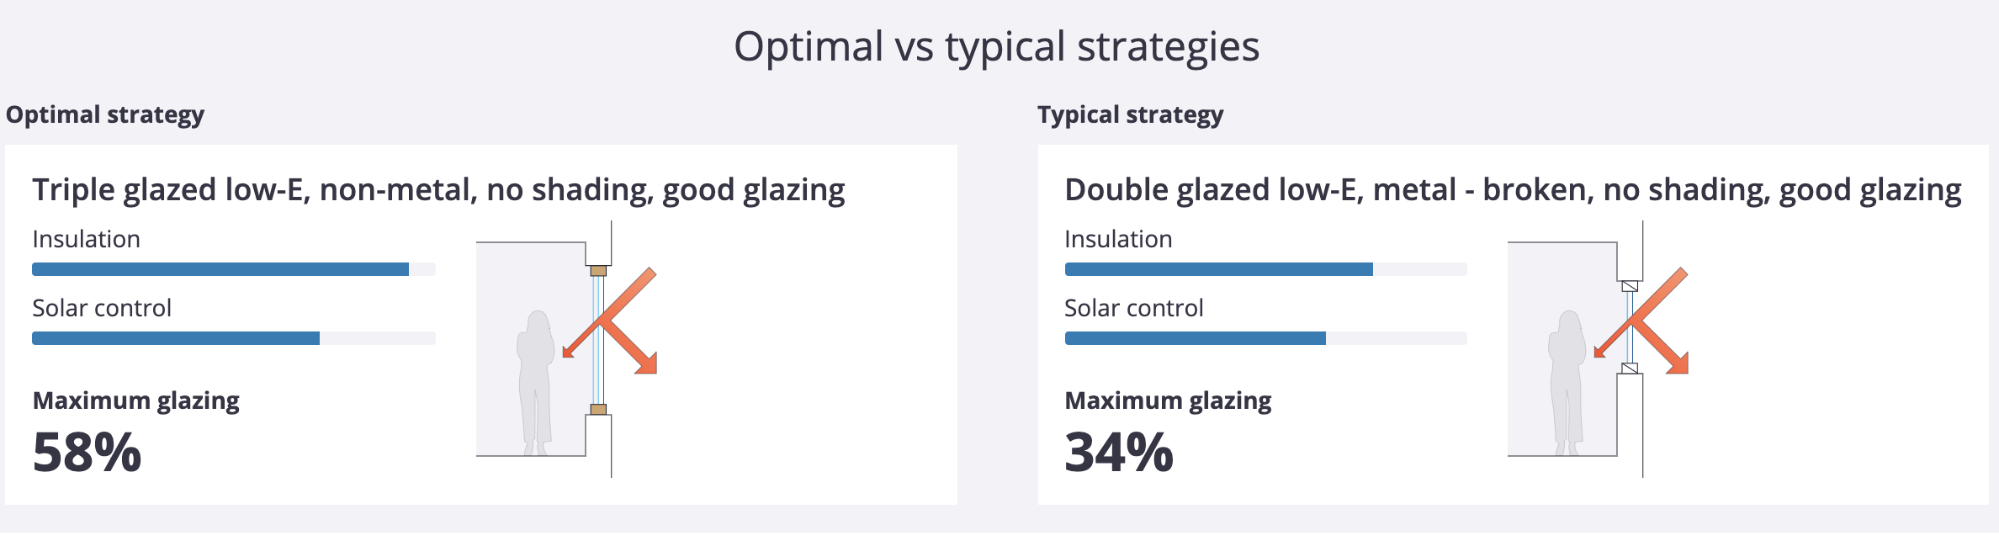
This section is designed to provide you with a quick-view of the design opportunities for this facade.
The Optimal strategy gives you a sense of what the highest recommended glazing ratio for this orientation is considered to be, and what the kinds of design strategies you’d be expected to apply to achieve that.
The Typical strategy is our best guess at what might be standard practice in your climate for this kind of building. This gives you a quick read on what a good starting point for glazing ratio is if you are not interested in exploring strategy options at this time.
Strategy cards and filters
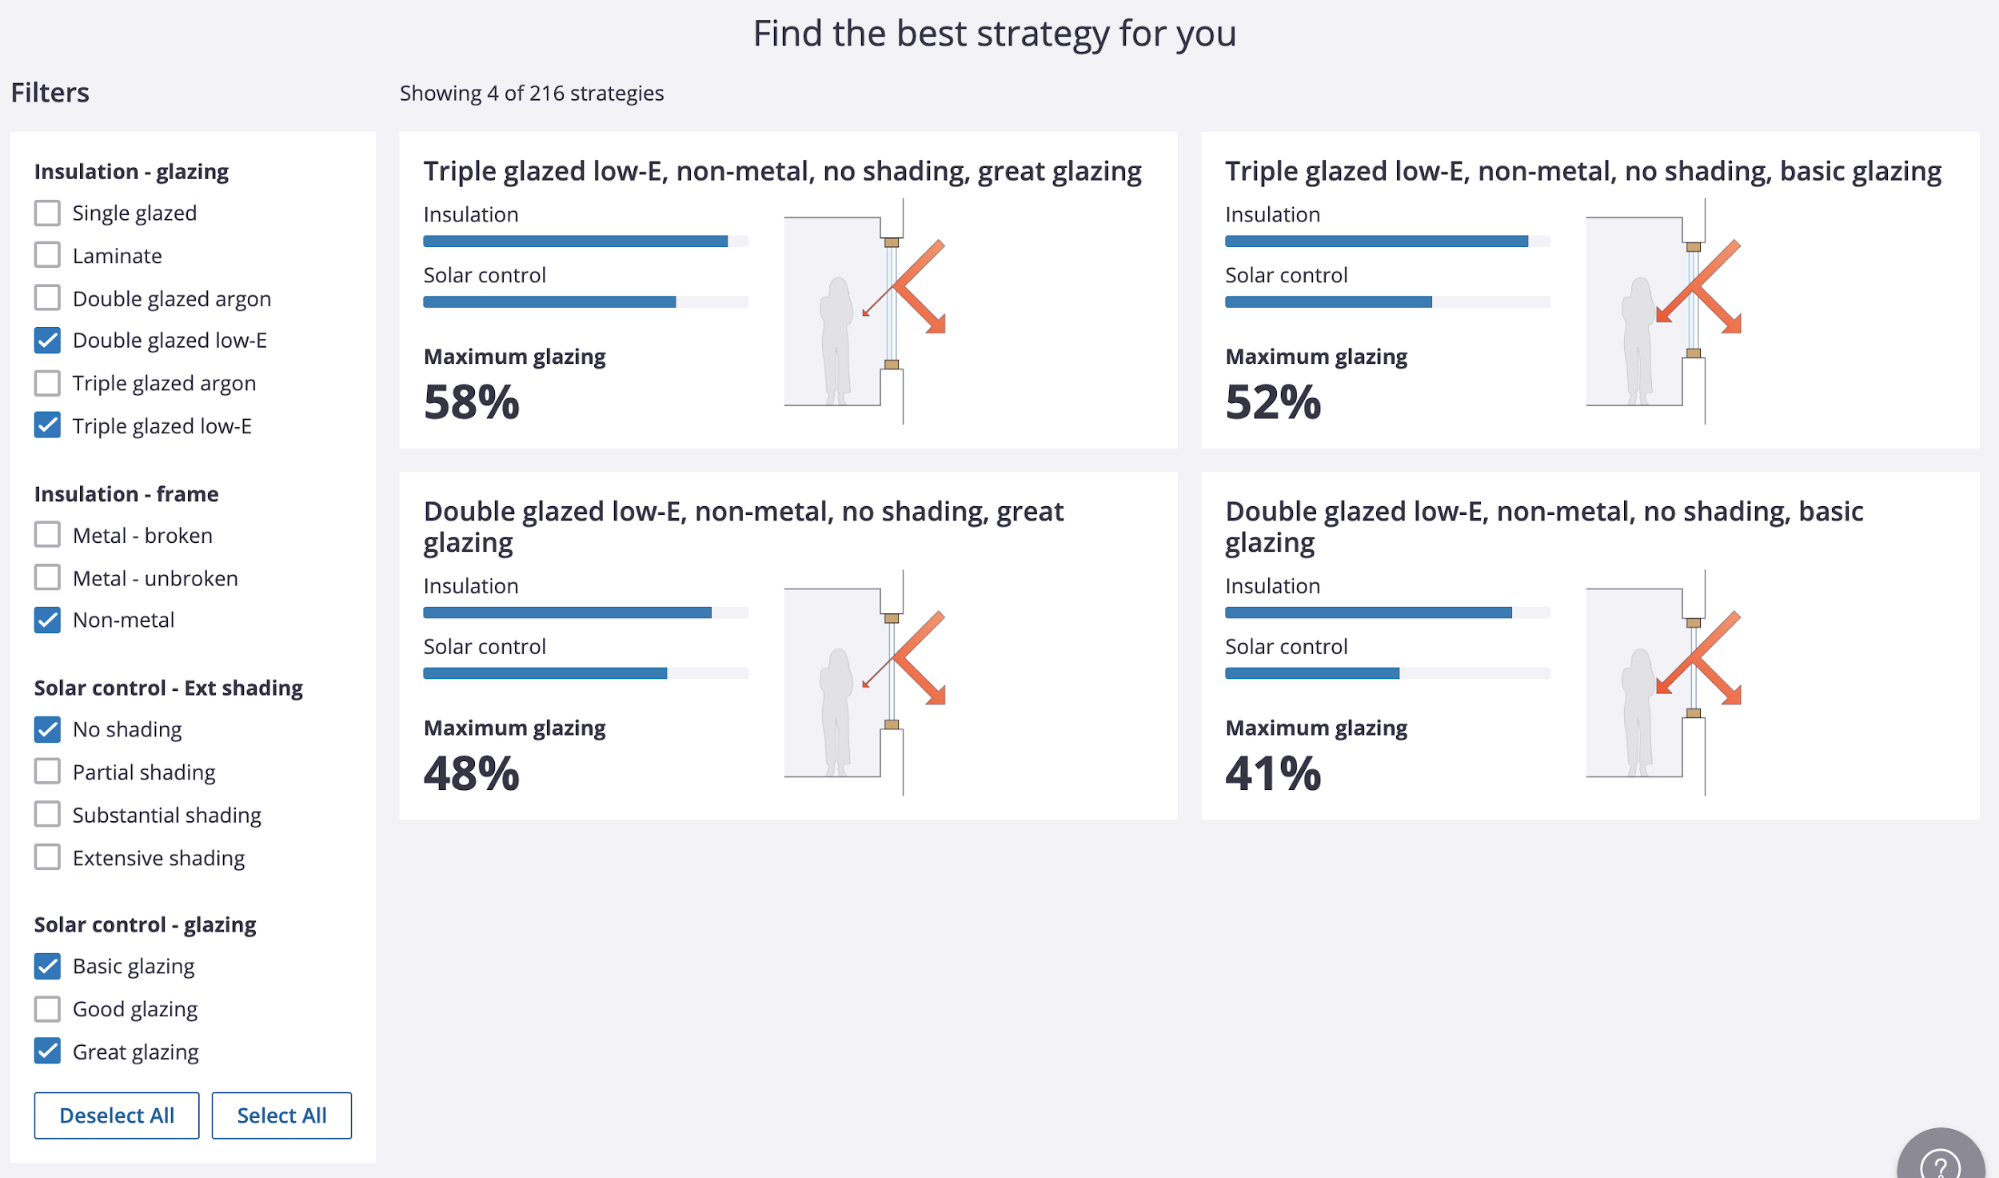
This section helps you examine the relative merits of different broad brush facade strategies so you can be aware of the potential design implications associated with different glazing ratios.
There are 2 components here:
- Strategy Cards
- Filters
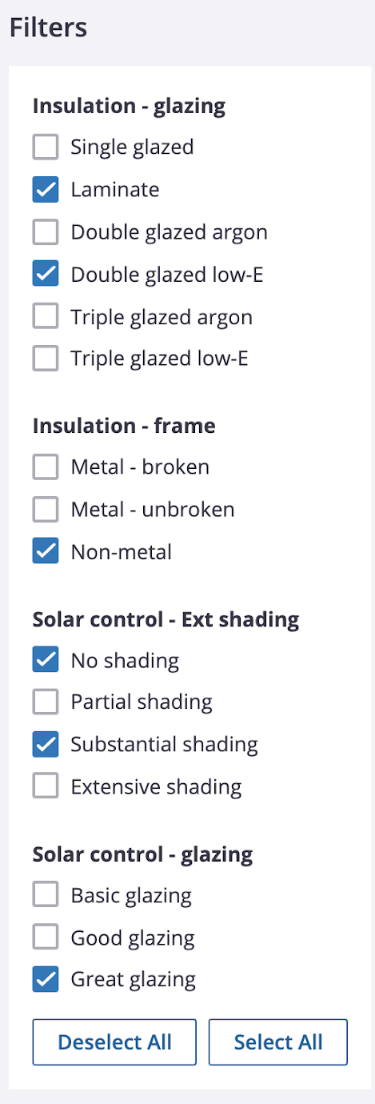
Strategy cards
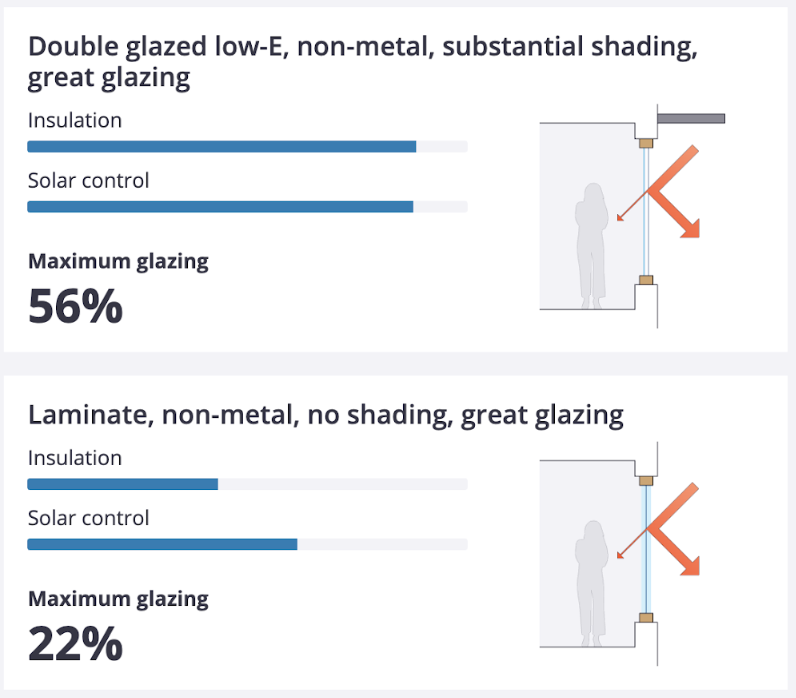
The strategy cards give you a quick view of what needs to be allowed for to achieve a given maximum glazing ratio.
- The title of the card is a summary of all of the components making up the strategy.
- The Insulation bar gives an indication of the relative overall insulation provided by the combination of glazing insulation and frame type. The bluer the bar, the more insulation provided.
- The Solar control bar gives an indication of the relative solar control provided by glazing solar control and external shading. The bluer the bar, the better the solar control.
- The thumbnail images shows these strategies on a stylised facade.
- The maximum glazing percentage is the highest glazing ratio we’d recommend with this combination of facade components.
Filters
The filters give you a way to hide strategies that you do not want to be considered in the overall strategy list. For example, you might already know that triple glazing is too expensive in your region, or that great glazing would be standard.
More information about this feature.
What do the strategies actually mean?We’ve kept the names of the strategies fairly generic because this is PreDesign after all! However to get a feel for what we have assumed, check out this article.
How do you decide what a recommended maximum shading ratio should be?We use a combination of ASHRAE 90.1 baseline properties combined with hourly analysis of when detrimental sun occurs. Check out this article for more information.