This page covers some basics to help you start managing your projects in Trimble Connect. For more detailed information about managing your projects, visit Trimble Help to learn more about Trimble Connect.
The Projects page is the first page you see each time you open Trimble Connect.
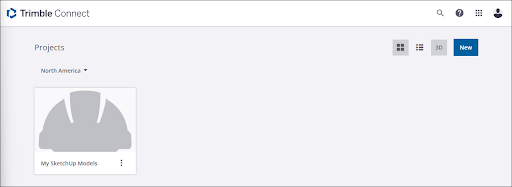
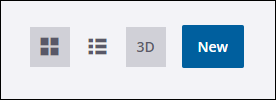
All projects you have created will appear on the Projects page. You can choose a tile view or a list view.
Clicking a project opens a project’s dashboard. The dashboard is where you can access your project’s files, manage users, and change project details.
File Management
Any files added to a project appear under Data in the Explorer section.
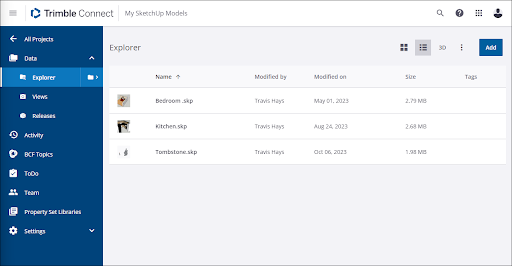
Clicking Add opens a menu where you can create a new folder, access other Trimble products, or upload files from your computer.
Any SketchUp (.skp) files saved to Trimble Connect can then be opened, edited, and saved from within any version of SketchUp without the need to download a copy to your device. If multiple users access a file, the last saved version is what appears in Trimble Connect.
Trimble Connect also offers the ability to share your files with someone who isn’t a member of the project team. To share a file:
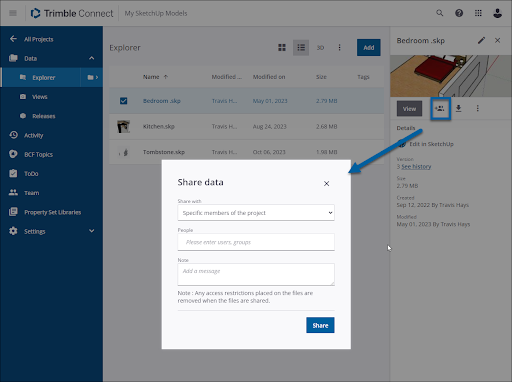
- Select the file you want to share.
- Click the Share icon in the top right.
- In the Share Data window select the type of user you want to share with.
- Enter the requested information for the person who will receive the shared file.
- Designate a time when the link will expire. If left blank the link will not expire.
- Choose View Only or View & Download.
- If you only want to show the latest version, click the checkbox provided.
- Click Share.
Team Management
You can manage who has access to a project under Team.
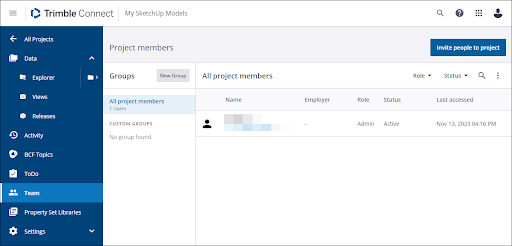
To invite others to join your project, click Invite People to Project. A window will open where you can enter in the email address of the person you want to invite and set their role.
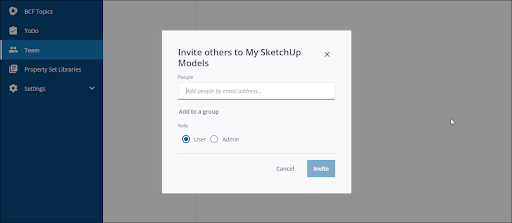
The role a user has determines what that user can do. The two roles are:
- User – Team members with User access can view and modify files, add new files, and delete files.
- Admin – Members with Admin access can add and remove users, override locked files, and manage project settings.
Settings
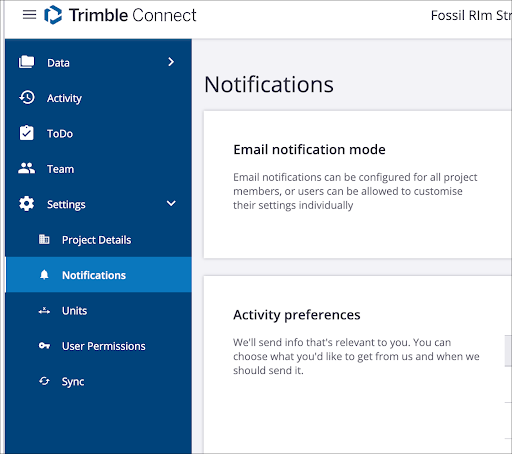
Settings contains the following sections:
- Project Details – An overview of the project. You can change the name of the project, who owns the project, and a few other settings here.
- Notifications – Set the email notifications for the project and what activity will send out a notification.
- Units – Set how units are displayed in Trimble Connect.
- Permissions – Options regarding what users can see and do in the project.
- Sync – Control how files are handled during sync operations and which types of files or folders can be ignored when syncing.
Other settings may appear depending on what products are available to you.