LayOut is mainly for showing off your SketchUp models. To insert a SketchUp model into a LayOut document, follow these steps:
- Navigate to the page where you want to insert a SketchUp model.
- Select File > Insert from the menu bar.
- In the Open dialog box that appears, navigate to the SketchUp model file, select it, and click Open. Your SketchUp model appears in the document area.
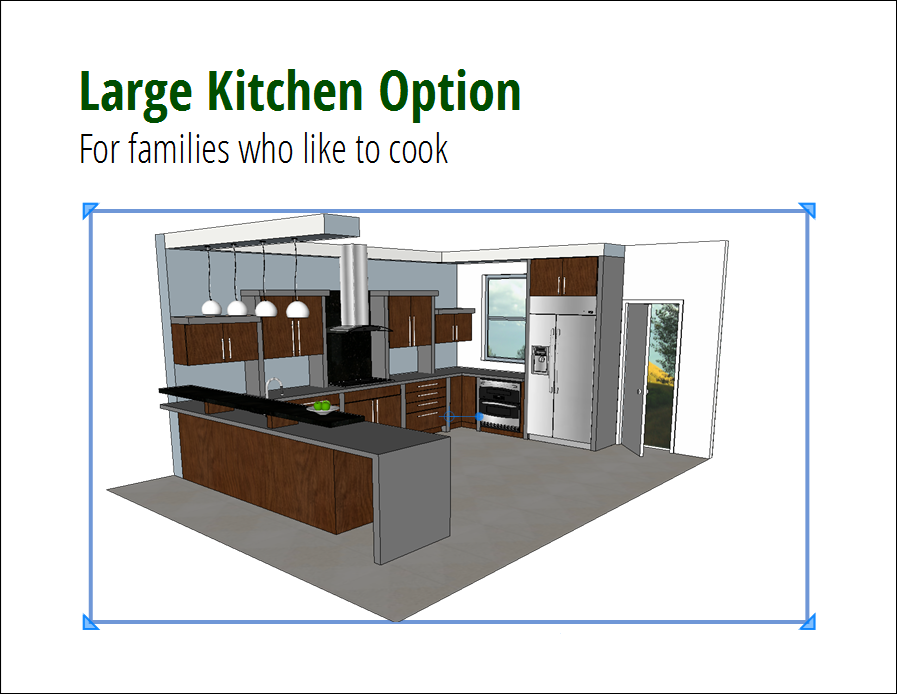
After you insert a SketchUp model into a LayOut document, it’s a SketchUp model entity. When you select the model entity in the document area, you see the same blue selection border that appears around other LayOut entities, as shown in the following figure. As with any LayOut entity, you can select the SketchUp model entity anytime to access the selection border and move, resize, rotate, and arrange the model entity in relation to other entities on the page.
Tip: To show different views of your model throughout your document, you can copy and paste the SketchUp model entity and then change the view settings in each copy. To keep your LayOut file size small, LayOut uses the same SketchUp file no matter how many copies you include in your document.