Managing Dialog Boxes in Windows
In Windows, dialog boxes can be managed using customizable trays. SketchUp provides a default tray with pre-selected dialogs and that tray will appear on the right side of the modeling window by default.
While modeling, try the following techniques to better arrange the way dialog boxes appear in a tray:
- Expand or collapse – Click the title bar of a box to expand or collapse it. A collapsed tray appears as a tab on the right of the modeling window.
- Move a box – Drag the title bar of a box up or down through the tray to change its position.
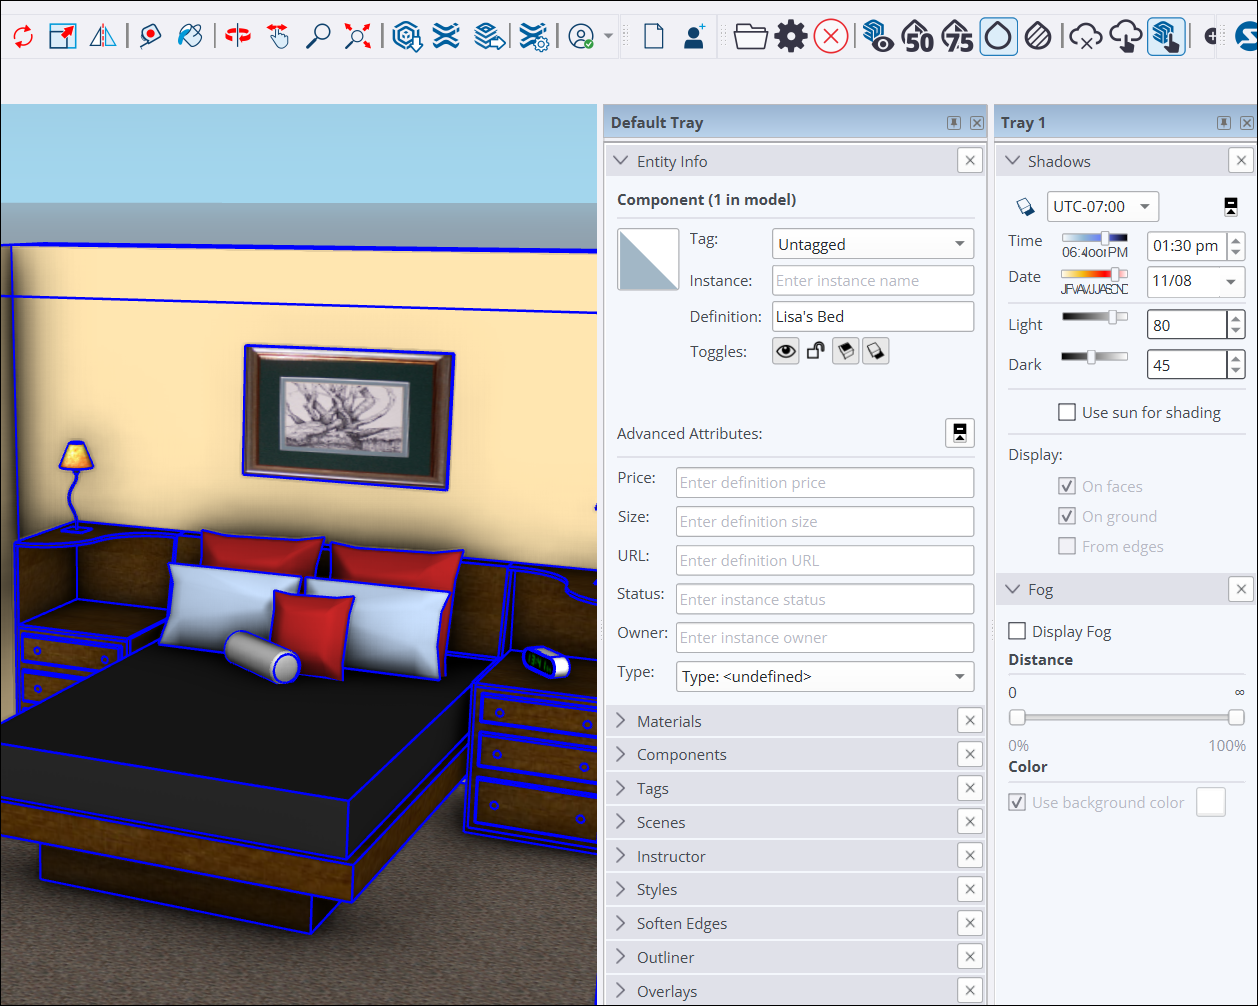
- Move the tray – Click and drag the title bar of the tray to turn it into its own floating window. This window can be moved anywhere on the screen, even outside the modeling window. Floating trays can be pinned again by double clicking the tray’s title bar.
- Use multiple trays – If more than one tray is available, additional trays will appear as tabs to the right of the modeling window. Each tray can be pinned by double clicking a tray’s title bar.
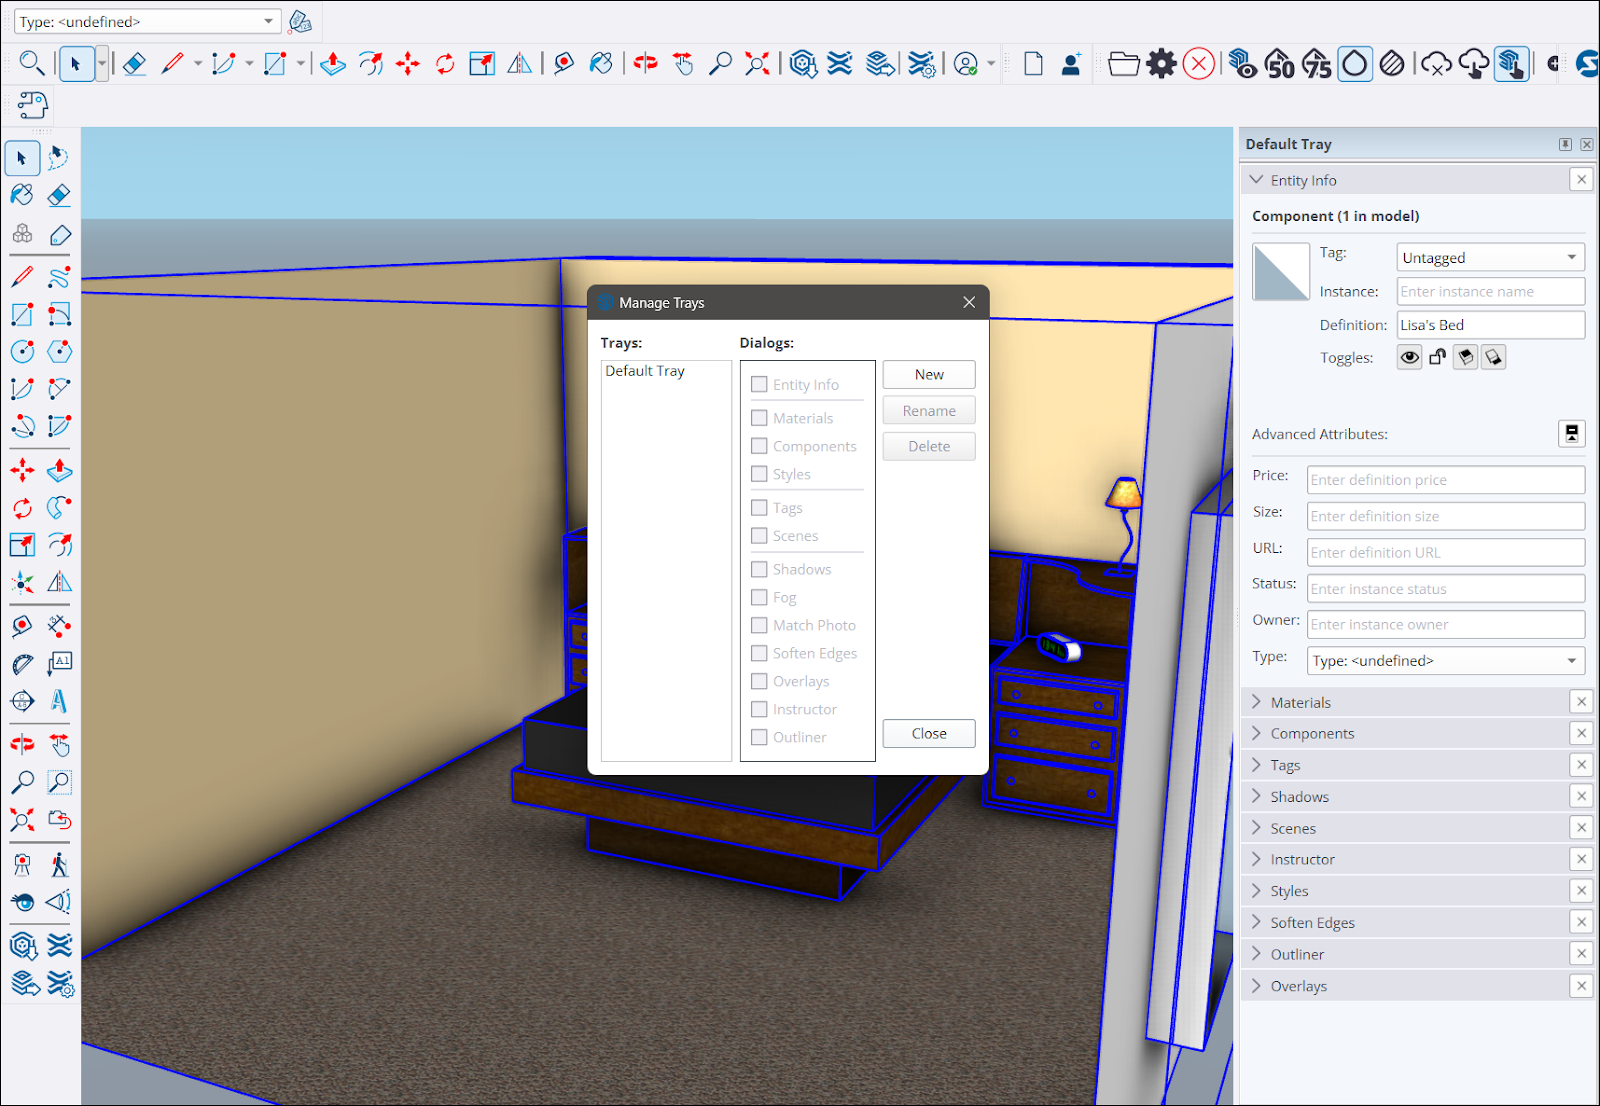
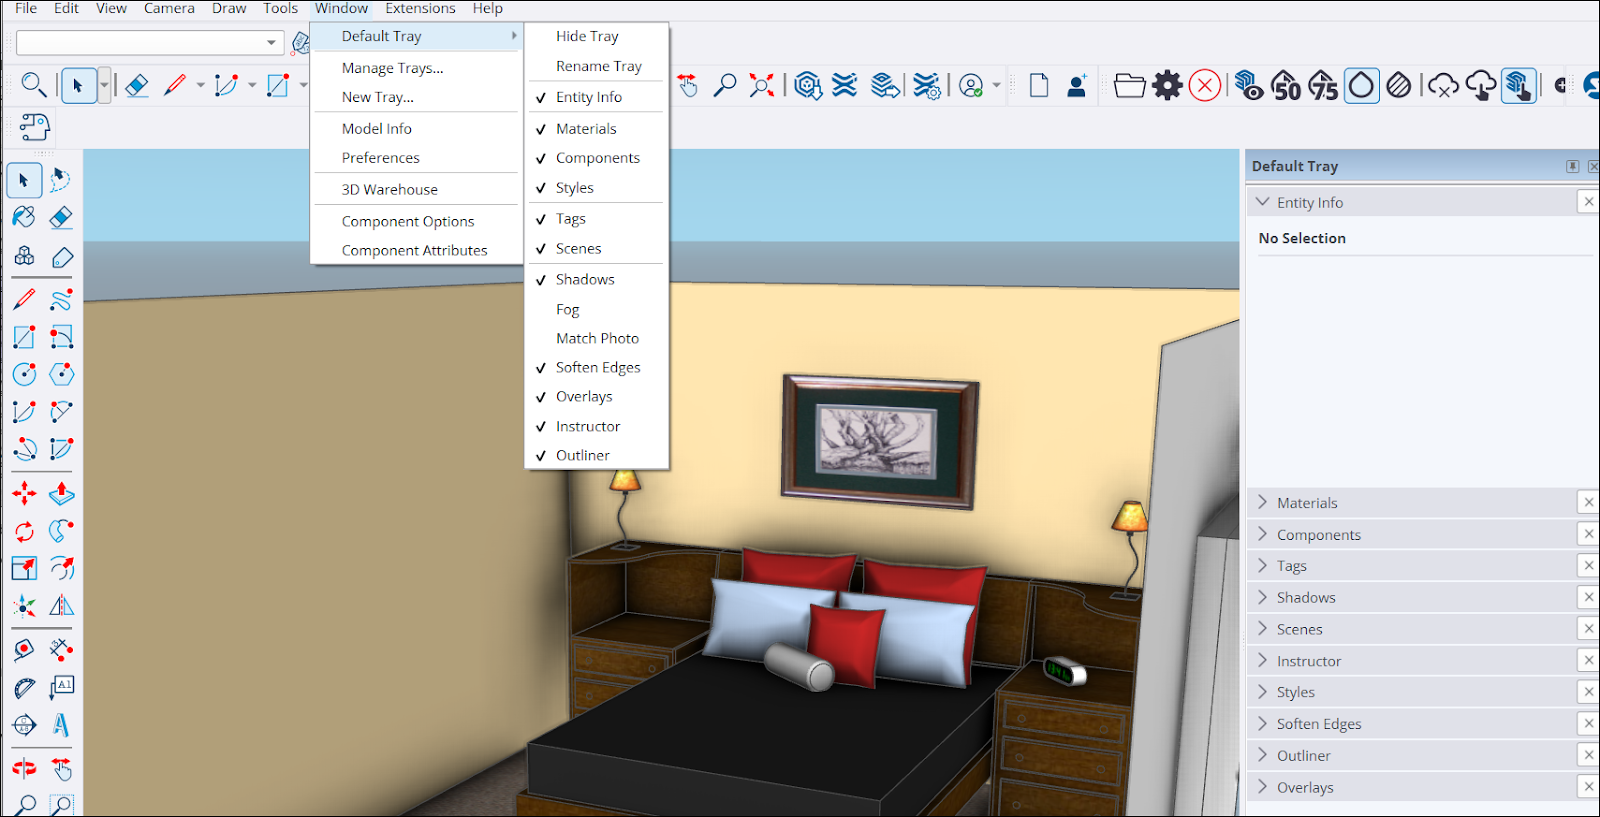
Tray management options appear in the Window menu. Clicking Default Tray provides a few options to hide the default tray and edit the name of and what appears in the default tray. Clicking New Tray opens a window offering options to create a tray. Clicking Manage Trays opens a window with more options including a list of all available trays, the ability to create a new tray, rename an existing tray, or delete a tray.