Scan-to-Design uses LiDAR scanning in SketchUp for iPad to generate 3D models of existing spaces using the following 3D outputs:
- Canvas generates a textured 3D model where surfaces such as walls, ceilings, or floors are drawn in SketchUp as planes and/or triangulated meshes. This output can then be edited using SketchUp’s modeling tools. The rest of the scanned space such as furnishings or decorations will be drawn as a textured, triangulated mesh.
- Apple’s RoomPlan technology generates a simplified model of the scanned space using orthogonal SketchUp edges and faces. Room features like windows and doors are represented as cut-outs. To use the RoomPlan output, you will need to toggle it on in the Tags panel. You can also set it as your preferred output in Scan-to-Design settings, turning the Canvas output off altogether.
Canvas is the active visible output by default, but you can freely switch between both outputs in the Tags panel.
Using Scan-to-Design
The Scan tool (![]() ) appears in the Expanded Toolset.
) appears in the Expanded Toolset.
To scan a room:
- Activate the Scan tool. A scanning grid will appear on your iPad’s screen. SketchUp will offer prompts to help you capture a complete scan.
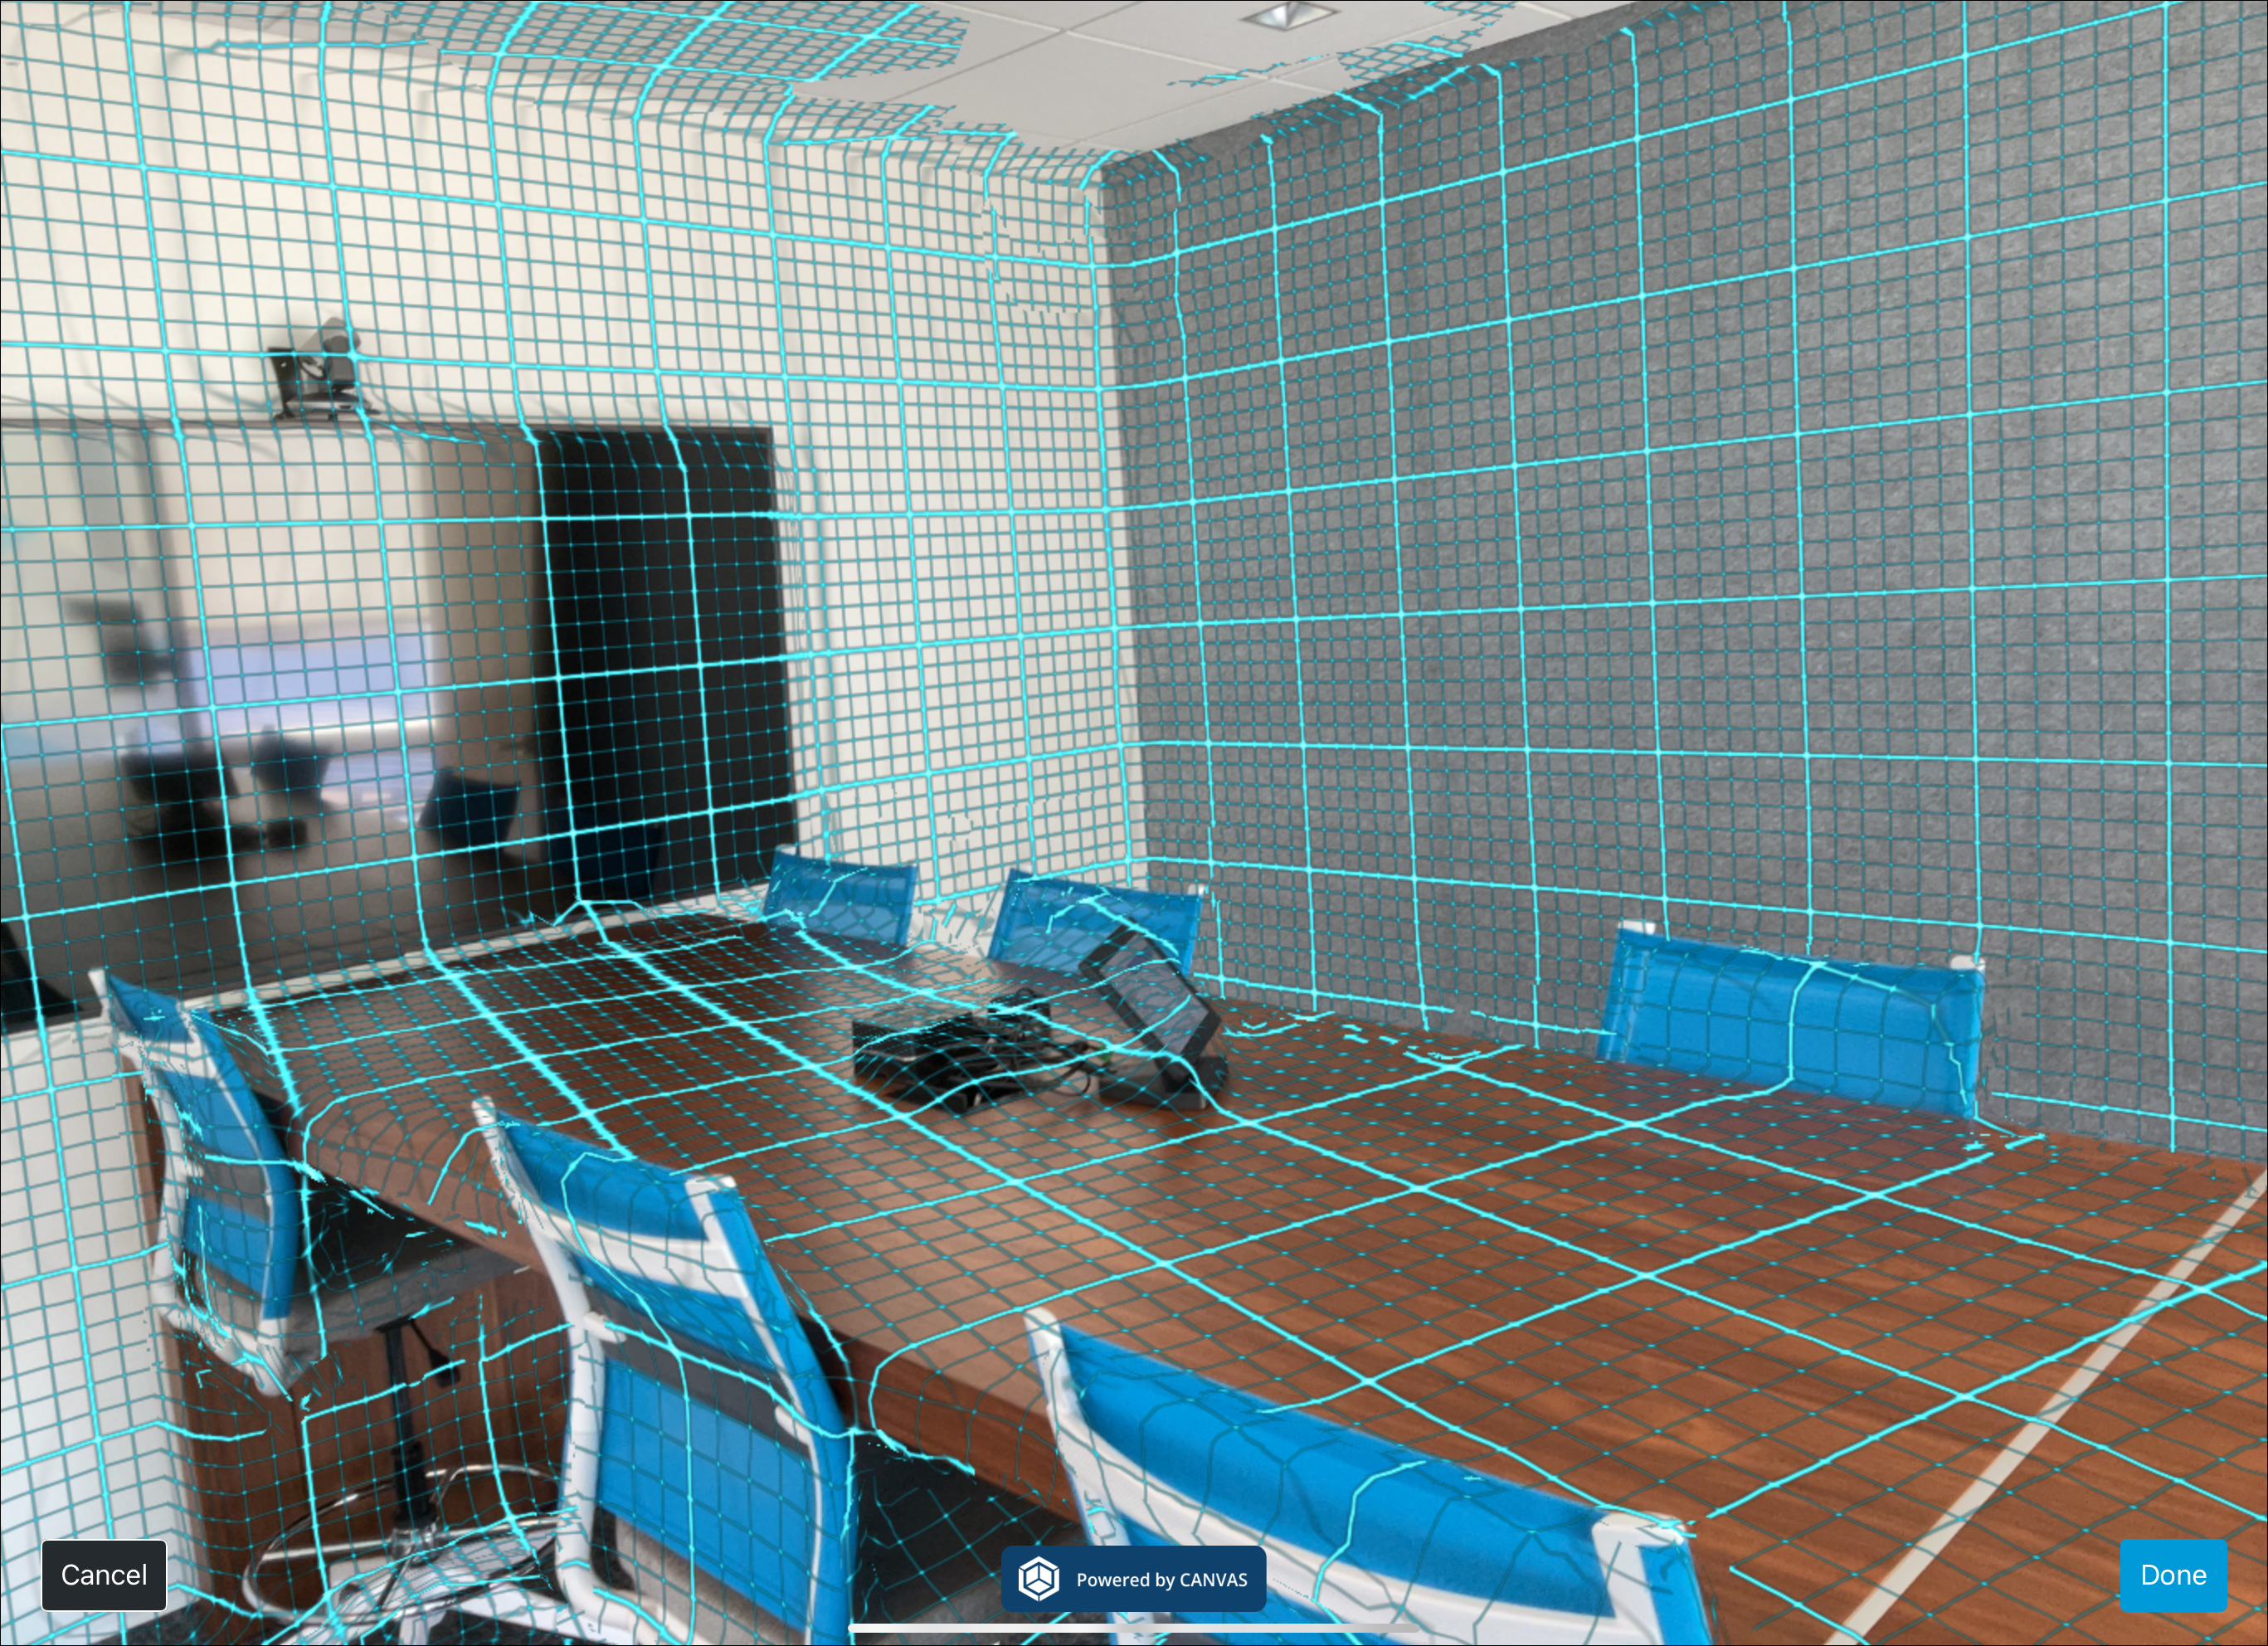
- Begin your scan by slowly panning your device up, down, and across the walls around the space. Continue in a steady, patterned motion to make sure you capture every possible detail.
- While scanning, you can tap Cancel in the lower left corner of the screen at any time to exit the Scan tool.
- When finished scanning a space, tap Done. Processing can take a few minutes.
- Review and start modeling using your scanned 3D output.
- Manage the visibility of your scanned output in the Tags panel.
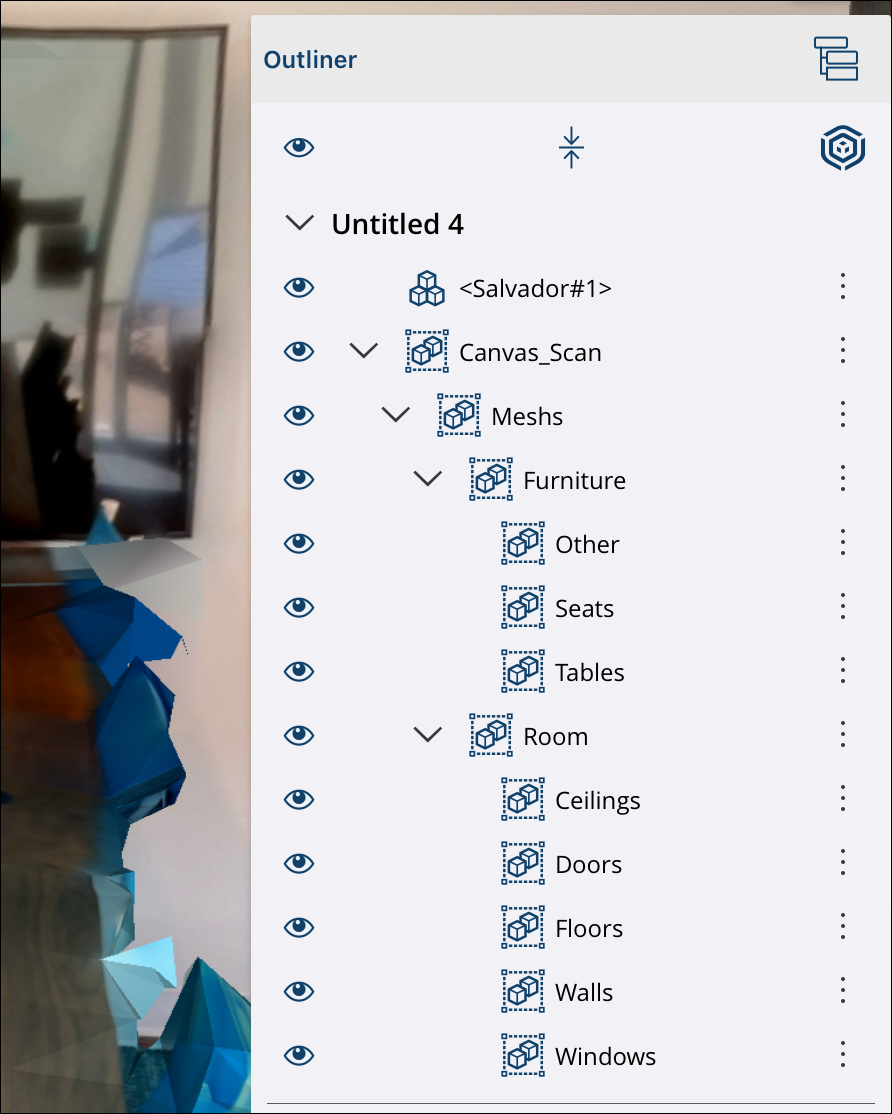
After scanning a space, SketchUp organizes the output imported into your model in the Outliner. For more information on how you can use the Outliner to organize, view, and manage groups and components in your model, see Outliner Panel
Scan-to-Design Settings
The Scan-to-Design section In Settings (![]() ) provides options to configure your scan output in a way that best represents your design workflow.
) provides options to configure your scan output in a way that best represents your design workflow.
Canvas Settings contains the following Canvas-specific options:
- Create a Mesh – When this toggle is on, Canvas will create a mesh representing the scanned output. If toggled off, the Mesh Level of Detail and Apply Textures to Mesh options will be unavailable.
- Mesh Level of Detail – Choose a level of detail between 2” and 12”.
- Apply Textures to Mesh – When this toggle is on, Canvas will apply textures to the mesh it creates.
- Create Simplified Planes of Room Surfaces – When this toggle is on, Canvas turns scanned room surfaces such as floors, walls, and ceilings into simplified planes.
- Apply Textures to Planes – This is only available if Create Simplified Planes of Room Surfaces is toggled on. Canvas will apply textures to simplified plane surfaces.
RoomPlan Settings contains the following RoomPlan-specific options:
- Generate RoomPlan Output – Toggle this on to use Apple’s RoomPlan. If toggled off, all other options in this section will be unavailable.
- Include All the ‘Stuff’ that Fills a Room – Choose to include all objects in the room in your scan.
- Align Furniture to Room – RoomPlan will align all the objects recognized as furniture with walls.
- Single Wall Group – SketchUp will create a Group out of the scanned walls
An additional setting appears near the bottom called Backside Color of Faces. This setting allows you to adjust the color that appears on the backside of the faces created by your output. Tapping the square opens a color picker dialog, allowing you to change the color as needed.