The Scan Essentials toolbar contains everything you need to start using point cloud data in your SketchUp models.

You can assign keyboard shortcuts to any of the features in the Scan Essentials toolbar, just like you can with other SketchUp tools. For more information see Shortcuts . To toggle the Scan Essentials toolbar on and off, select View > Toolbars.
Each section of the toolbar contains a group of similar tools.
Loading & Unloading a Point Cloud
To load a point cloud file into a SketchUp modeling session, use the File Open button (![]() ). Supported point cloud file types are:
). Supported point cloud file types are:
- RWP
- TZF
- e57
- LAS/LAZ
- PLY
Multiple point clouds files can be loaded into SketchUp by selecting multiple files at once. The point clouds must be aligned with each other before importing into SketchUp. The point cloud used in SketchUp is session based only. The actual points will not be saved within the SketchUp model SKP file. A reference to the original point cloud file will be preserved in the SketchUp file for the purpose of reloading the point cloud in subsequent sessions.
With the Point Cloud Manager (![]() ) you can manage the point cloud data you have added to your model.
) you can manage the point cloud data you have added to your model.

To unload a point cloud from the SketchUp modeling session, us the Unload button (![]() ). This action removes the point cloud from the SketchUp session.
). This action removes the point cloud from the SketchUp session.
Point Cloud Blending
You can set the point cloud visibility and how much your point cloud is blended with your model’s geometry using the following Blending options:
- 0% Blending (
 ) – Point cloud visibility is 0%.
 - 50% Blending (
 ) – Point cloud visibility is 50%.
 - 75% Blending (
 ) – Point cloud visibility is 75%.
 - 100% Blending (
 ) – Point cloud visibility is 100% (fully visible).
 - Conditional Blending with Half Resolution (
 ) - Halves the points displayed around your model's geometry.
 - Conditional Blending with Transparency (
 ) – Applies 50% visibility to points that are close to SketchUp entities.
Point Cloud Interaction
Each interaction mode sets different prioritization levels when interacting with SketchUp geometry and the points in the point cloud.
With Disable Point Cloud Snapping (![]() ) you can only detect and interact with native SketchUp entities that are in close proximity with points in a point cloud.
) you can only detect and interact with native SketchUp entities that are in close proximity with points in a point cloud.
When active, Point Cloud Pick (![]() ) prioritizes snapping to points in a point cloud over native SketchUp entities.
) prioritizes snapping to points in a point cloud over native SketchUp entities.
SketchUp Pick (![]() ) prioritizes interactions with SketchUp entities over points in the point cloud. This can be useful when attempting to snap to SketchUp geometry positioned behind the elements of a point cloud.
) prioritizes interactions with SketchUp entities over points in the point cloud. This can be useful when attempting to snap to SketchUp geometry positioned behind the elements of a point cloud.
Guide Creation Tools
With Scan Essentials guide creation tools you can mark specific points and measure the distances between points in a point cloud. You can then use these points as a reference.
You can place a point using the Guide Point tool (![]() ). With the Guideline tool (
). With the Guideline tool (![]() ) you can set a guideline between two points on a point cloud.
) you can set a guideline between two points on a point cloud.
Clipping Box Tools
The Clipping Box tools present a few ways you can control how much of the point cloud you see in your modeling environment by creating a Clipping Box. A Clipping Box isolates specific areas of the point cloud. Create and edit Clipping Boxes with the following tools:
- Reset Clipping Box Transformation (
 ) – Reset dimensions, position, and orientation of the active Clipping Box.
 - Deactivate Clipping Box (
 ) – Deactivate the active Clipping Box.
 - Create Clipping Box from Point Cloud (
 ) – Create a Clipping Box from the point cloud.
 - Create Clipping Box from current SketchUp selection (
 ) – Create a Clipping Box around the currently selected SketchUp geometry.
 - Create Clipping Box from Cloud Selection (
 ) – Create a Clipping Box around the currently selected point cloud.
Adjusting the Point Cloud Position
There are two methods you can use to adjust the position of a point cloud in SketchUp:
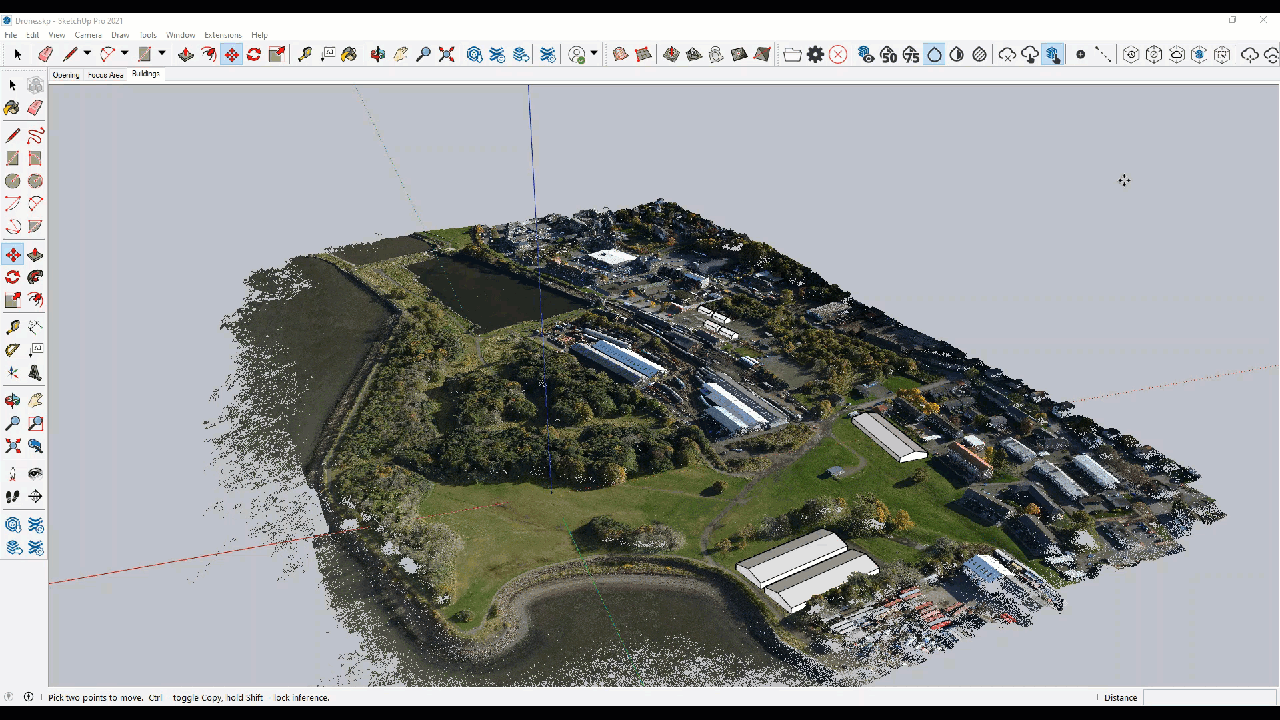
- Move Point Cloud (
 ) – When activated, you can move the position of your point cloud to anywhere with the modeling window.
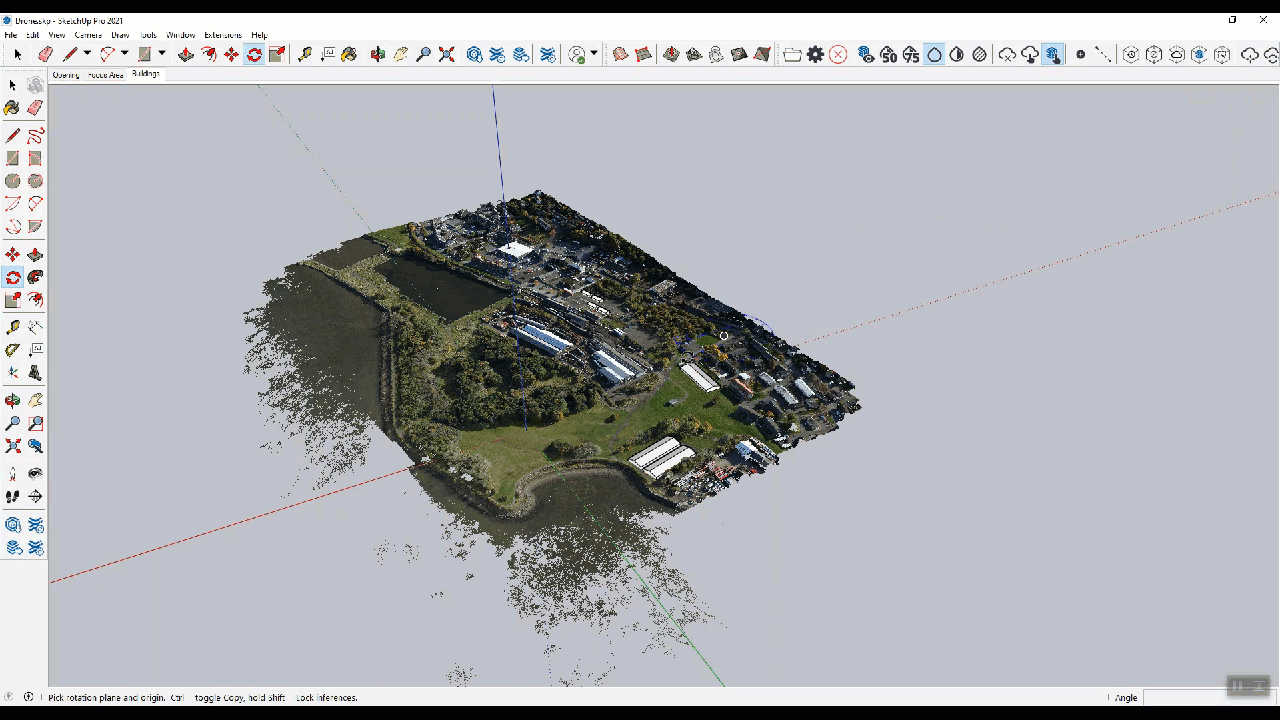
- Rotate Point Cloud (
 ) – Rotate your point cloud around a specific point.
Ground Mesh Tools
With the Ground Mesh tools you can turn a ground terrain point cloud into an accurate, quad-faced terrain mesh, adding context to your model. The Ground Mesh tools can extract ground information from a full point cloud or from an already segmented or classified cloud. When you select Create Ground Mesh (![]() ) there are three methods you can use to add ground mesh to your model:
) there are three methods you can use to add ground mesh to your model:
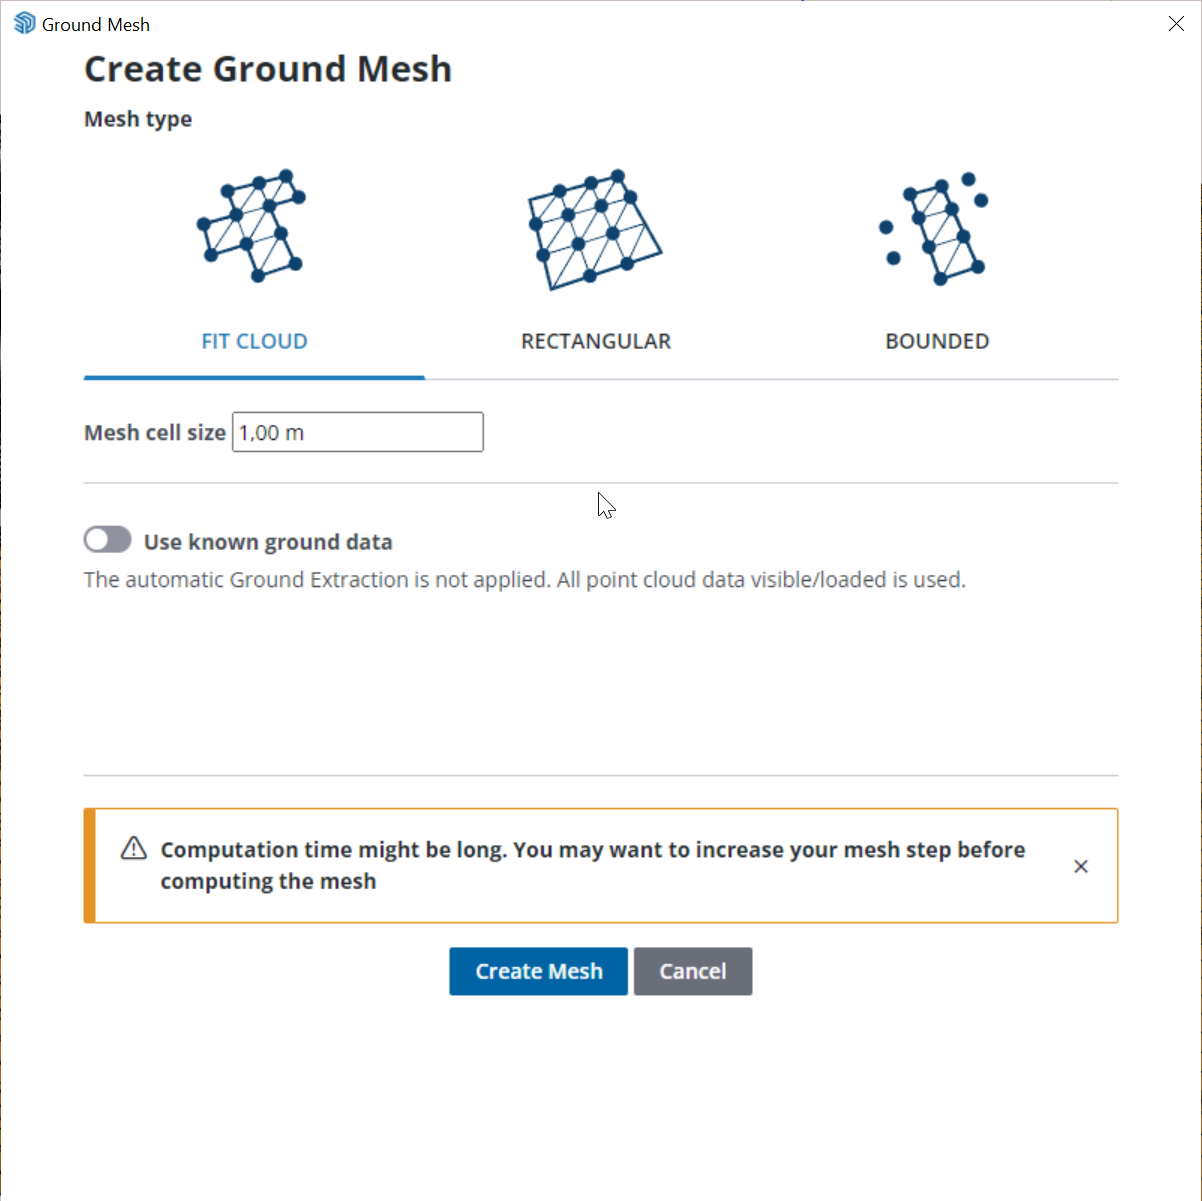
- Fit Cloud - Create a mesh over existing ground data and fill in any holes.
- Rectangular - Create a mesh in a rectangular area.
- Bounded - Use a face in your SketchUp model to create a mesh in a specific area.
If you have already created ground mesh you can Add Detail (![]() ) to increase the resolution of the selected faces in your ground mesh. You can also use Make Solid (
) to increase the resolution of the selected faces in your ground mesh. You can also use Make Solid (![]() ) to turn the mesh into a SketchUp solid.
) to turn the mesh into a SketchUp solid.