After you create a new document in LayOut, you may want to check and adjust your settings in the Document Setup dialog box. Each section of Document Setup contains options to help you configure your document.
Auto-Text
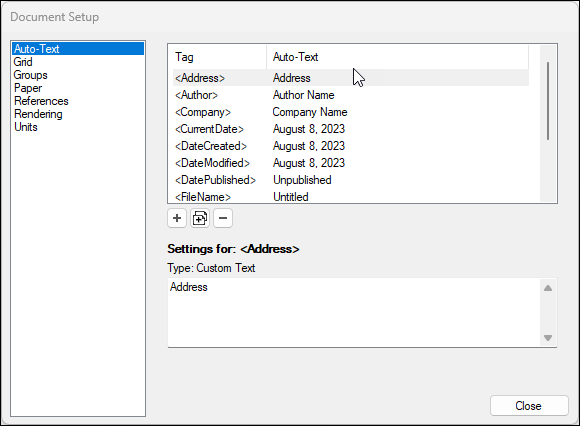
The Auto-Text section helps you manage all the available auto-text options for your document. For more information, see Automating Title Block Text with Auto-Text Tags.
Grid
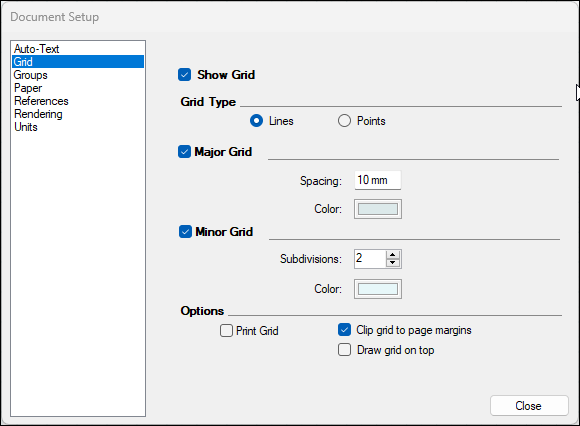
You can customize how the page background grid appears using the following options:
- Show Grid - The Show Grid option is selected by default when using a graph paper template for your document.
- Grid Type – You can choose to activate a grid on your document and if your grid appears as Lines or Points.
- Major Grid - The Major Grid is a grid with solid lines that appears on your document. You can adjust the visibility of the major grid, the grid spacing, and the color of the grid lines.
- Minor Grid - The Minor Grid is a grid with dotted lines that appears on your document. You can adjust the visibility of the minor grid, how many subdivisions appear, and the color of the grid lines.
- Options - Options to include your grid in the printed version of your document, clip the grid to the page margins, or to display the grid on top of page objects.
Groups
Groups are a way to keep related elements organized in the drawing area. The Groups tab provides an option to fade the rest of your document -- or to hide page elements altogether -- while you are editing groups. For more information on groups, see Grouping Entities.
Paper settings
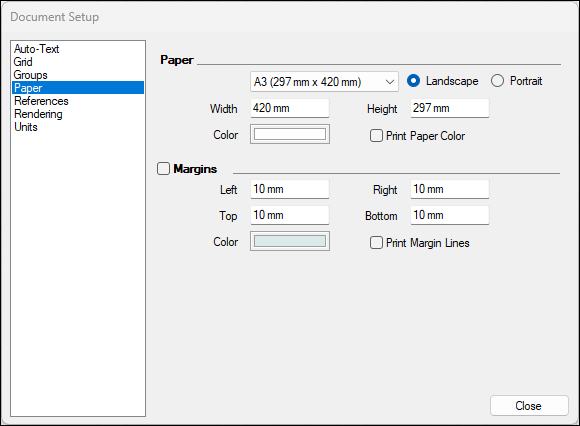
The Paper settings provide options that can help configure a document area's size, orientation, margins, and color.
If you plan to print your LayOut document, you can simplify the printing process by choosing the same size paper on which you plan to print.
The Paper section contains the following options:
- Paper - Under Paper, you can adjust your document size and orientation including exact width and background color. The Print Paper Color option will print the color you choose.
- Margins - The Margins area is where you can customize the display and size of your document's margins. By default, margin lines are hidden. Selecting the Margins checkbox tells LayOut to display them. You can enter values for the left, right, top, and bottom margins. You can also change the default color for the margin lines, and choose to print them by selecting the Print Margin Lines checkbox.
References
The References section helps you manage model references in your document, including SketchUp models, images, spreadsheet tables, or other imported files. For more information, see Managing Changes and Updates to SketchUp Files within LayOut.
Rendering

The Rendering section contains options controlling the resolution of Raster and Hybrid rendered SketchUp model viewports and images in your document.
- Display Resolution - The Display Resolution options allow you to set the resolution for the images and viewports in your document while you are working on it. You can choose between Low, Medium, and High. Display resolution is set to Medium by default.
- Output Resolution - The Output Resolution options set the resolution used for images and viewports when you print or export your document. You can choose between Low, Medium, and High. You can also choose Output Override to use raster viewports throughout a document and render Vector or Hybrid on export. Output Resolution is set to High by default and Output Override is selected as Hybrid.
Units
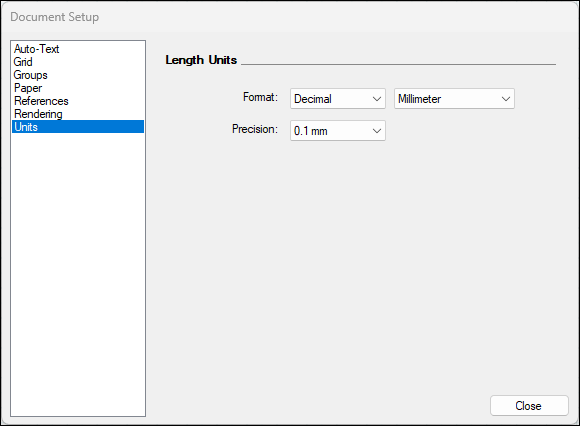
The Units settings affect what coordinate units you see in the Measurements box as you hover a tool around the document area. If you're looking to change dimension units, see Marking Dimensions.