Navigating SketchUp for Web
Whether you're totally new to creating 3D models or an experienced SketchUp user who's trying SketchUp for Web for the first time, this section can help you find your way around the SketchUp for Web interface.
SketchUp for Web looks and works a lot like SketchUp for Desktop with just a few differences. When you first open SketchUp for Web you'll see the Home screen.
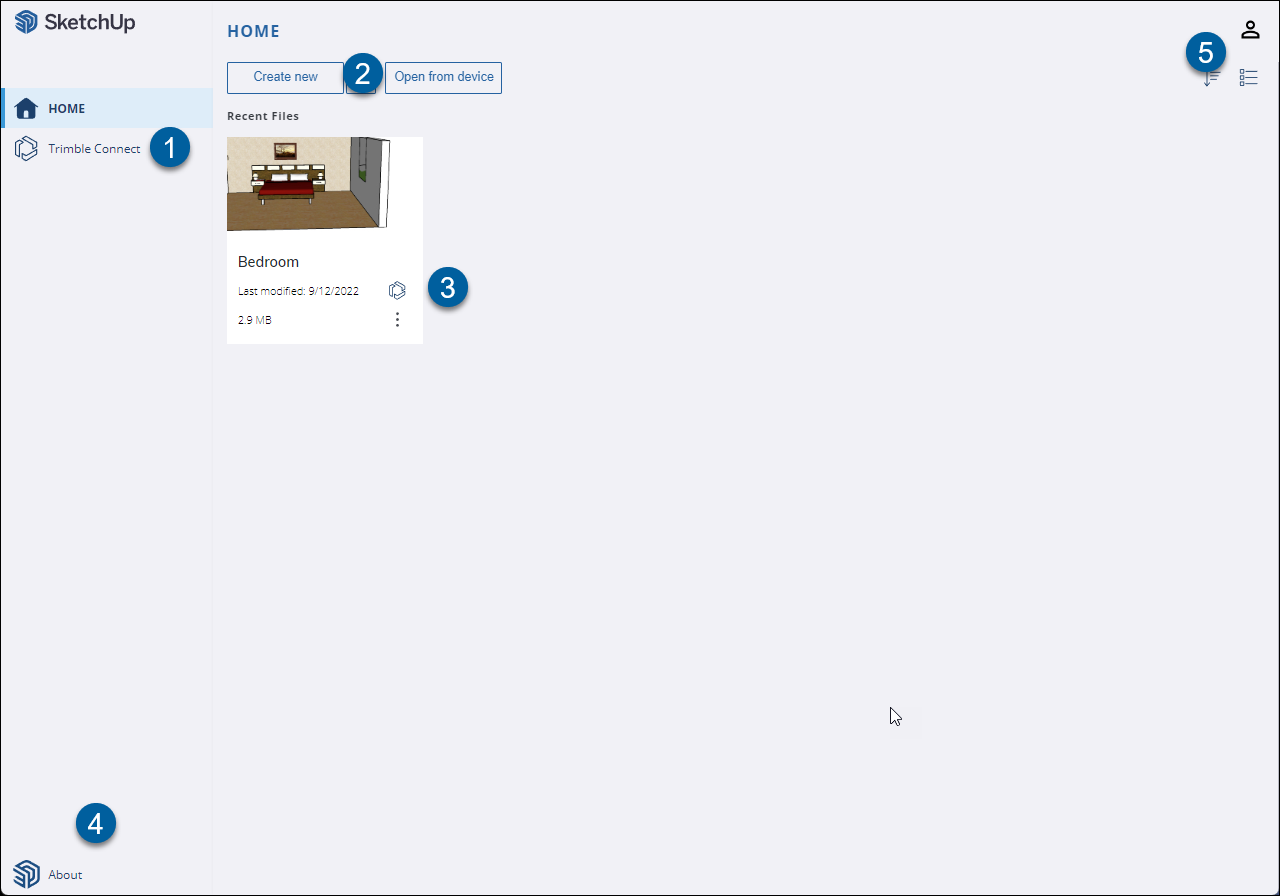
From the Home screen you can:
- Access Trimble Connect.
- Create a new model or import a locally saved model.
- Choose from a list of recently opened models.
- See SketchUp's About information.
- Access your Trimble account information.
Once you open a model, SketchUp for Web's modeling interface contains all the tools and options you need to create stunning 3D models. Let's take a tour:
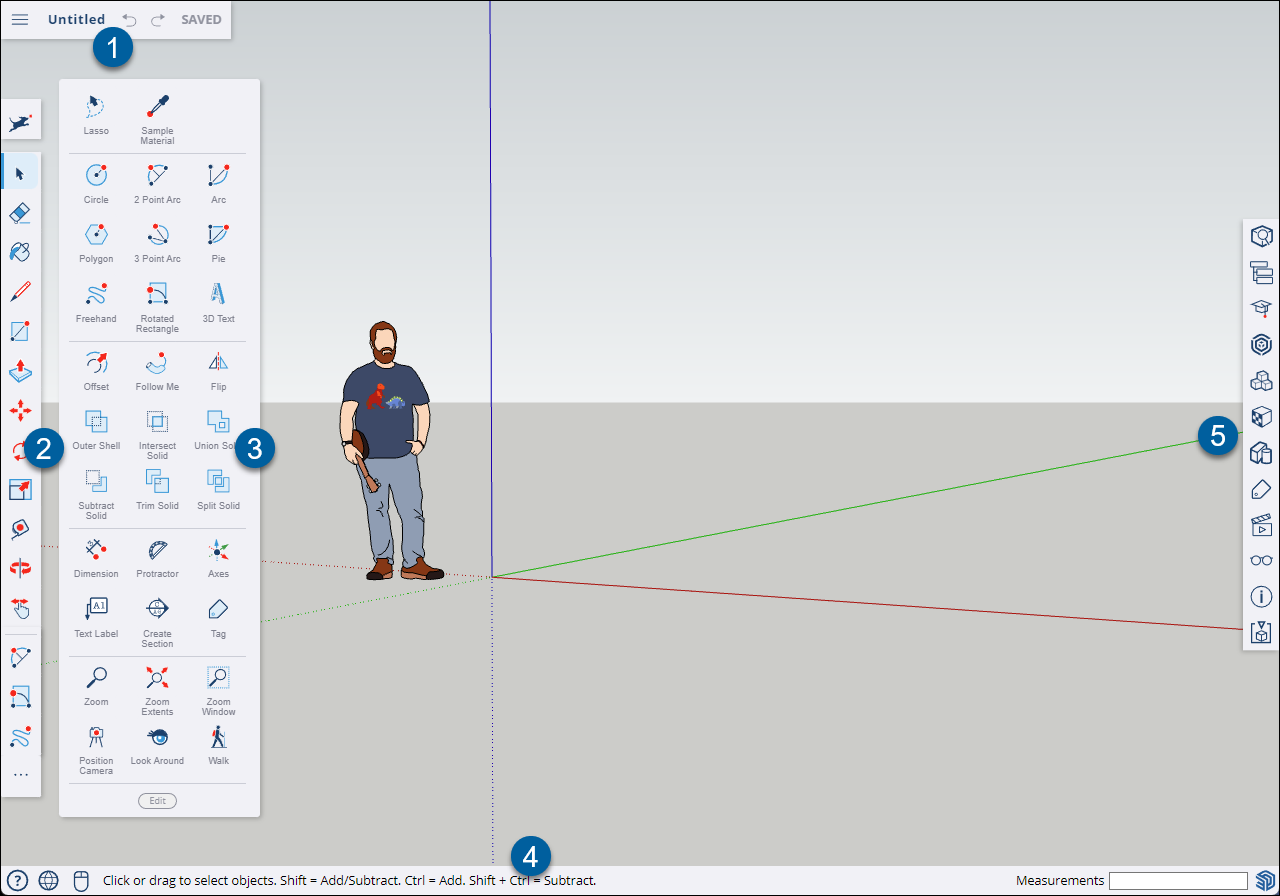
- Main Menu Bar - Includes the Main Menu (
 ), the name of your model, Undo (
 ), Redo (
 ), and the save status of your model.
 - Main Toolbar - The Main Toolbar contains the basic tools you need to get started.
- Expanded Toolset - The Expanded Toolset is home to all of your other SketchUp tools.
- Status Bar - From left to right you'll see:
 - Links to the Help Center, our forums, Technical Support, and a Search option
 - The language menu
 - The input device selector
- Tips and options for the selected tool
- The Measurements box
- Panels - Each panel represents a different group of options to help you take your model to the next level. We'll cover the panels available in SketchUp for Web in Creating and Editing Models.
Tip: If you're not certain what a tool is, tooltips appear when you hover over a tool. Details about active tools appear in the status bar and in the instructor panel.
The Main Menu (![]() ) contains several options to help you manage your model:
) contains several options to help you manage your model:
- Home - Returns you to the Home screen.
- New - Creates a new model file.
- Open - Opens an existing model file.
- Save as - Saves your model.
- Import - Imports other files or images into your model.
- Export - Exports your model to other formats.
- Download - Downloads your model using a specific format.
- App Settings - Opens the Settings window.
- Add Location - Use the Add Location service to add geo-location imagery and date to your model.
- Print - Print or create a .pdf of your model.